I built this collection guide/walkthrough as:
- A reinforcement of knowledge from my GCFE course
- A future reference for myself and others on collection of Windows evidence from devices. All tools see here are free for download from vendor website.
This is just my personal method — if things could be improved upon I would love to hear from you on X. (Handle on About Page)
Disclaimer
Windows OS is constantly changing with weekly patches and major version updates. Methods and techniques will need to be adapted over time. I will inevitably miss stuff — it is on the individual to validate current best practices.
Tools
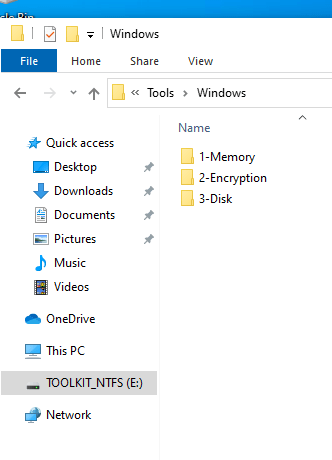
- Forensic Collection Drive – Forensic Collection SSD Setup
-
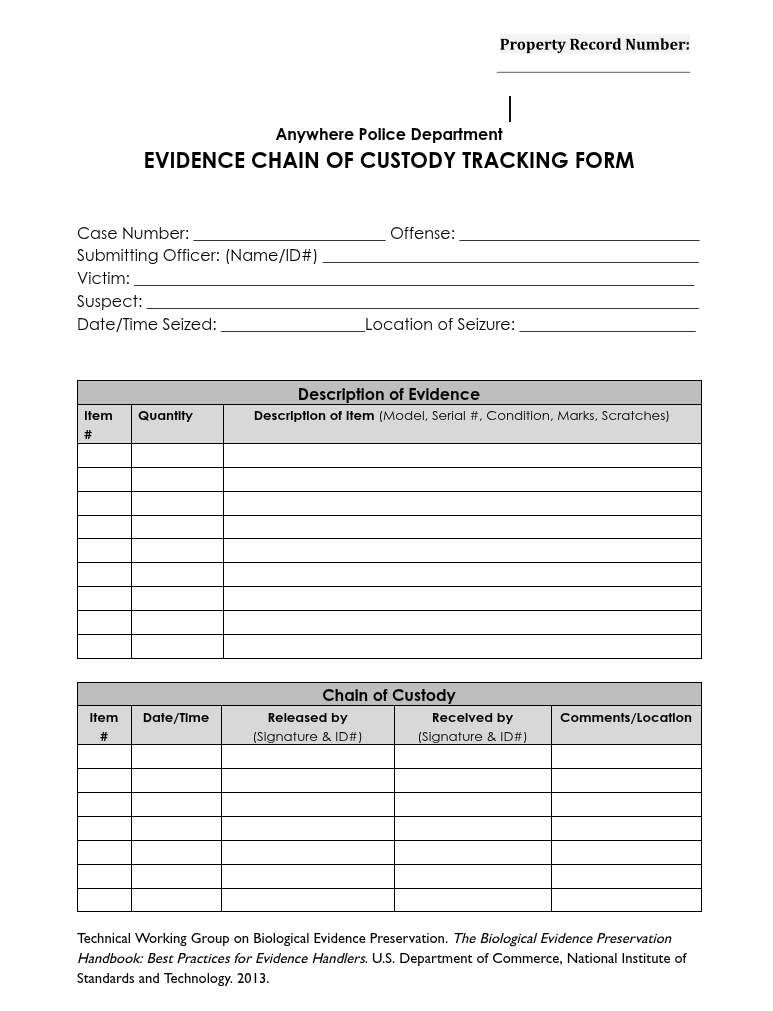
NIST Chain of Custody Form for download:
https://www.nist.gov/document/sample-chain-custody-formdocx
Methodology Overview

We are going to reference the above diagram throughout this guide. Memorize it — it’s an excellent cheat sheet if you ever get lost.
NIST Chain of Custody Form for download:
https://www.nist.gov/document/sample-chain-custody-formdocx
1) Memory Collection
- Do we have the right to collect? Have you recieved authorization?
- Do we have ability to use LAPS or admin credentials if UAC is enforced?
- Connect Forensic Collection Drive.
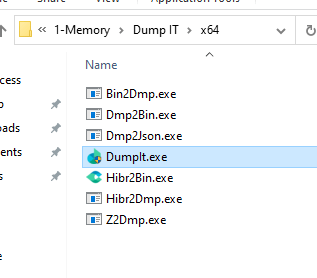
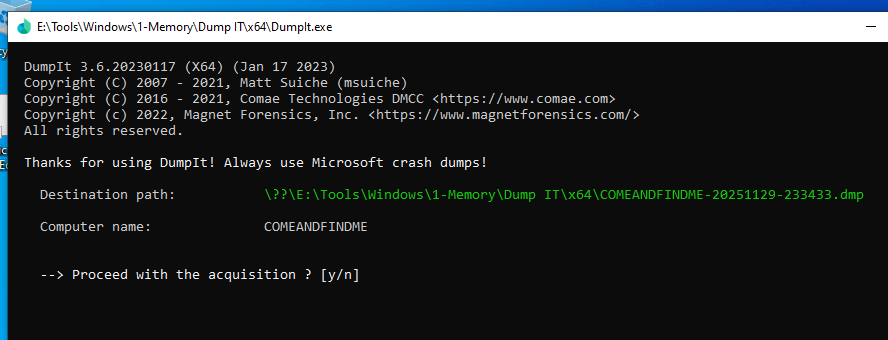
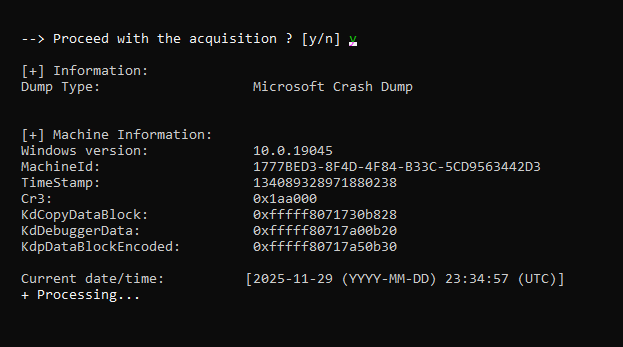
- Execute DumpIt → write back to cases folder on drive.
- Hash memory collection for integrity validation.
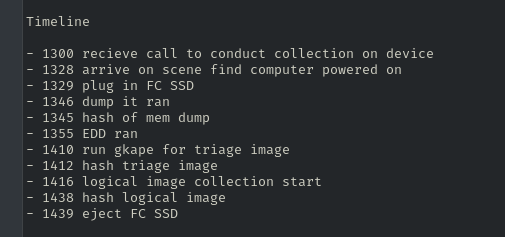
- Document timestamp of collection start/finish.


2) Check for Encryption
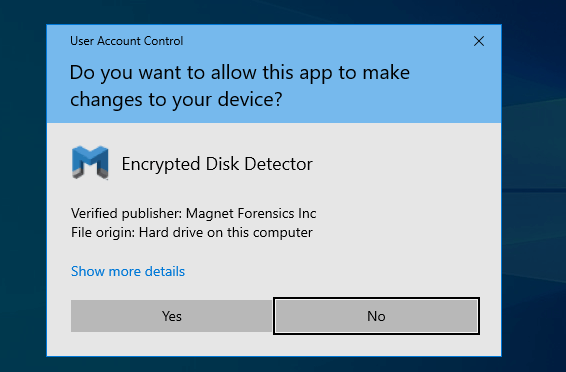
- Run EDD (Encrypted Disk Detector) or other encryption checker tool on device to check for BitLocker or other encryption. This will dictate our next actions.


Does Encryption Exist?
If YES (system is encrypted)
The goal is to preserve access to the decrypted volume while power is on. I will be treating this lab as if the drive is encrypted when in reality it was not.
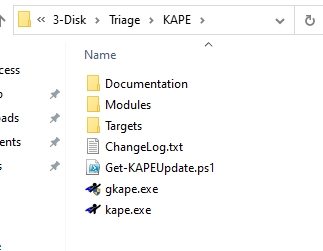
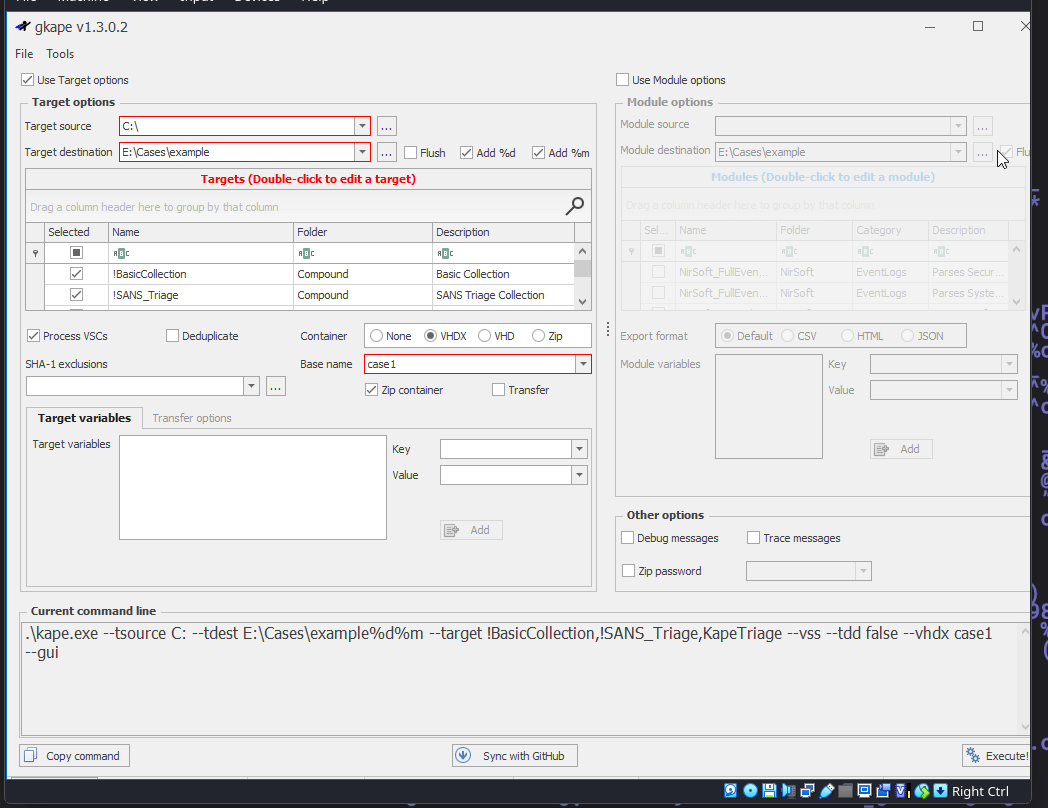
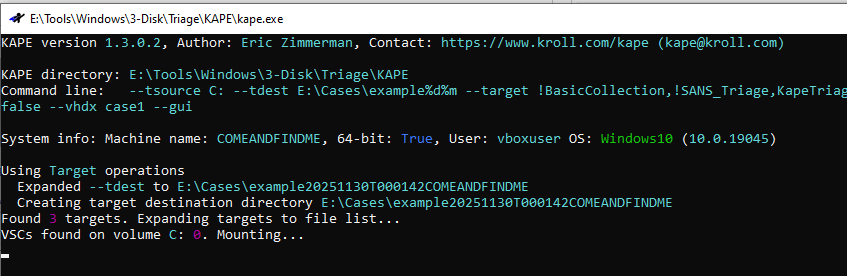
- Run KAPE triage.
- Collect high-value artifacts before shutdown breaks access.
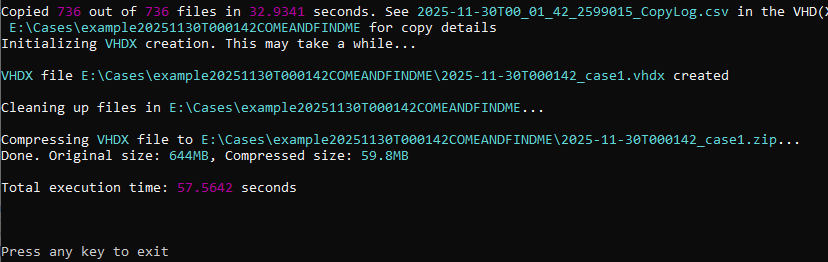
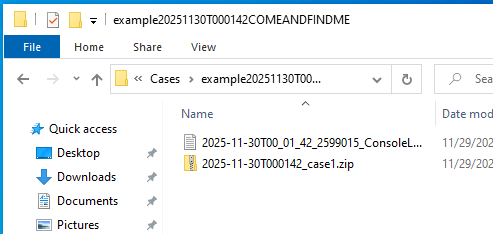
- Hash Output for integrity validation going forward.
- Live logical acquisition with FTK Imager. (possible while OS is running and decrypted)
- Hash Output for integrity validation going forward.
- Controlled shutdown → full forensic image with write blocker.
- Hash Output for integrity validation going forward.
If NO (no encryption)
- Controlled shutdown. (never yank power unless instructed)
- Attach hardware write blocker. (preferred)
- Collect triage image with KAPE. (now safe & consistent)
- Hash Output for integrity validation going forward.
- Full forensic image with FTK Imager.
- Hash Output for integrity validation going forward.
Kape Triage Image Steps
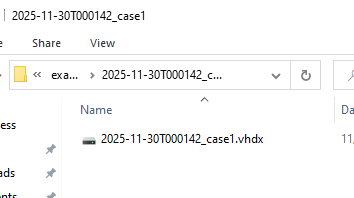

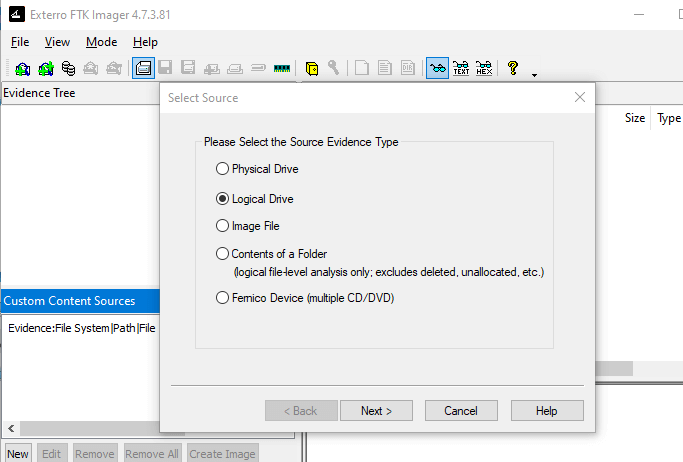
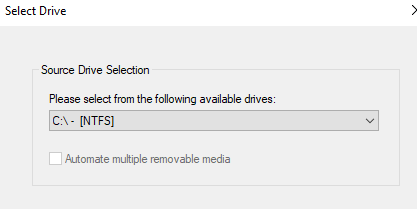
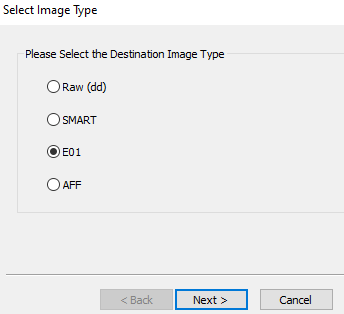
FTK Imager Logical Image Steps
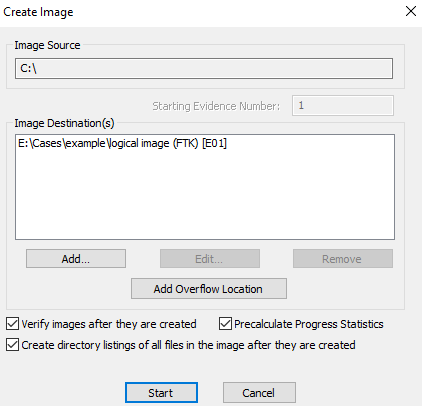
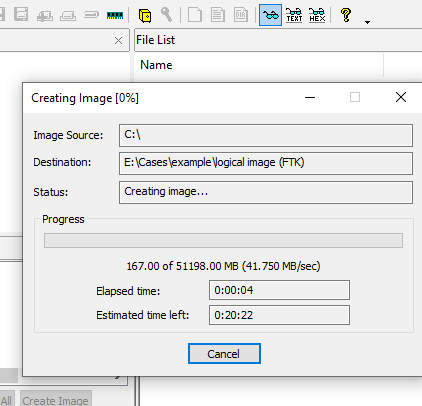
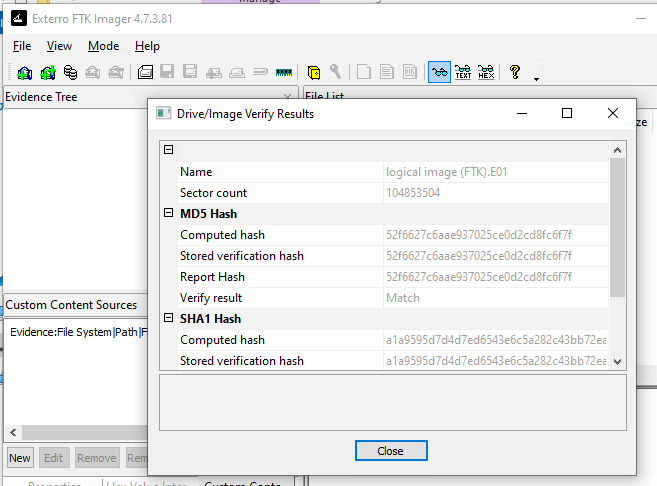

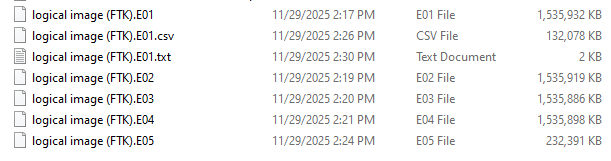
Post-Collection
- Make copies of evidence and move copies to forensic workstation for processing.
-
Before processing, pause and write:
- Is there a list of questions to answer?
- Is there a list of statements to validate?
- Doing this before diving straight into processing is cruial to one saving time, but also framing what you are looking for.
Example Actions to Investigate
- Examine web traffic.
- Examine browser history & downloads.
- Examine USB device history.
- Examine prefetch, Shimcache, Amcache.
- Examine Event Logs (Security, System, etc.)
- Examine SRUM, BITS, Background Activity.
Final Notes & Best Practices
- Always document every single action.
- Never work on originals — only verified copies.
- Hash everything, verify everything.
- When in doubt → do less, document more.
Forensics Blog Collection
Quickly navigate through different sections of the forensic blog collection:
Happy hunting!