This is my personal, 100% free forensic collection SSD setup — built for speed, reliability, and dual-boot compatibility. Feel free to copy or improve it!
Any fast USB-C SSD ≥1 TB works. I just happened to have a T7.
Required Free Tools
- DumpIt – Magnet Forensics
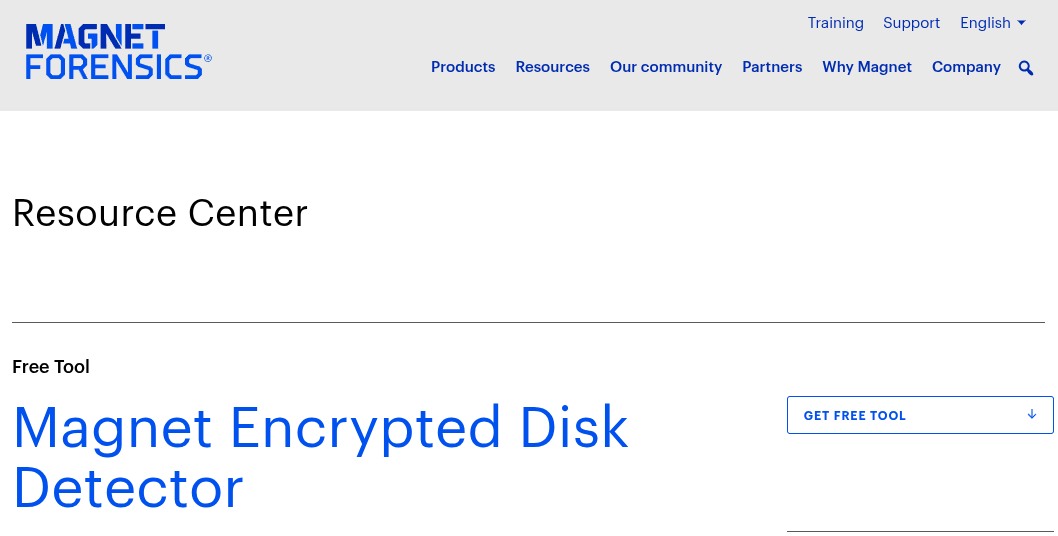
- EDD – Magnet Forensics
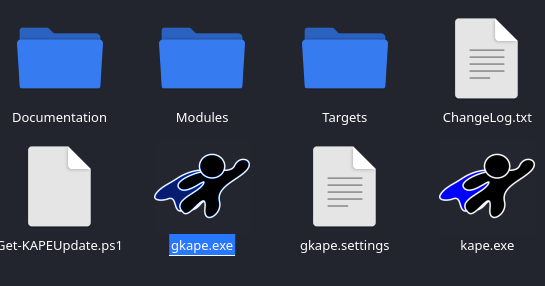
- KAPE – SANS / Eric Zimmerman
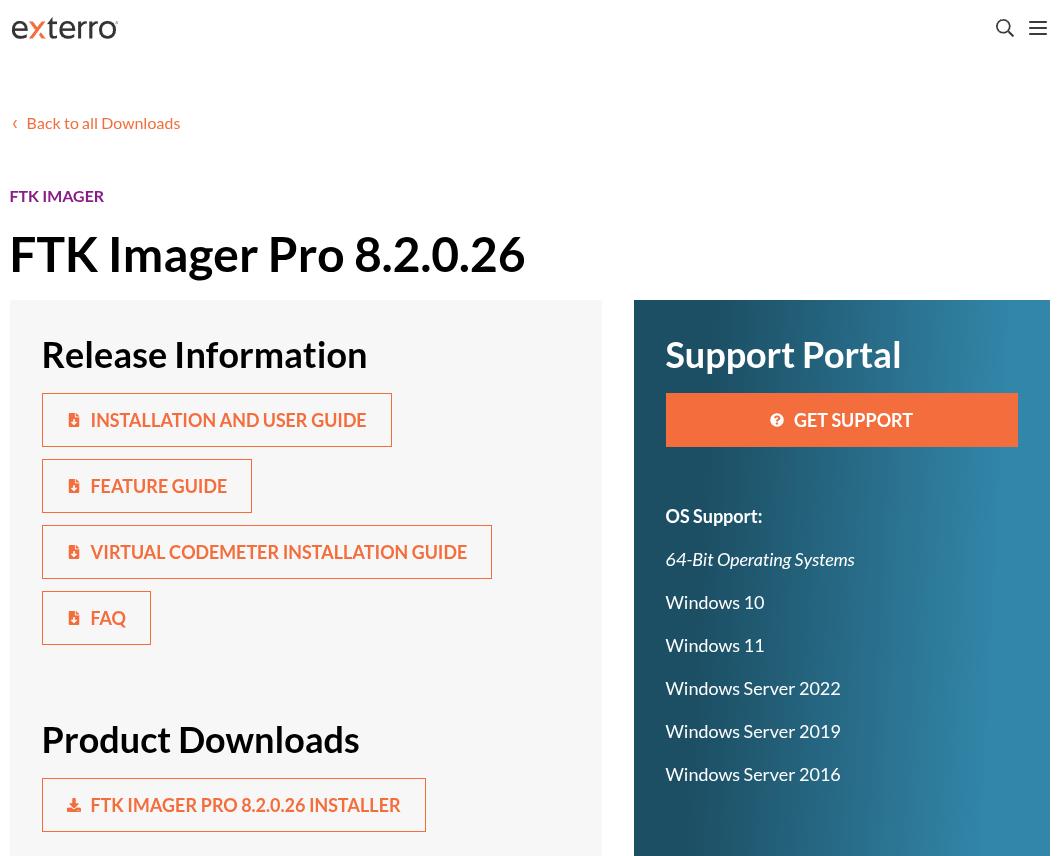
- FTK Imager – Exterro
Goal: Dual-Partition Layout
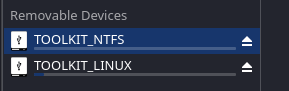
- Partition 1 → NTFS (Windows tools + case folders)
- Partition 2 → EXT4 (Linux tools / persistence)
Step-by-Step Partitioning Guide
1. Plug in drive and identify device name
lsblk
2. Unmount the drive from the system
(Replace sda1 with whatever partitions are currently
mounted)
umount /dev/sda1
    umount /dev/sda2   # if it exists
3. Launch gdisk on the correct device
gdisk /dev/sda4. Delete any existing partitions
o → deletes all partitions and creates new MBRw
→ writes to GPT. (write and save)
o w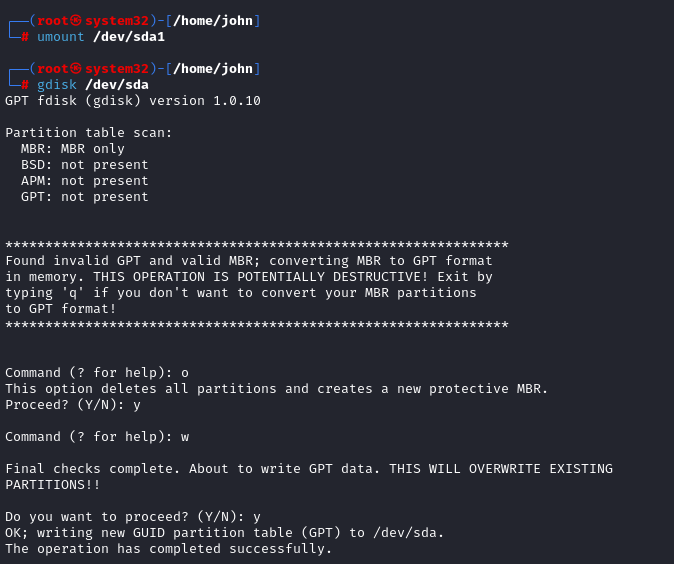
5. Create first partition — NTFS (Windows side)
n → create new partition1 → partition
number 1<enter> → default first sector+500G
→ size (adjust as needed)0700 → Microsoft basic
data (NTFS)
n
    1
    <enter>
    +500G
    0700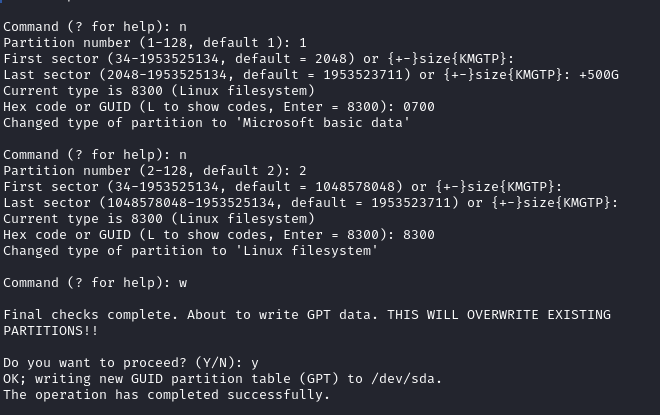
6. Create second partition — EXT4 (Linux side)
n → new partition2 → partition number
2<enter> → start after previous<enter>
→ use rest of disk8300 → Linux filesystem
n
    2
    <enter>
    <enter>
    8300
7. Write and save the new partition table
w → write changes to disk and exit
w
8. Format the partitions
NTFS partition:
mkfs.ntfs -f -L TOOLKIT_NTFS /dev/sda1EXT4 partition:
mkfs.ext4 -L TOOLKIT_LINUX /dev/sda2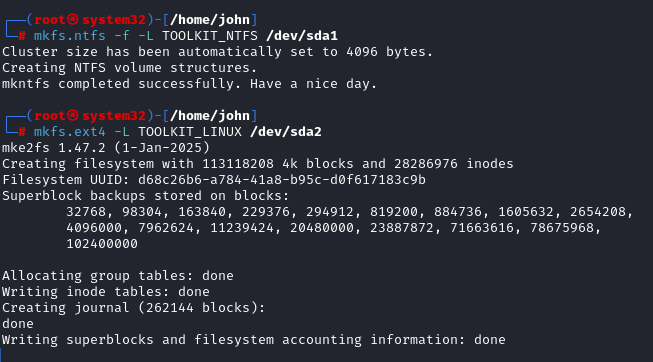
9. Final verification
lsblk -f
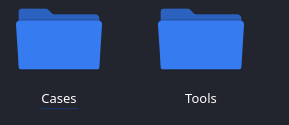
Recommended Folder Structure (NTFS side)
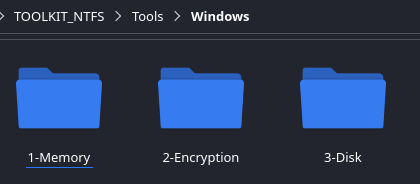
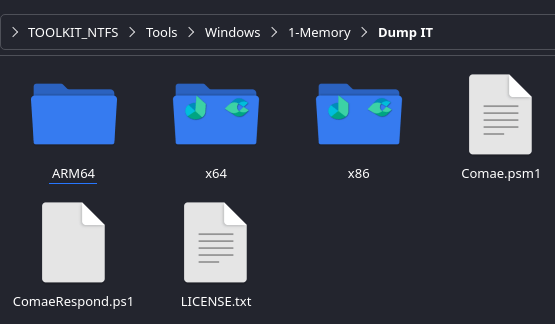
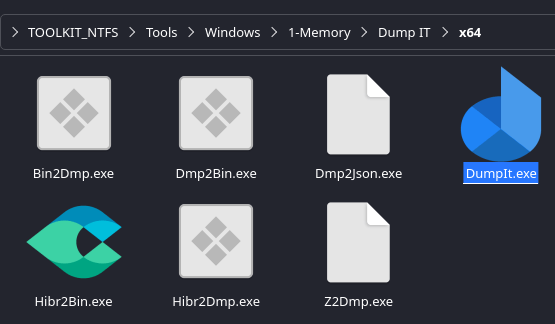
- 1-Memory → DumpIt.exe
- 2-Encryption → EDDv310.exe
- 3-Disk → KAPE, FTK Imager, etc.
- Cases → All evidence goes here
- Tools → Extra utilities
Download & Install Tools (After Partitioning)
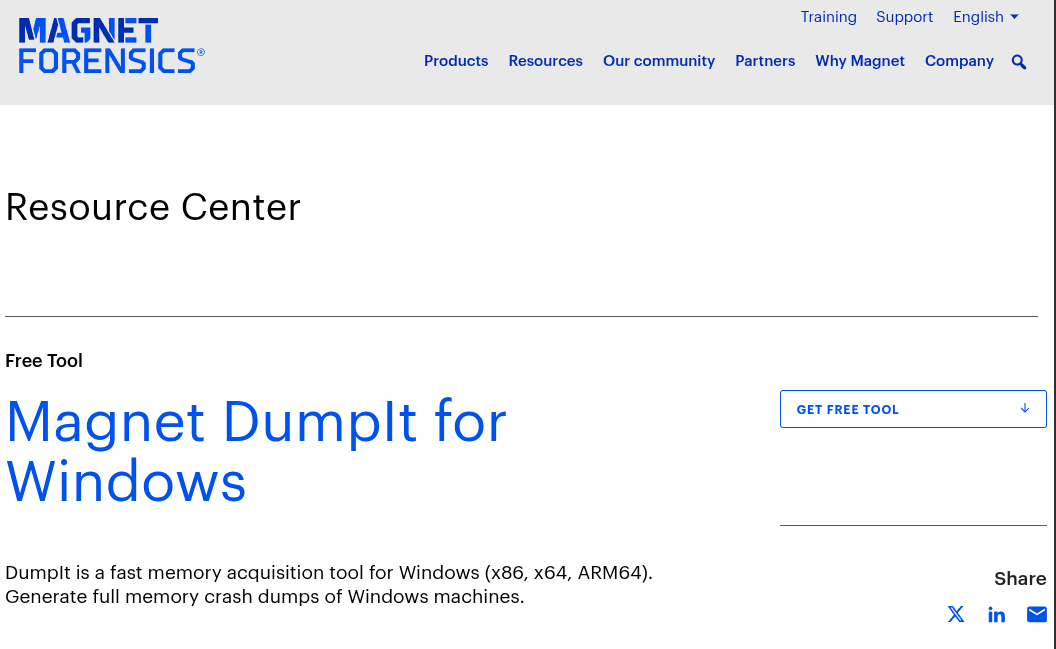
1. Download DumpIt (Memory Acquisition)
https://www.magnetforensics.com/resources/magnet-dumpit-for-windows/
- Fill in form → get email with download link
-
Download ZIP → extract → place
DumpIt.exein1-Memory/
2. Download EDD (Encrypted Disk Detector)
https://www.magnetforensics.com/resources/encrypted-disk-detector/
- Fill in form → get email
-
Download ZIP → extract → place
EDDV310.exein2-Encryption/
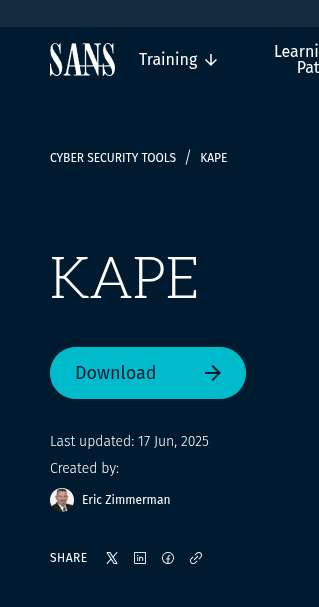
3. Download KAPE (Triage Collection)
https://www.sans.org/tools/kape
- Fill in form → get email
-
Download ZIP → extract entire folder to
3-Disk/KAPE/
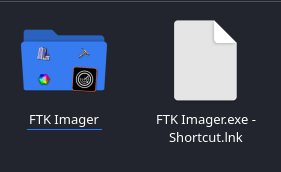
4. Download FTK Imager
https://www.exterro.com/ftk-product-downloads/ftk-imager-pro-8-2-0-26
- Download installer
- Run installer → install to
3-Disk/FTK Imager/
Done!
Your forensic collection SSD is now fully configured and ready for field use.
See it in action in my Windows DFIR TTP Guide.
Forensics Blog Collection
Quickly navigate through different sections of the forensic blog collection:
Happy hunting!