1. Project Overview
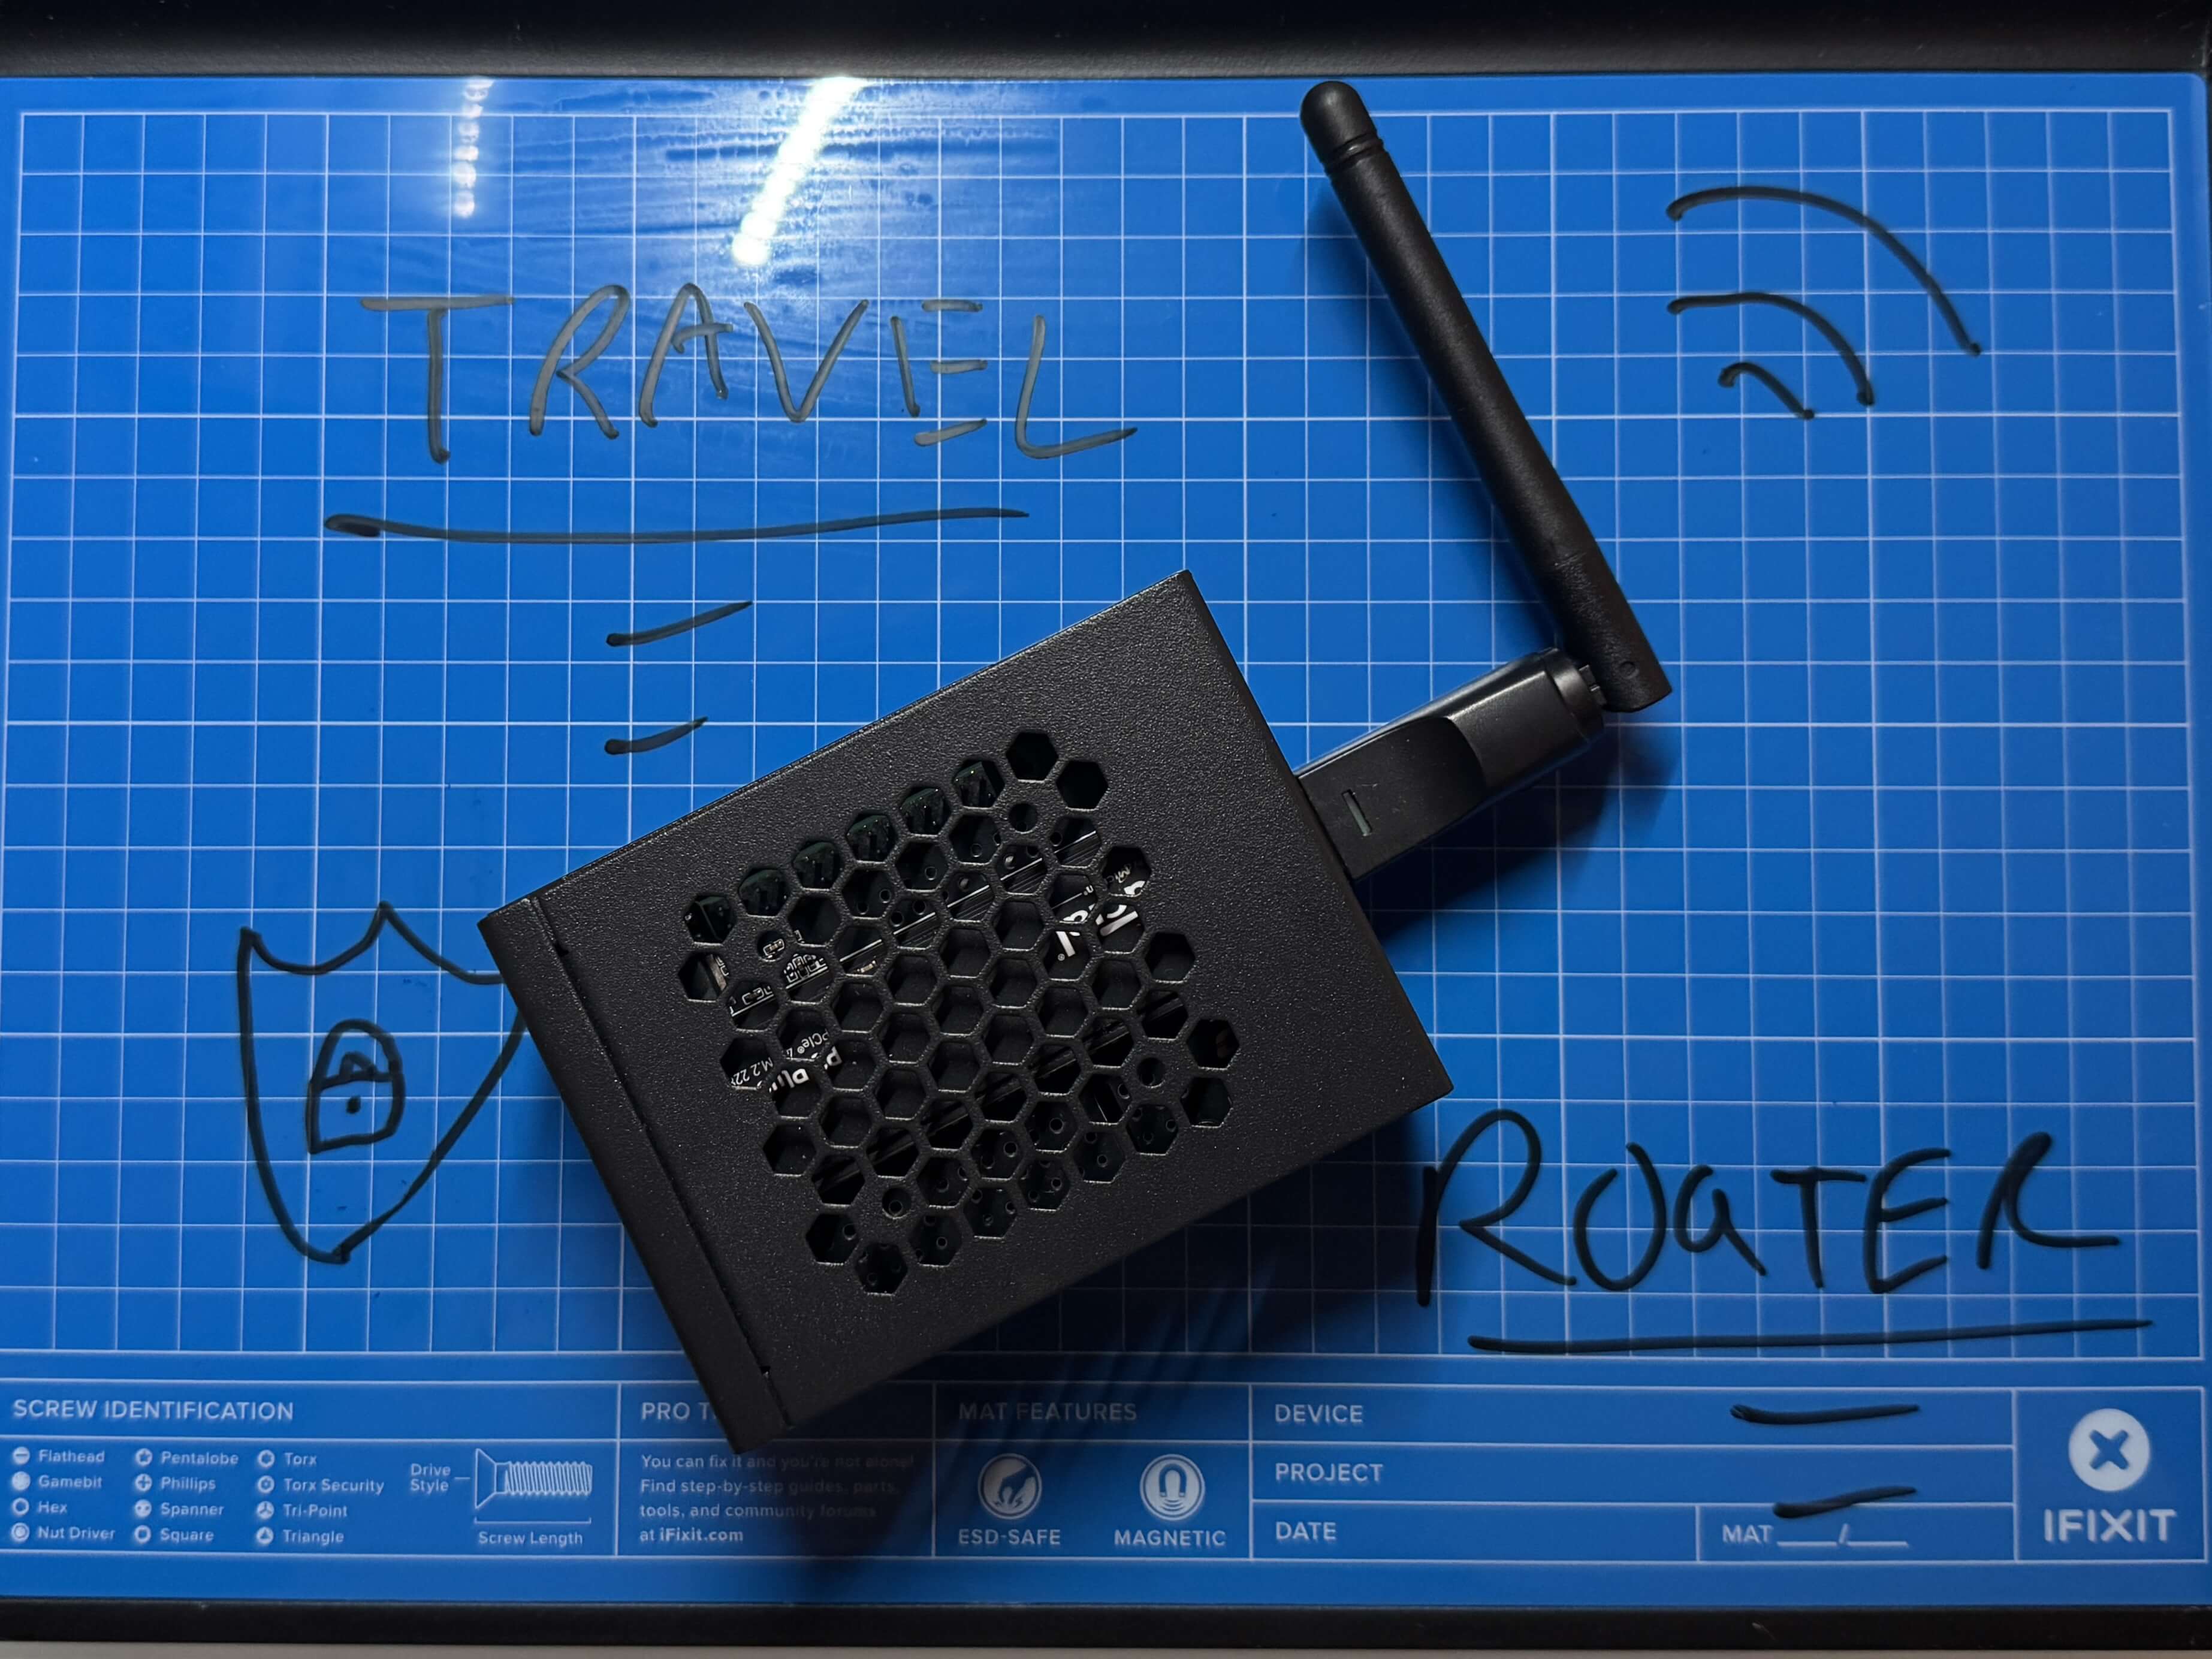
This project creates a portable travel router using a Raspberry Pi 5, routing traffic through a VPN via RaspAP and hosting a Jellyfin media server for offline movie streaming. The setup provides secure internet access and entertainment in a compact device.
- Objective: Build a secure VPN router and offline media server for travel.
- Hardware Used: Raspberry Pi 5, external WiFi adapter, M.2 SSD, case with riser board, heat sink, fan.
- Software Used: RaspAP (VPN and WiFi AP), Jellyfin (media server), Raspberry Pi OS.
- Skills Learned: Raspberry Pi configuration, VPN setup, media server management, iptables, VNC setup.
2. Resources and References
Essential resources for the project:
-
Resource 1:
Title: RaspAP Setup Guide
Usage: Guided RaspAP installation for WiFi AP and VPN configuration. -
Resource 2:
Title: Jellyfin on Raspberry Pi
Usage: Provided steps for installing and configuring Jellyfin.
Additional Notes: The YouTube tutorials were critical for clear, visual setup instructions.
3. Steps Taken
Detailed steps to build and configure the travel router and media server:
-
Step 1: Assemble Hardware
Description: Set up the Raspberry Pi 5 with the case, riser board, M.2 SSD, heat sink, and fan. Connected the external WiFi adapter.
Challenges: Properly installing the heat sink to ensure adequate cooling.

-
Step 2: Install Raspberry Pi OS and Configure RaspAP
Description: Configured the Raspberry Pi OS and set up RaspAP for VPN and WiFi hotspot functionality.
Challenges: Ensuring WiFi adapter compatibility and resolving VNC display issues.
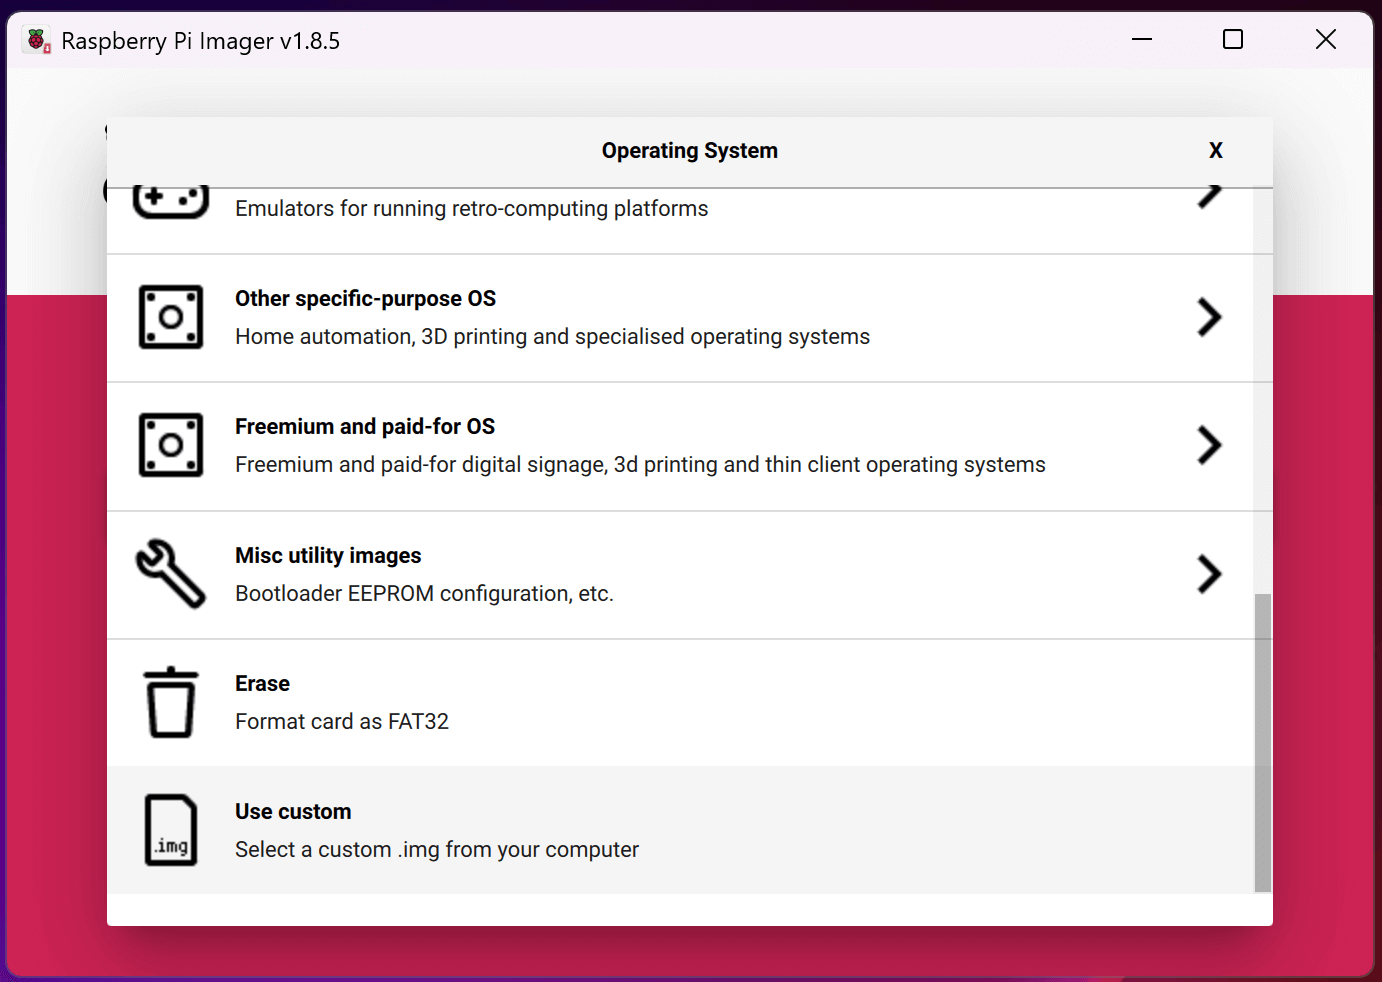
- Used Raspberry Pi Imager to flash Raspberry Pi OS onto a microSD card and booted the Pi.
- Enabled SSH for remote access and verified WiFi adapter (wlan1) functionality.
- Enabled VNC via terminal with
sudo raspi-config, navigated to Interface Options, and turned on VNC.

- Installed RaspAP by running
"curl -sL https://install.raspap.com | bash"from raspap.com. Accepted most defaults, carefully reviewing the last few prompts.
- Plugged in the external WiFi adapter (wlan1).
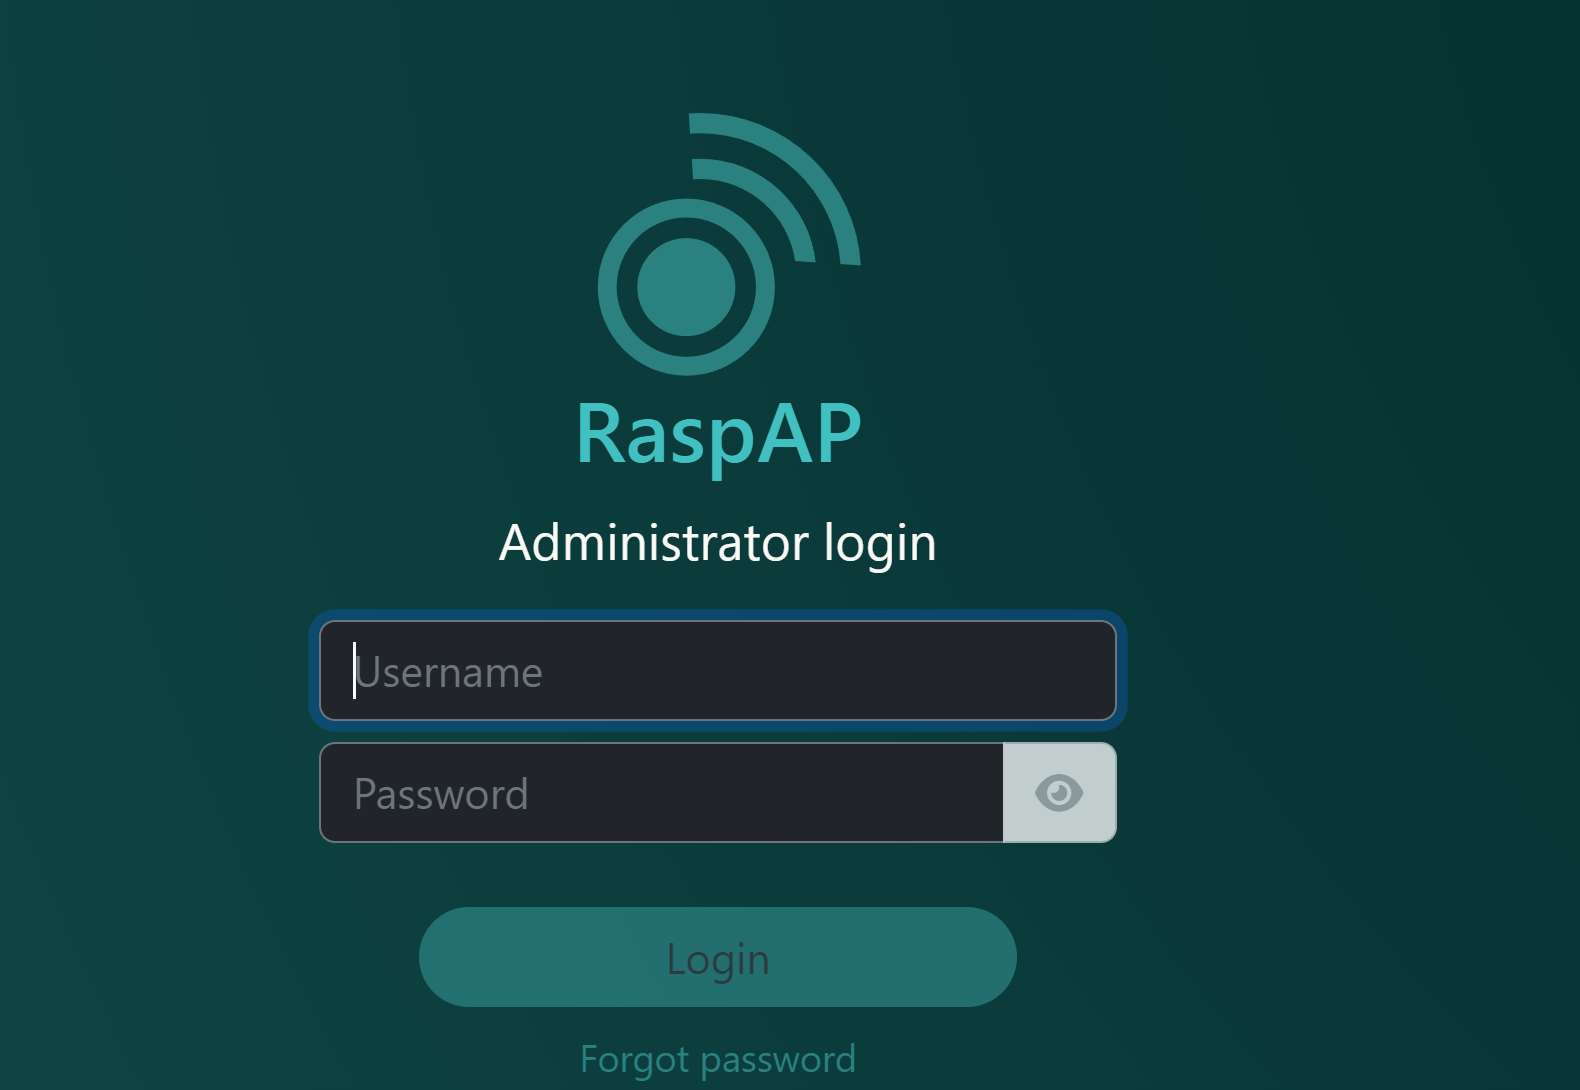
- Accessed RaspAP web interface at default credentials (admin/secret), configured hotspot SSID, password, and country code.
- Removed preconfigured network connection with
"sudo rm /etc/networkmanager/system-connections/preconfigured.nmconnection"in terminal and rebooted.

- Connected to the RaspAP hotspot and accessed the Pi via the default gateway LAN address.
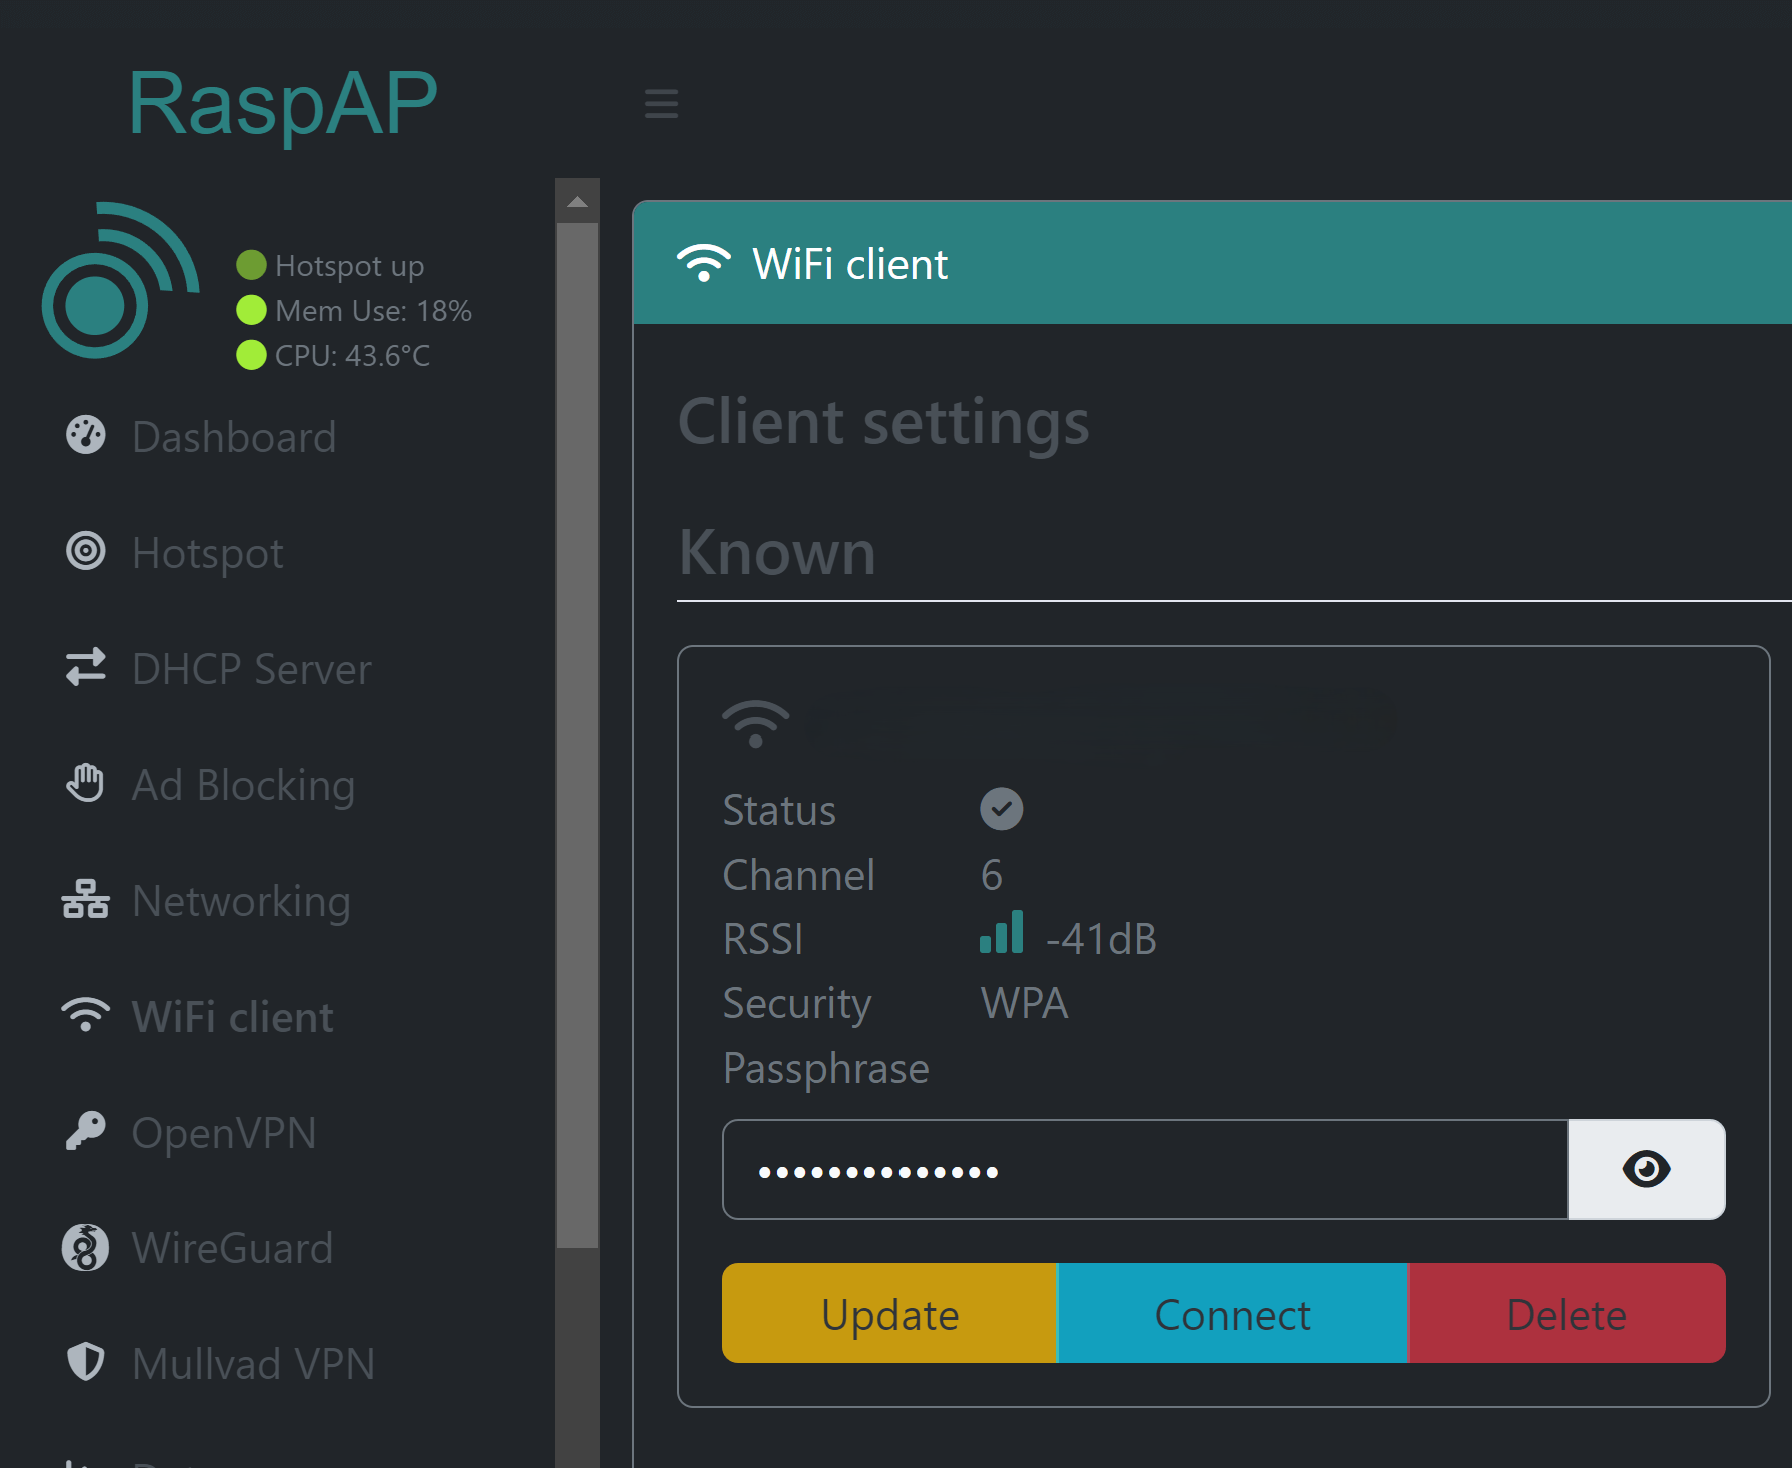
- Connected to an external network (e.g., hotel WiFi) via RaspAP’s WiFi client, entering SSID and password.
- Reinstalled UI packages to fix VNC grey screen with
"sudo apt install --reinstall raspberrypi-ui-mods lxsession"and rebooted.
- Set up VNC client (e.g., RealVNC Viewer) using SSH credentials to bypass captive portals via VNC session and web browser.
.png)
- Used Raspberry Pi Imager to flash Raspberry Pi OS onto a microSD card and booted the Pi.
-
Step 3: Format and Mount M.2 SSD
Description: Formatted and mounted the M.2 SSD for movie storage.
Challenges: Ensuring the correct device path to avoid data loss during formatting.
- Connected the M.2 SSD via the riser board. Ran
lsblkto identify the SSD (e.g., /dev/nvme0n1). Formatted it withsudo mkfs.ext4 /dev/nvme0n1.
- Created a mount point with
sudo mkdir /mnt/ssdand mounted it withsudo mount /dev/nvme0n1 /mnt/ssd. Edited/etc/fstabto auto-mount on boot by adding/dev/nvme0n1 /mnt/ssd ext4 defaults 0 2. Copied movies to /mnt/ssd/movies.
- Connected the M.2 SSD via the riser board. Ran
-
Step 4: Install and Configure Jellyfin
Description: Installed and configured Jellyfin for offline movie streaming.
Challenges: Securing Jellyfin to allow only local LAN access.
- Booted the Pi and opened a VNC session.
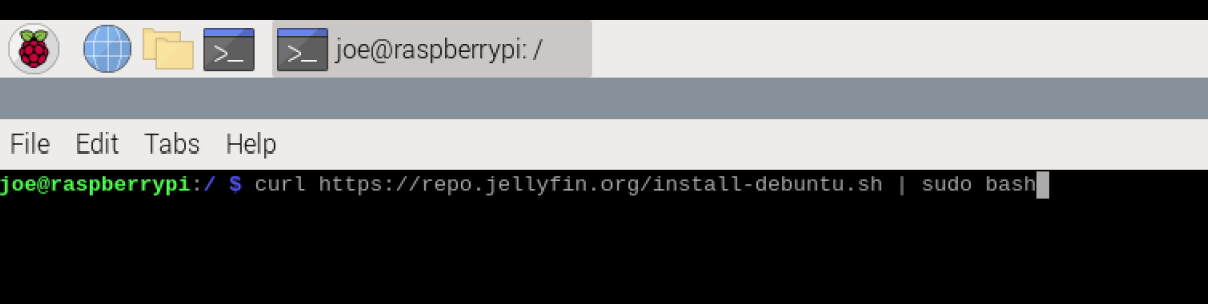
- Visited the Jellyfin website, selected Linux server install, and ran
curl https://repo.jellyfin.org/install-debuntu.sh | sudo bashin terminal.
- Copied the post-install URL (e.g.,
http://localhost:8096) from terminal to a web browser in the VNC session.
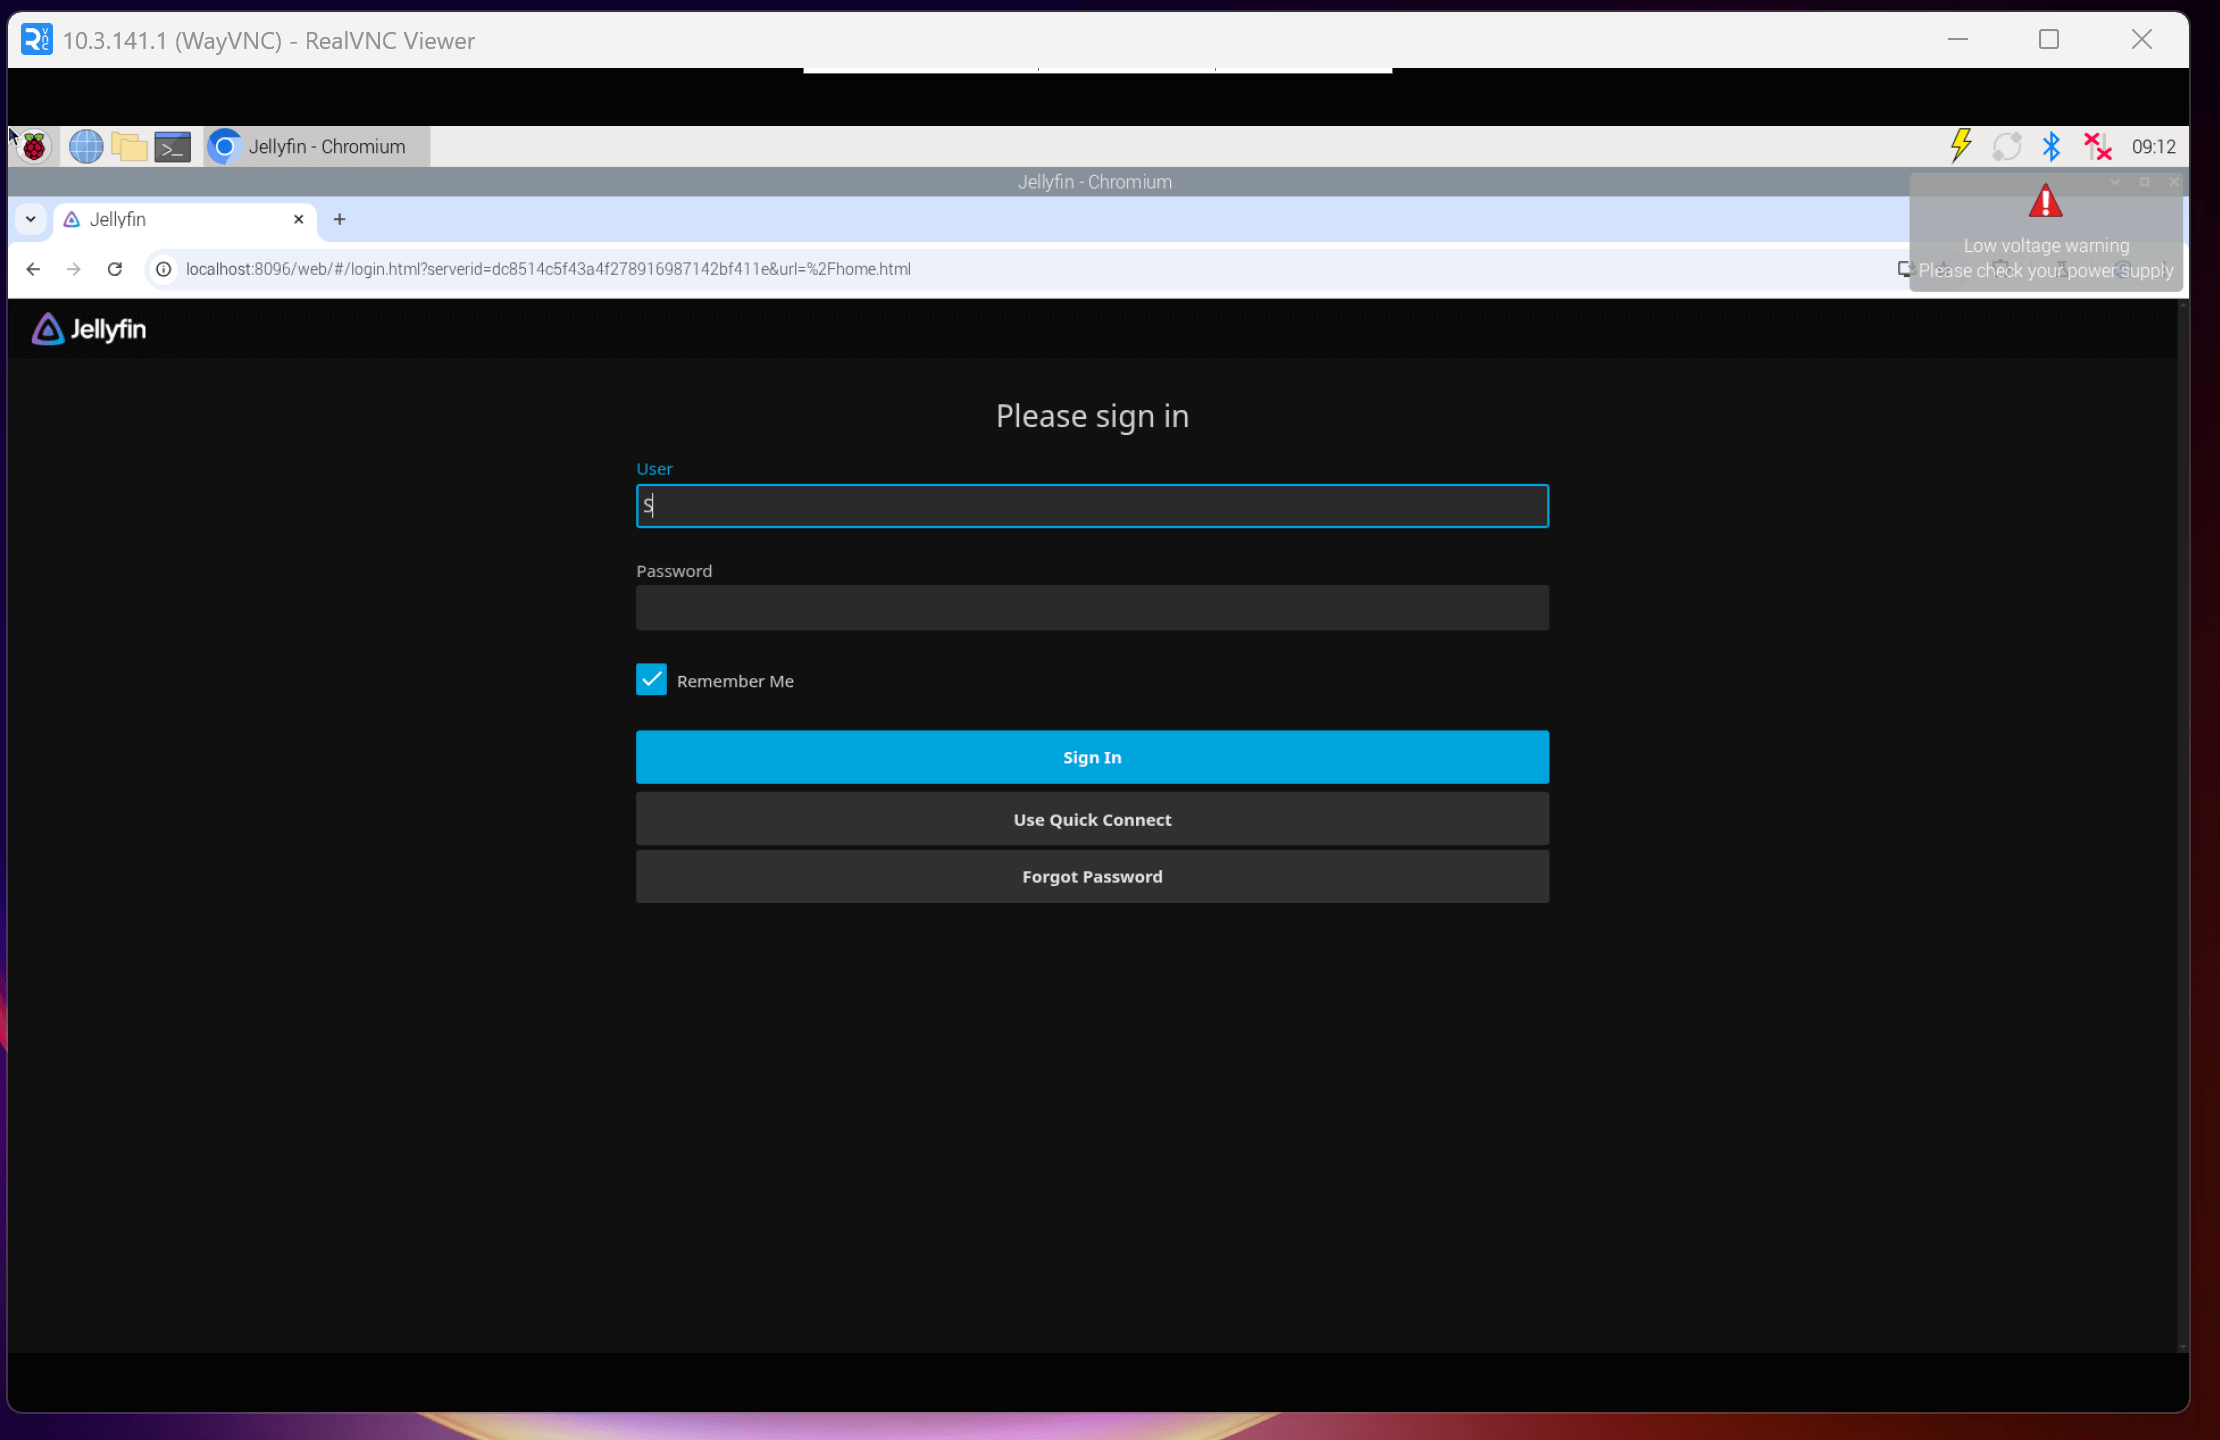
- Followed Jellyfin web setup, configured security and default settings.
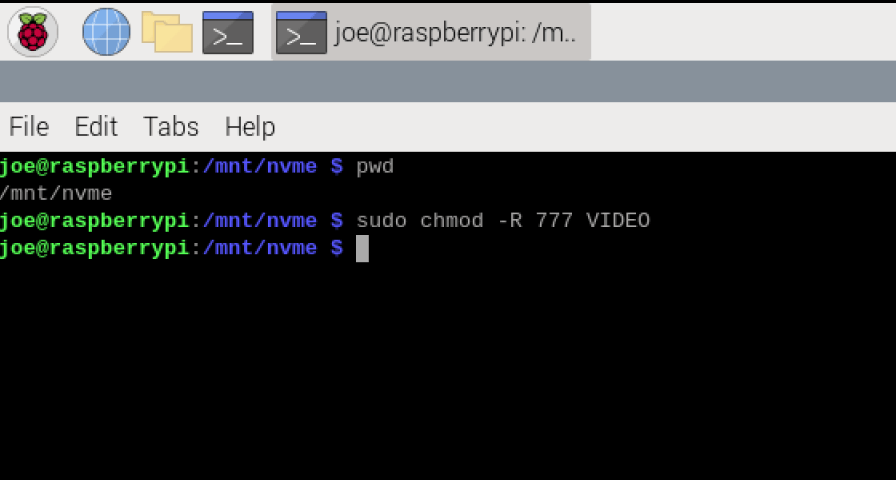
- Set permissions on the movie directory with
chmod 777 /mnt/ssd/movies.
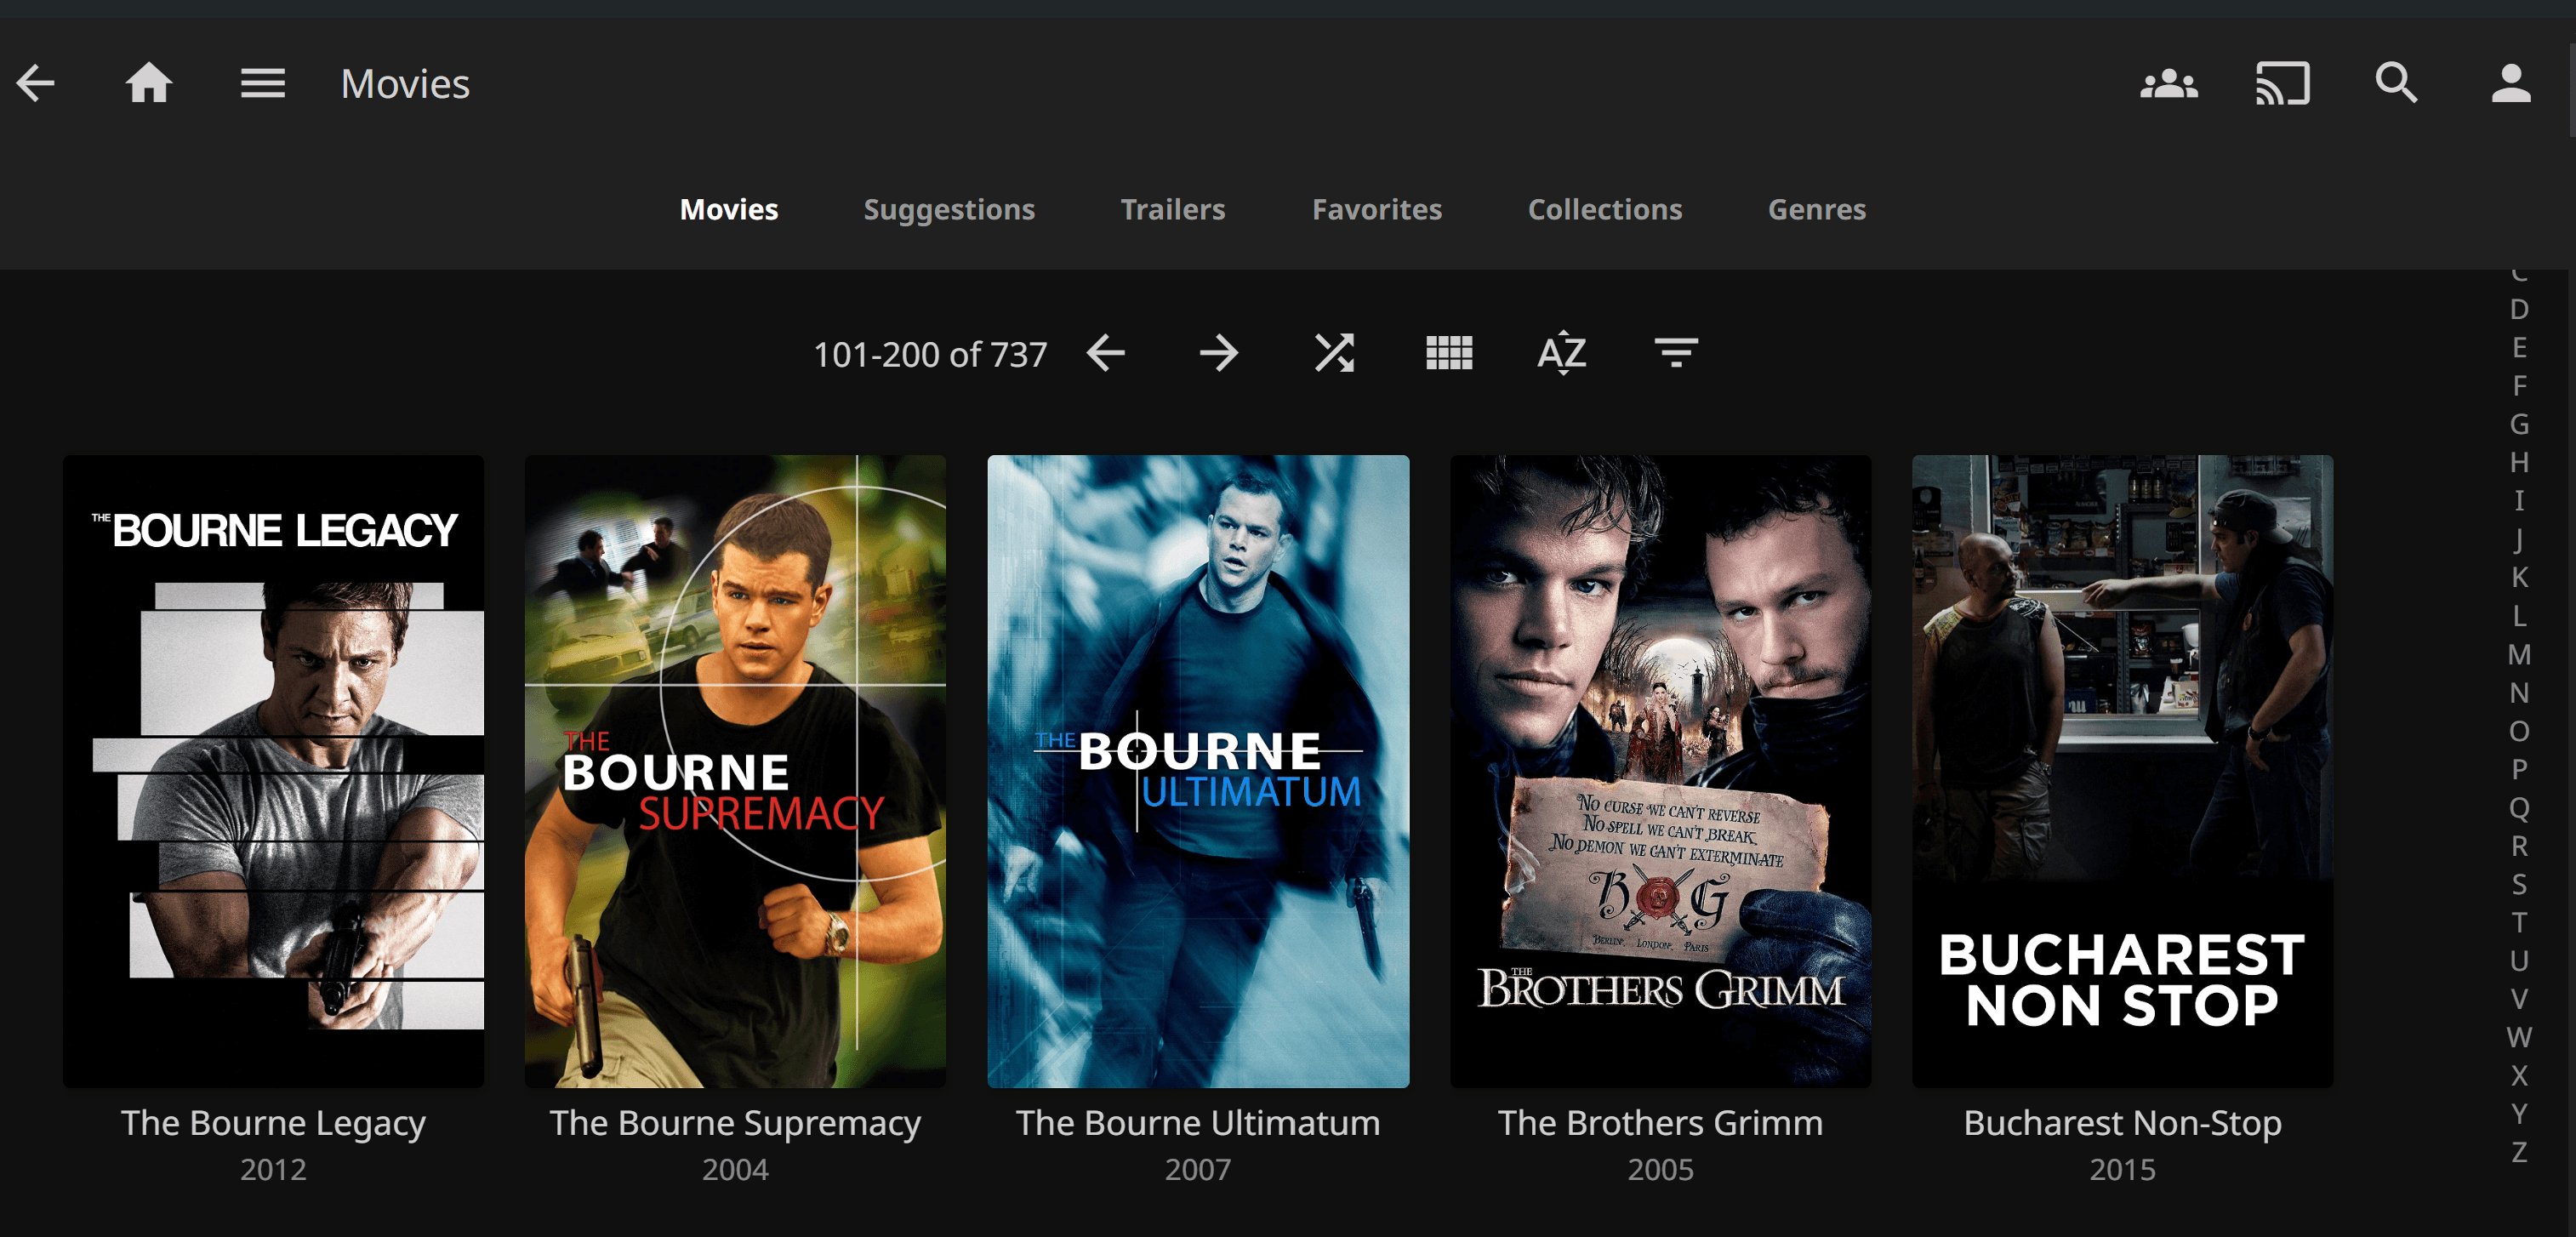
- Added /mnt/ssd/movies as a media library in Jellyfin.
- In Jellyfin settings, under Networking, bound to the local address and set a static IP to restrict access to internal LAN (wlan0), blocking wlan1 (external WiFi) traffic.

- Booted the Pi and opened a VNC session.

4. Tips and Lessons Learned
Key insights from the project:
- Tip 1: Buy the fastest, driver-compatible external WiFi adapter for reliable performance.
- Tip 2: Use iptables to block external network access to Jellyfin, ensuring only local LAN access.
- Tip 3: A heat sink and fan are mandatory for the Raspberry Pi 5 to prevent overheating.
- Tip 4: A large M.2 SSD allows for more movie storage.
- Lesson Learned: Reinstalling UI packages is critical to avoid VNC grey screen issues.
- Future Improvements: Add multiple VPN provider support and optimize Jellyfin for hardware acceleration.
5. Hardware Links
6. Conclusion
The travel router and Jellyfin server project successfully delivered a portable device for secure VPN routing and offline movie streaming. The Raspberry Pi 5, with RaspAP and Jellyfin, offers robust functionality for travelers. This project enhanced skills in system configuration, network security, and media server management. Future plans include performance optimizations and additional features.
7. Additional Notes
- The RaspAP and Jellyfin YouTube guides were invaluable for step-by-step guidance.
- Proper cooling and a high-capacity M.2 SSD significantly improved performance and storage.
- VNC setup was key for bypassing captive portals in external networks.