For a long time my entire network stack lived spread across a desk — a tangle of Pi's, a switch, and a firewall all wired together with whatever cable was closest. It worked, but it wasn't portable, it wasn't clean, and every time I wanted to make a change I was untangling cables first. I finally got tired of it and decided to consolidate everything into a proper 10" mini rack: something compact, plug-and-play, and easy to pick up and move if I relocate.
Here's a look at the before, the after, and the parts that got me there.
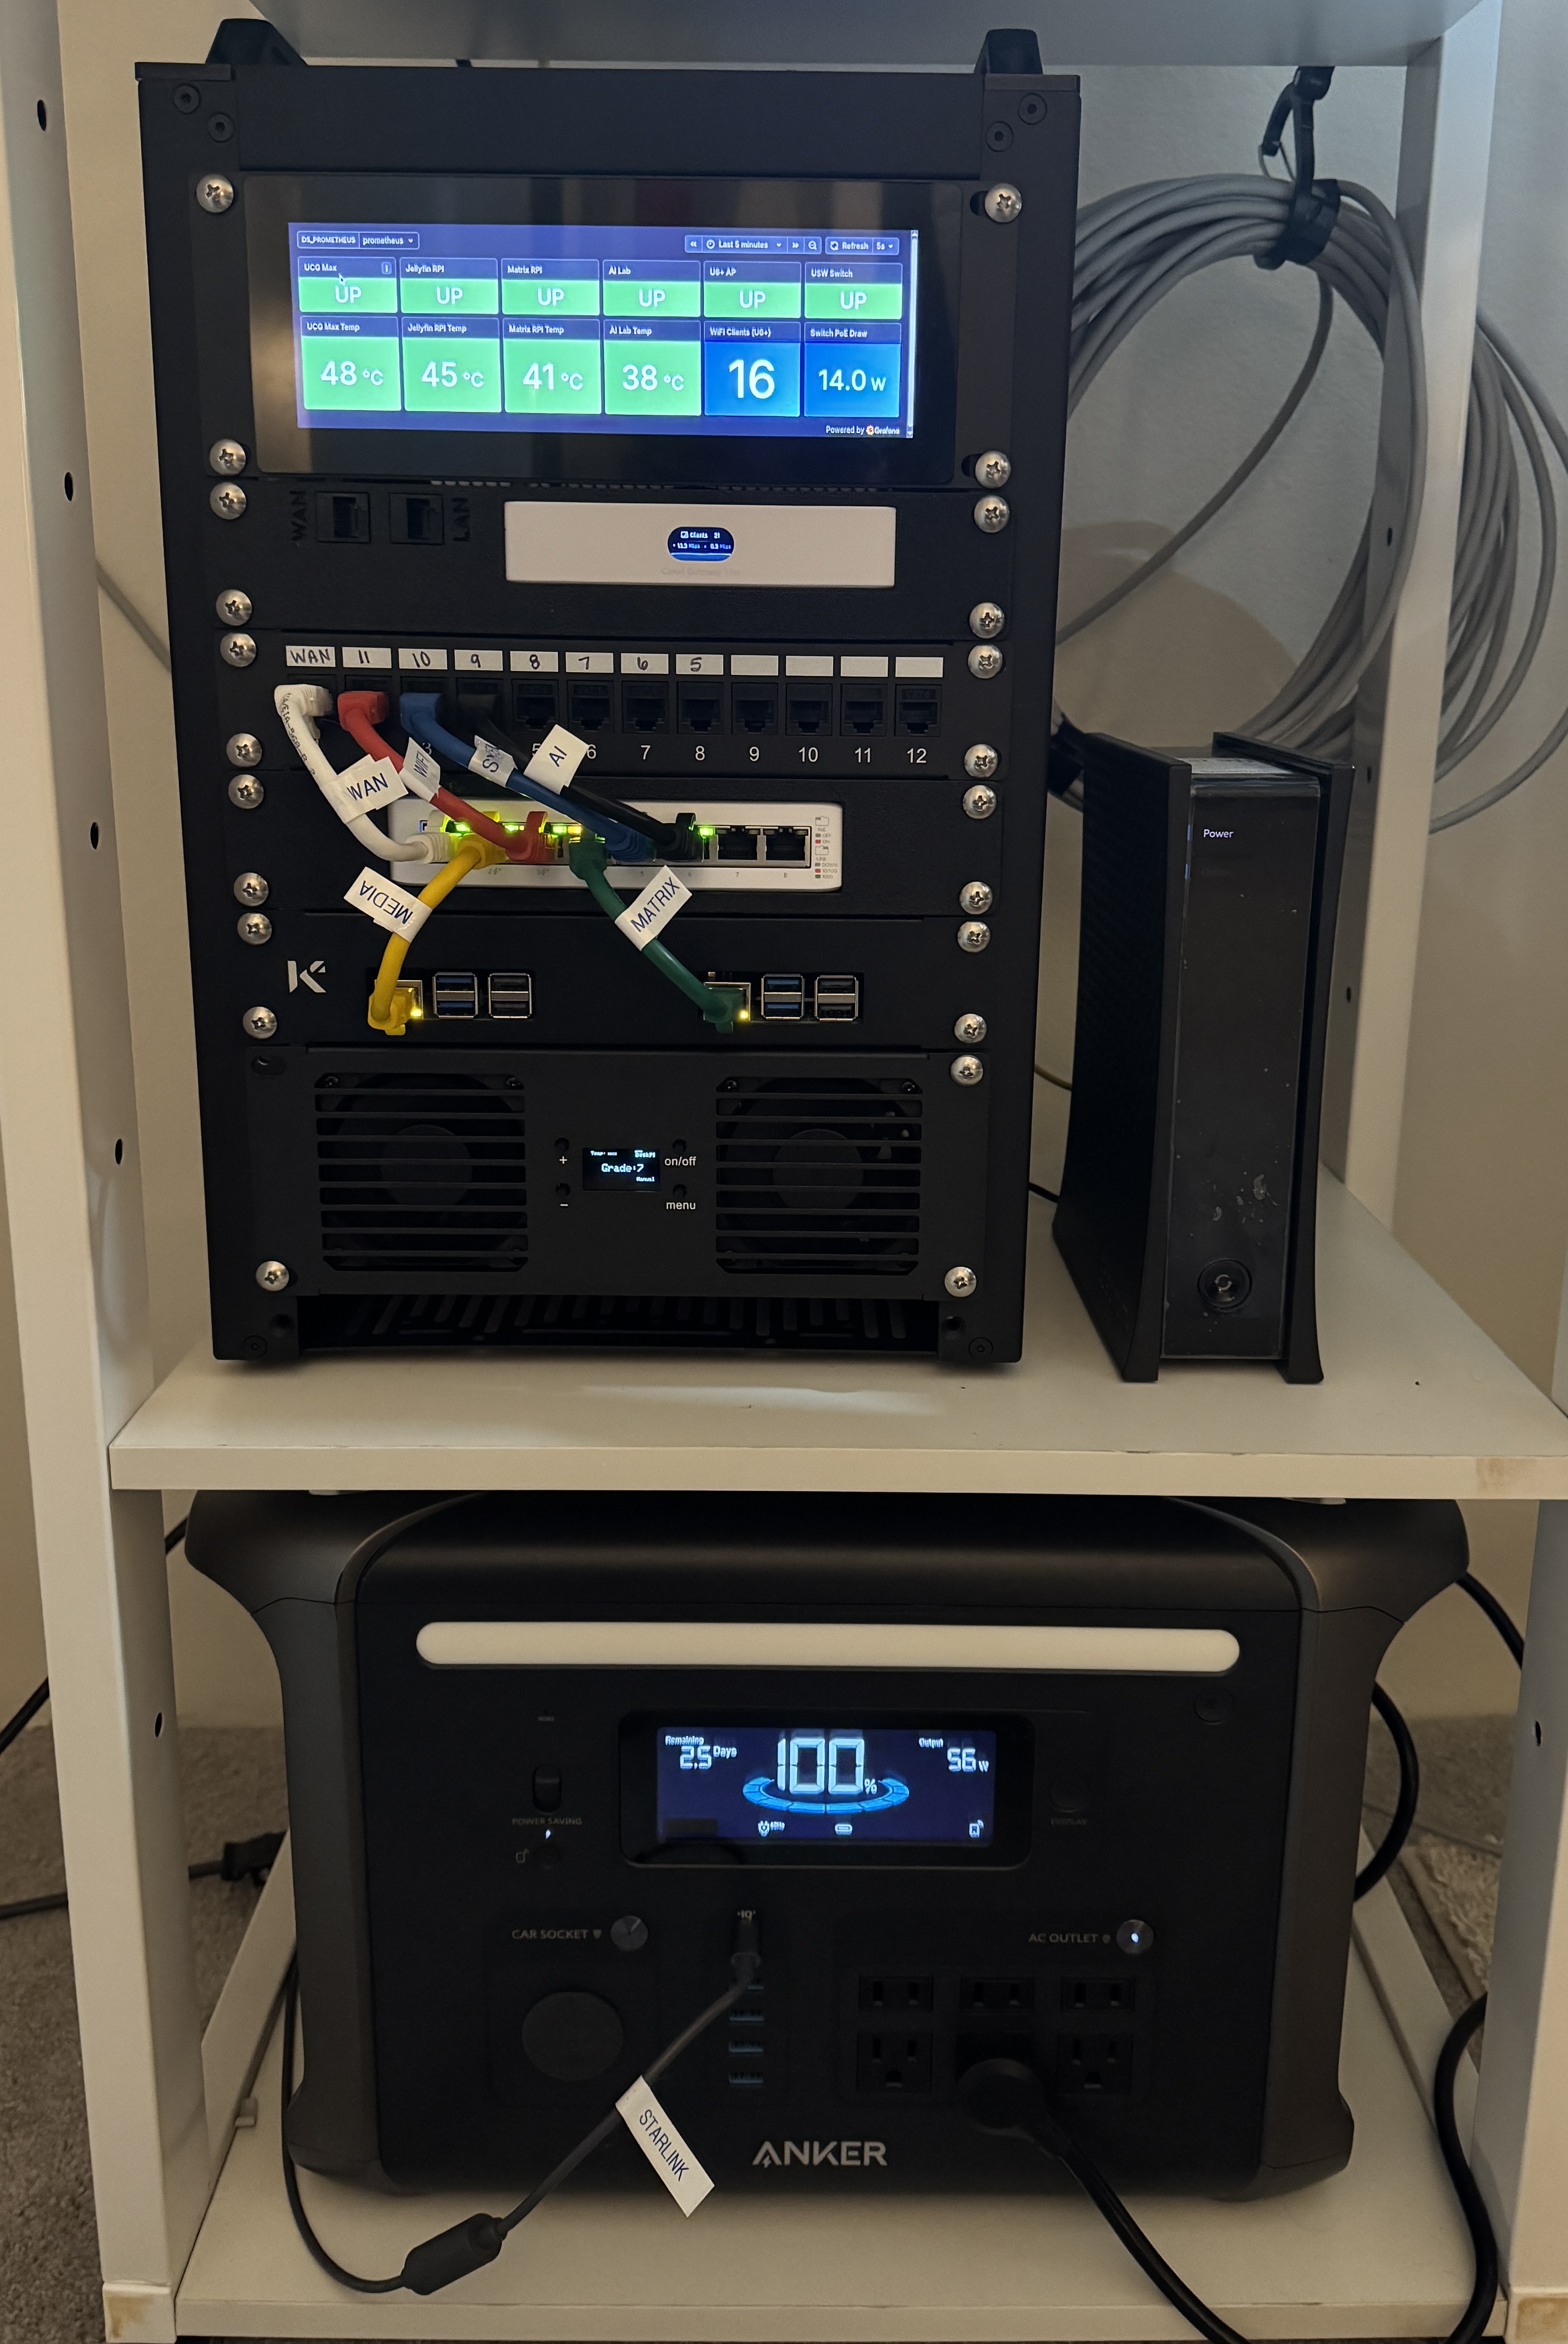
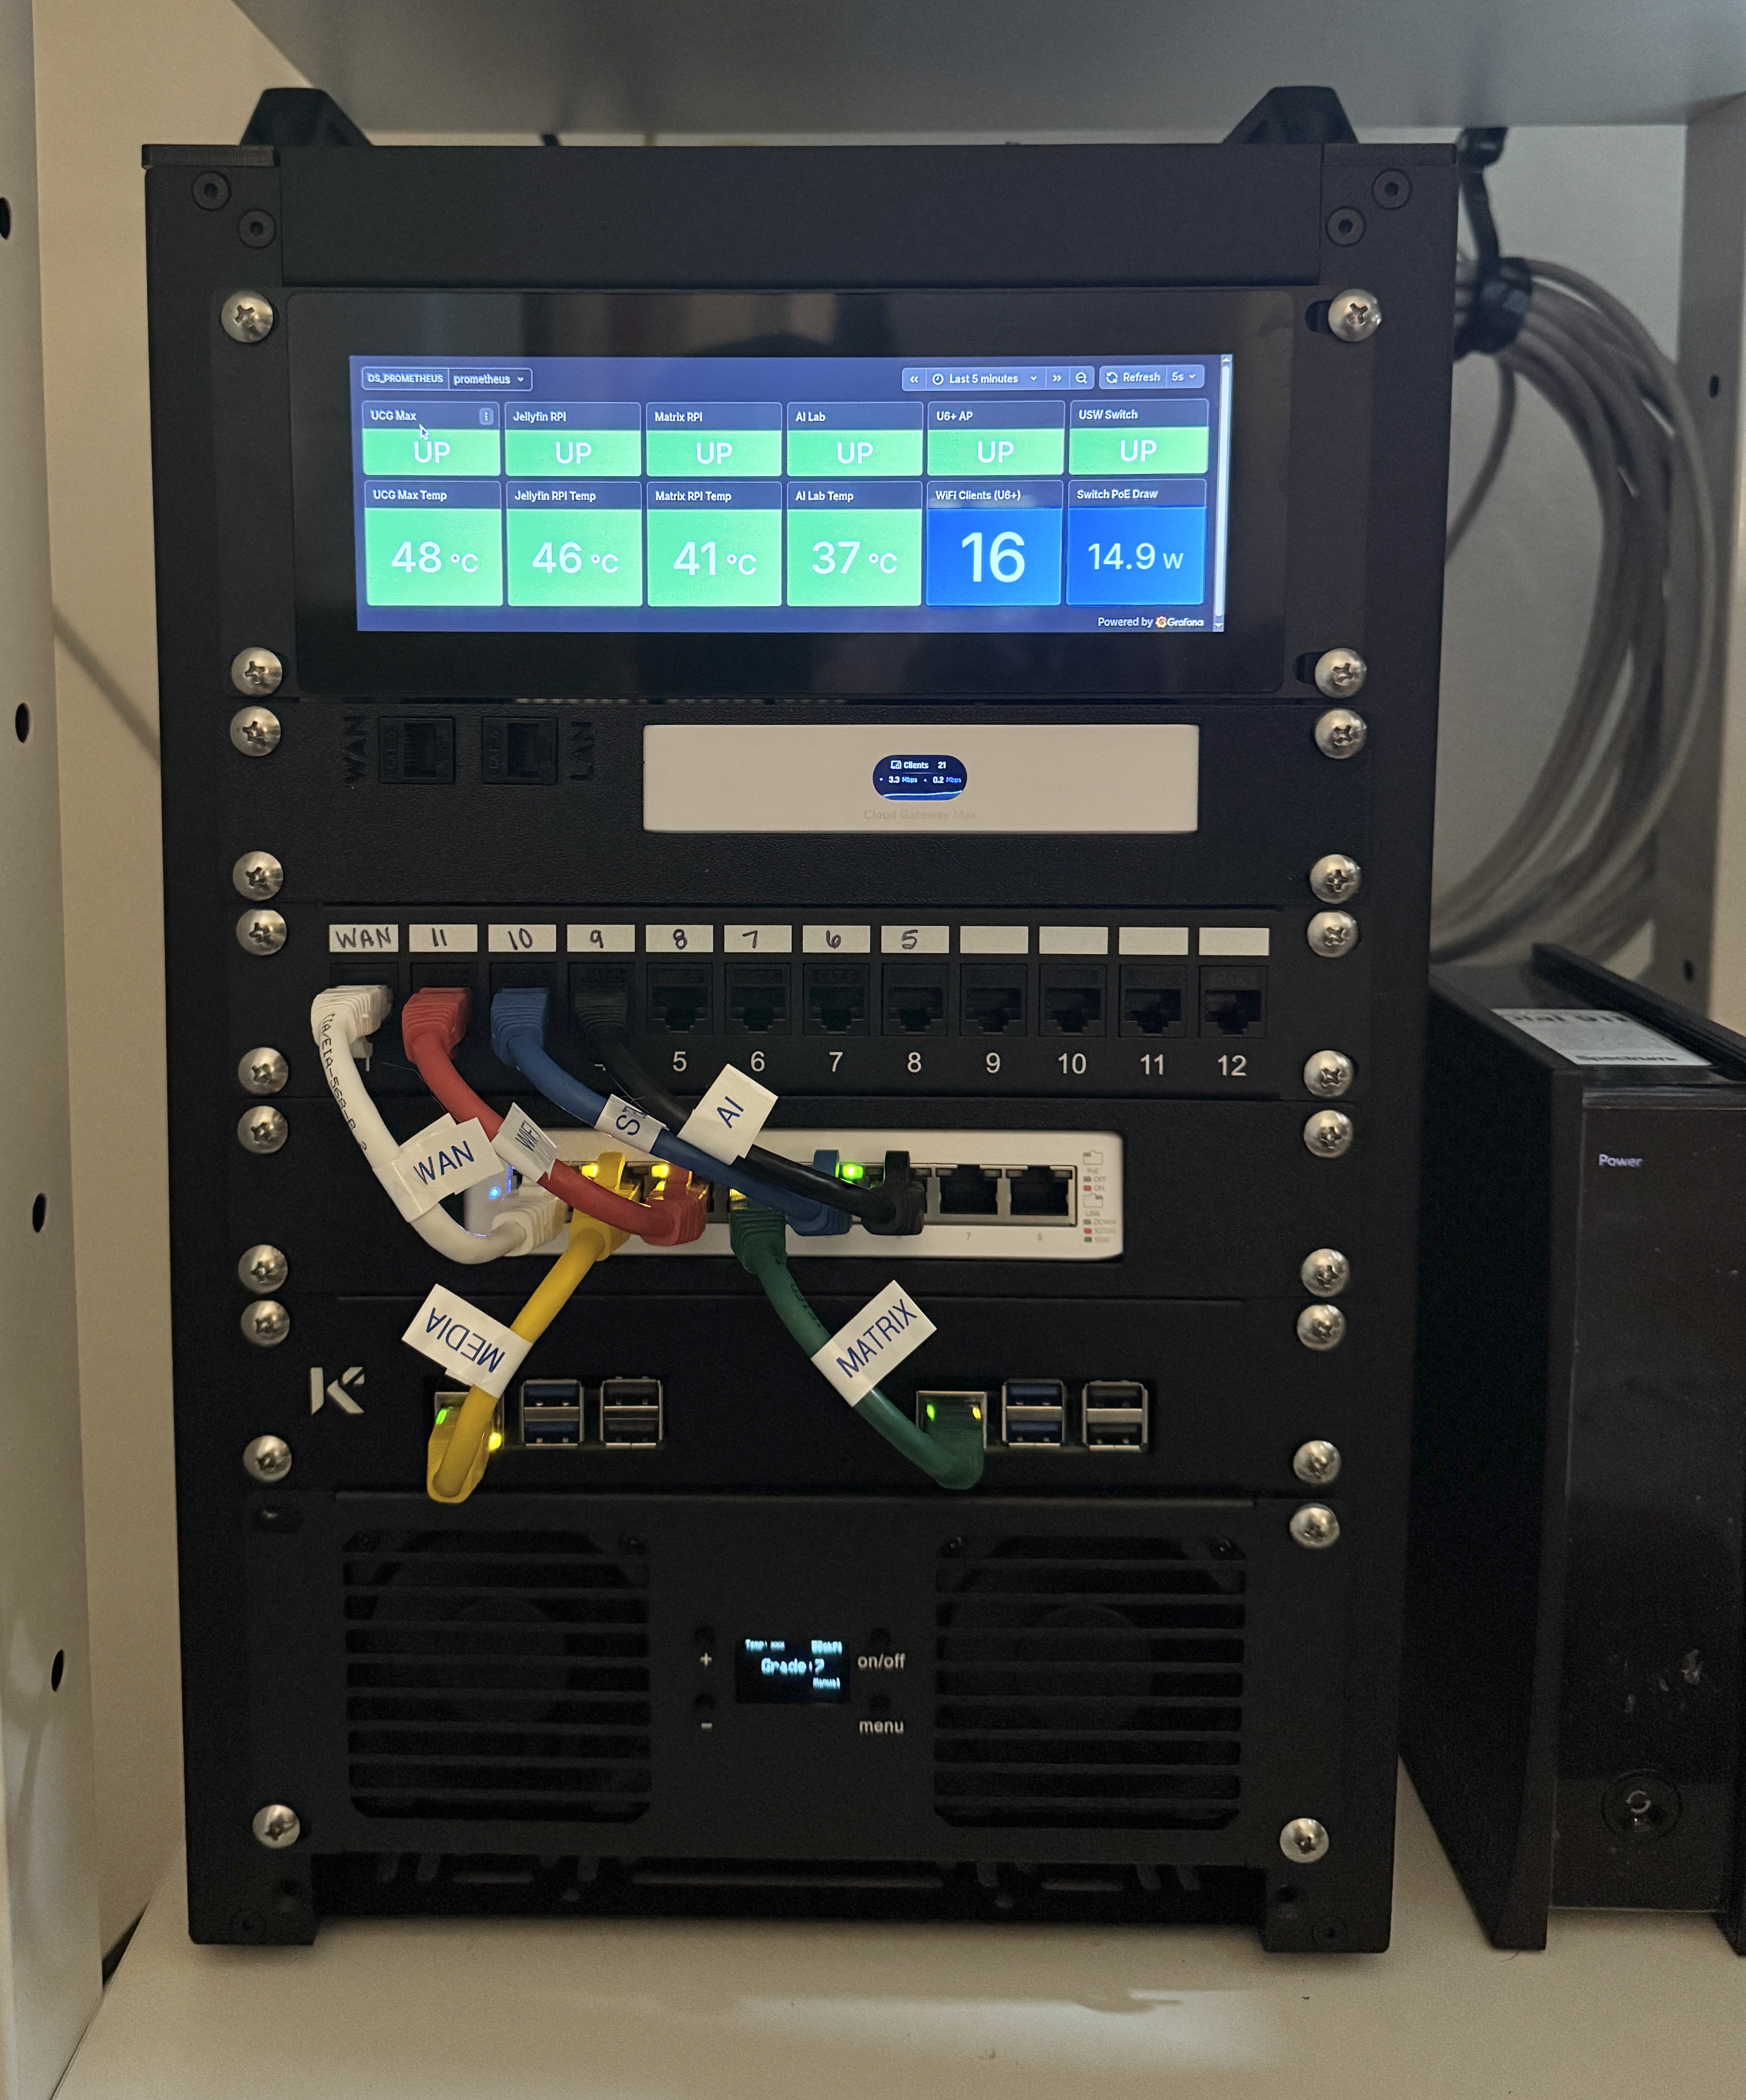
After
Before
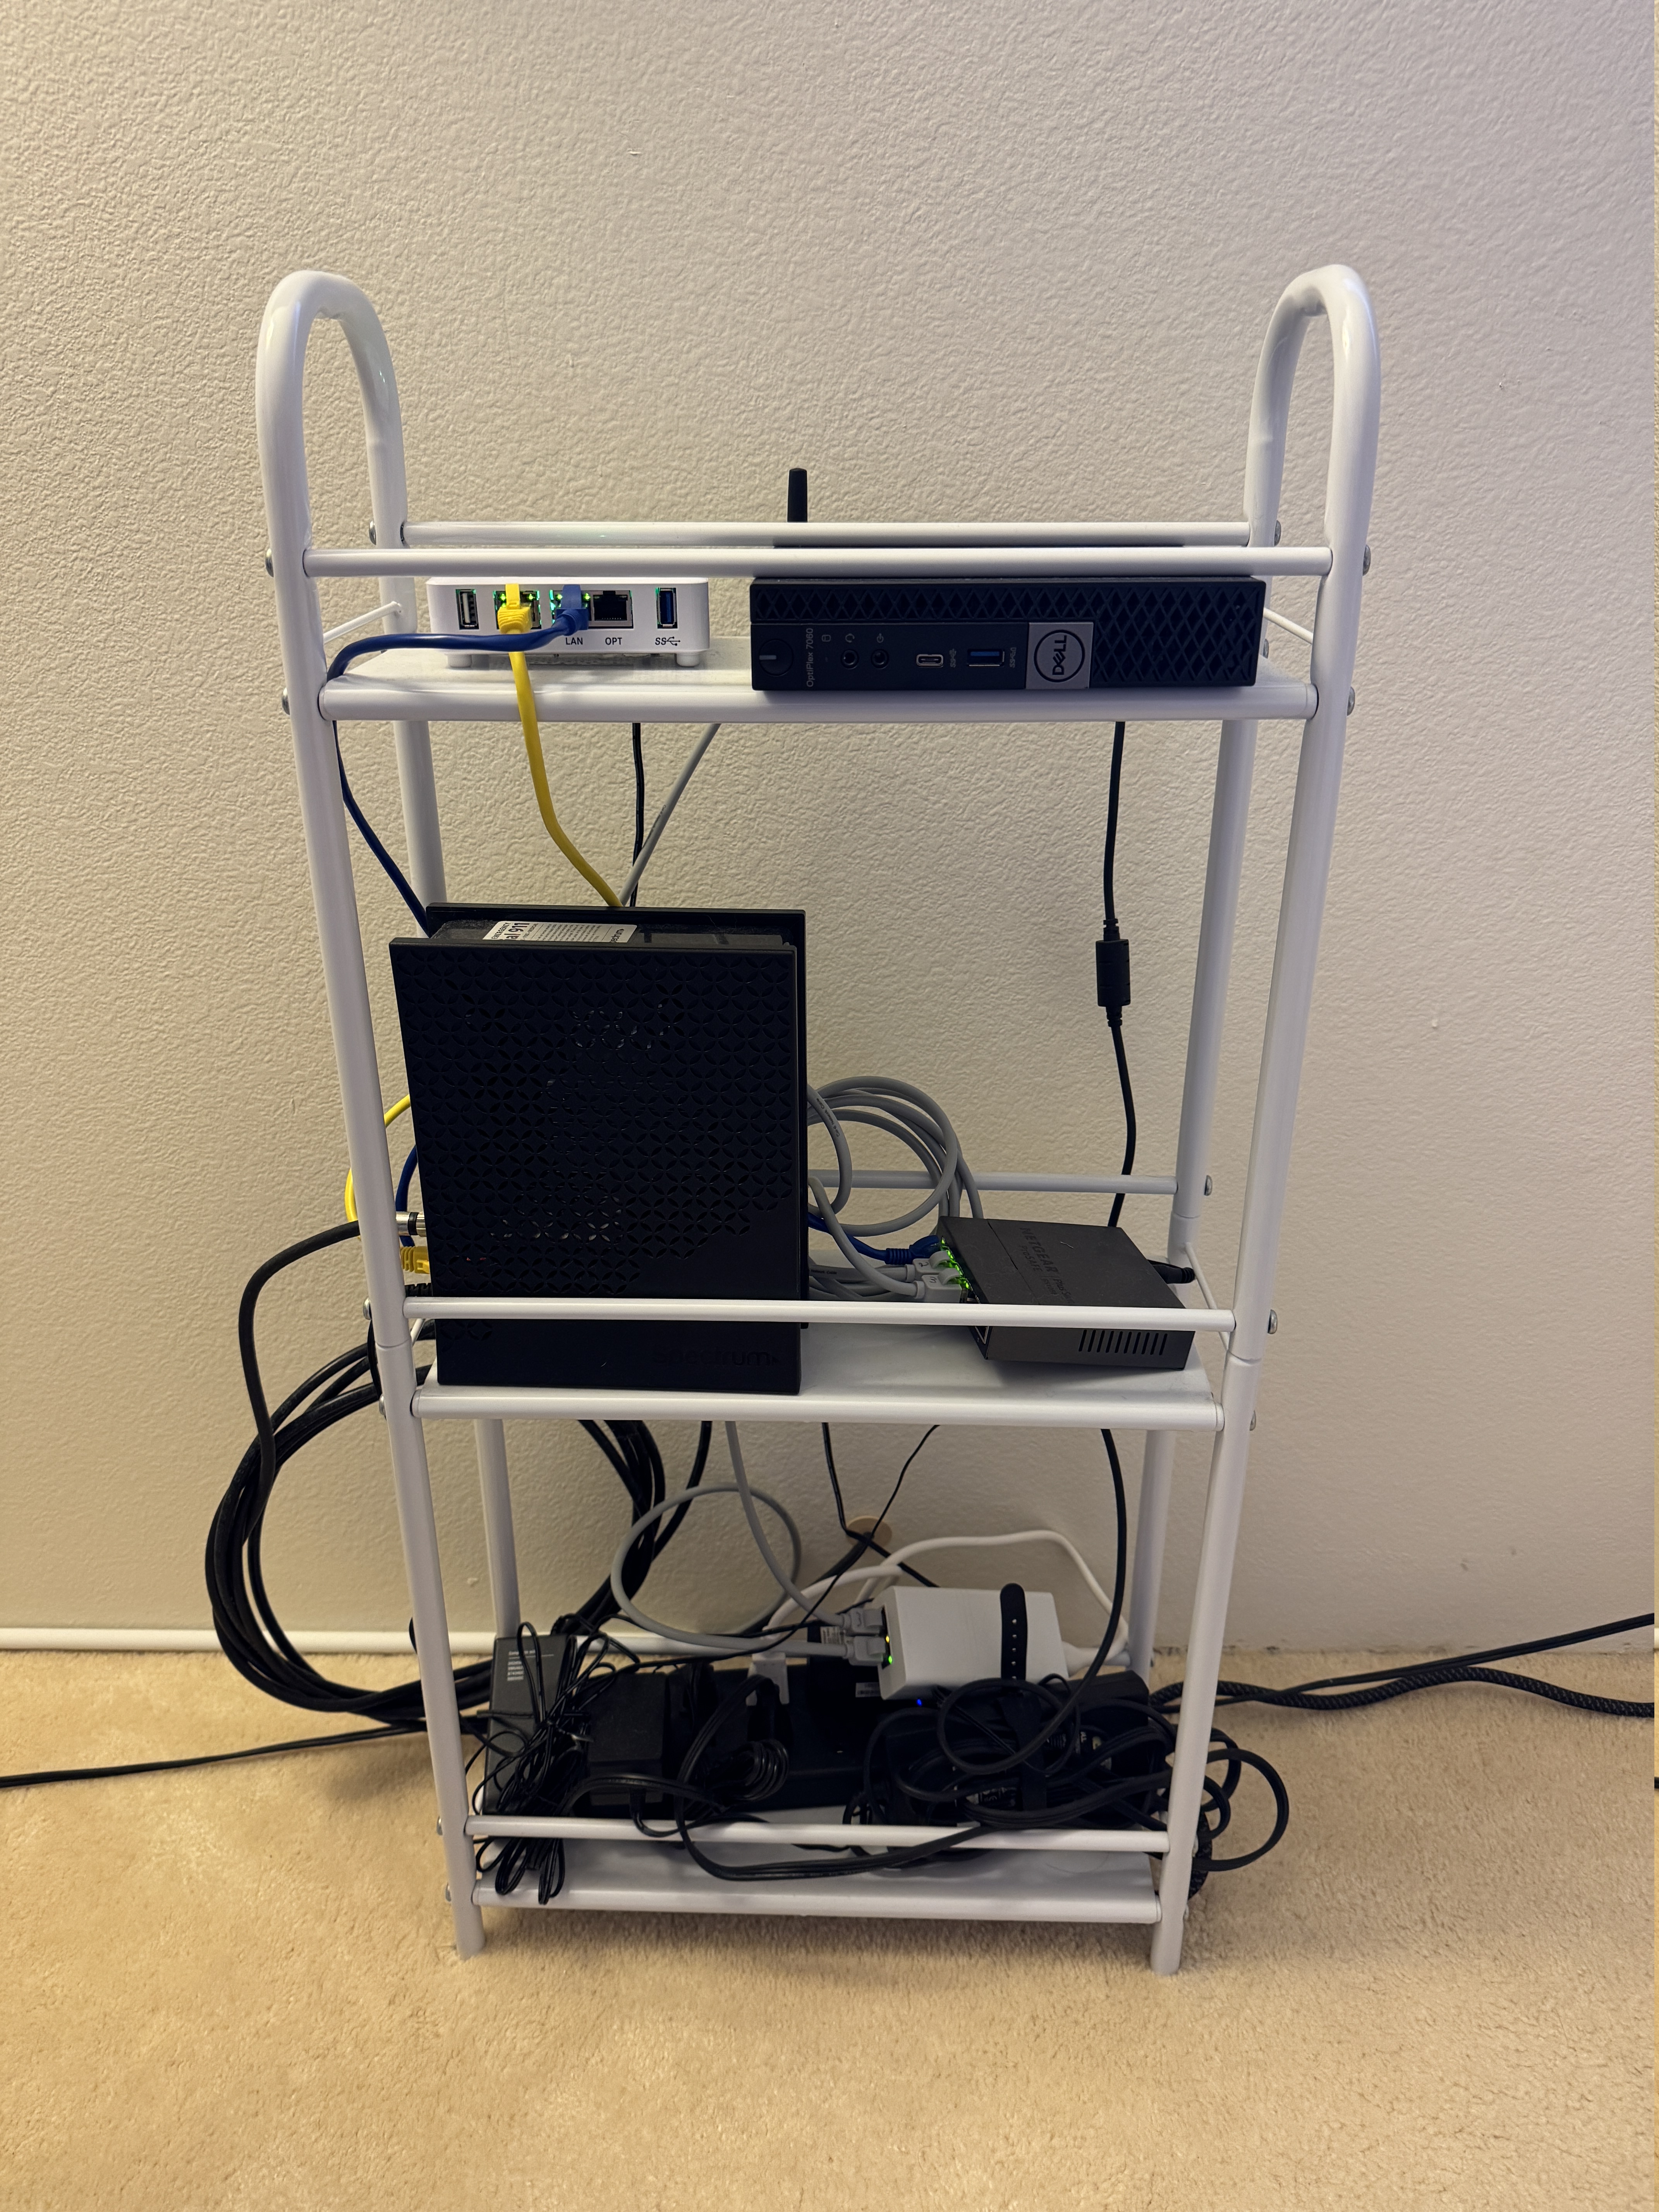
The original stack: a Target bathroom shelf doing double duty as a server rack, a Netgear switch, a Netgate 1100 firewall, an OptiPlex running Ubuntu for IDS/SIEM work, and a PoE injector for the Unifi AP. Functional, but not exactly something I'd want to pack up and move.
Hardware
Compute & Network Core
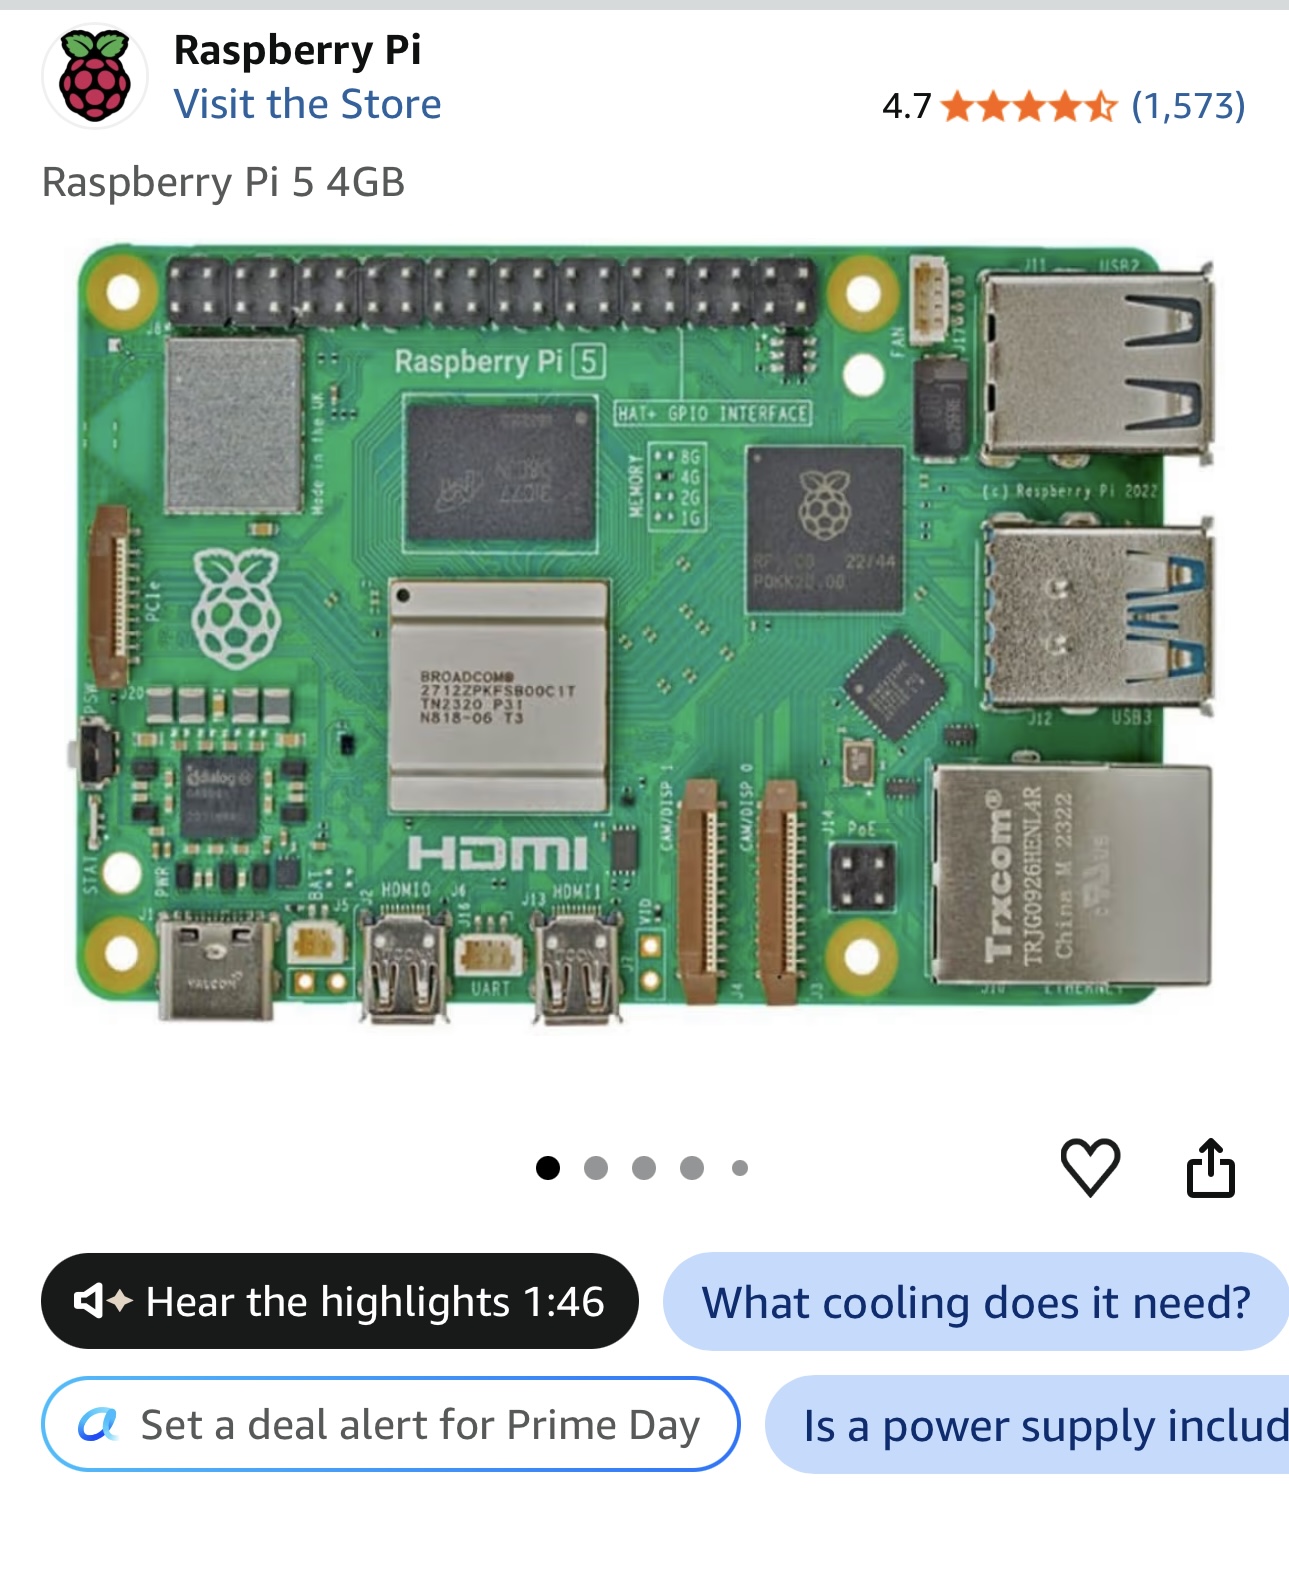
Raspberry Pi 5 (x2) —
Amazon
Running Jellyfin and my self-hosted Matrix homeserver.
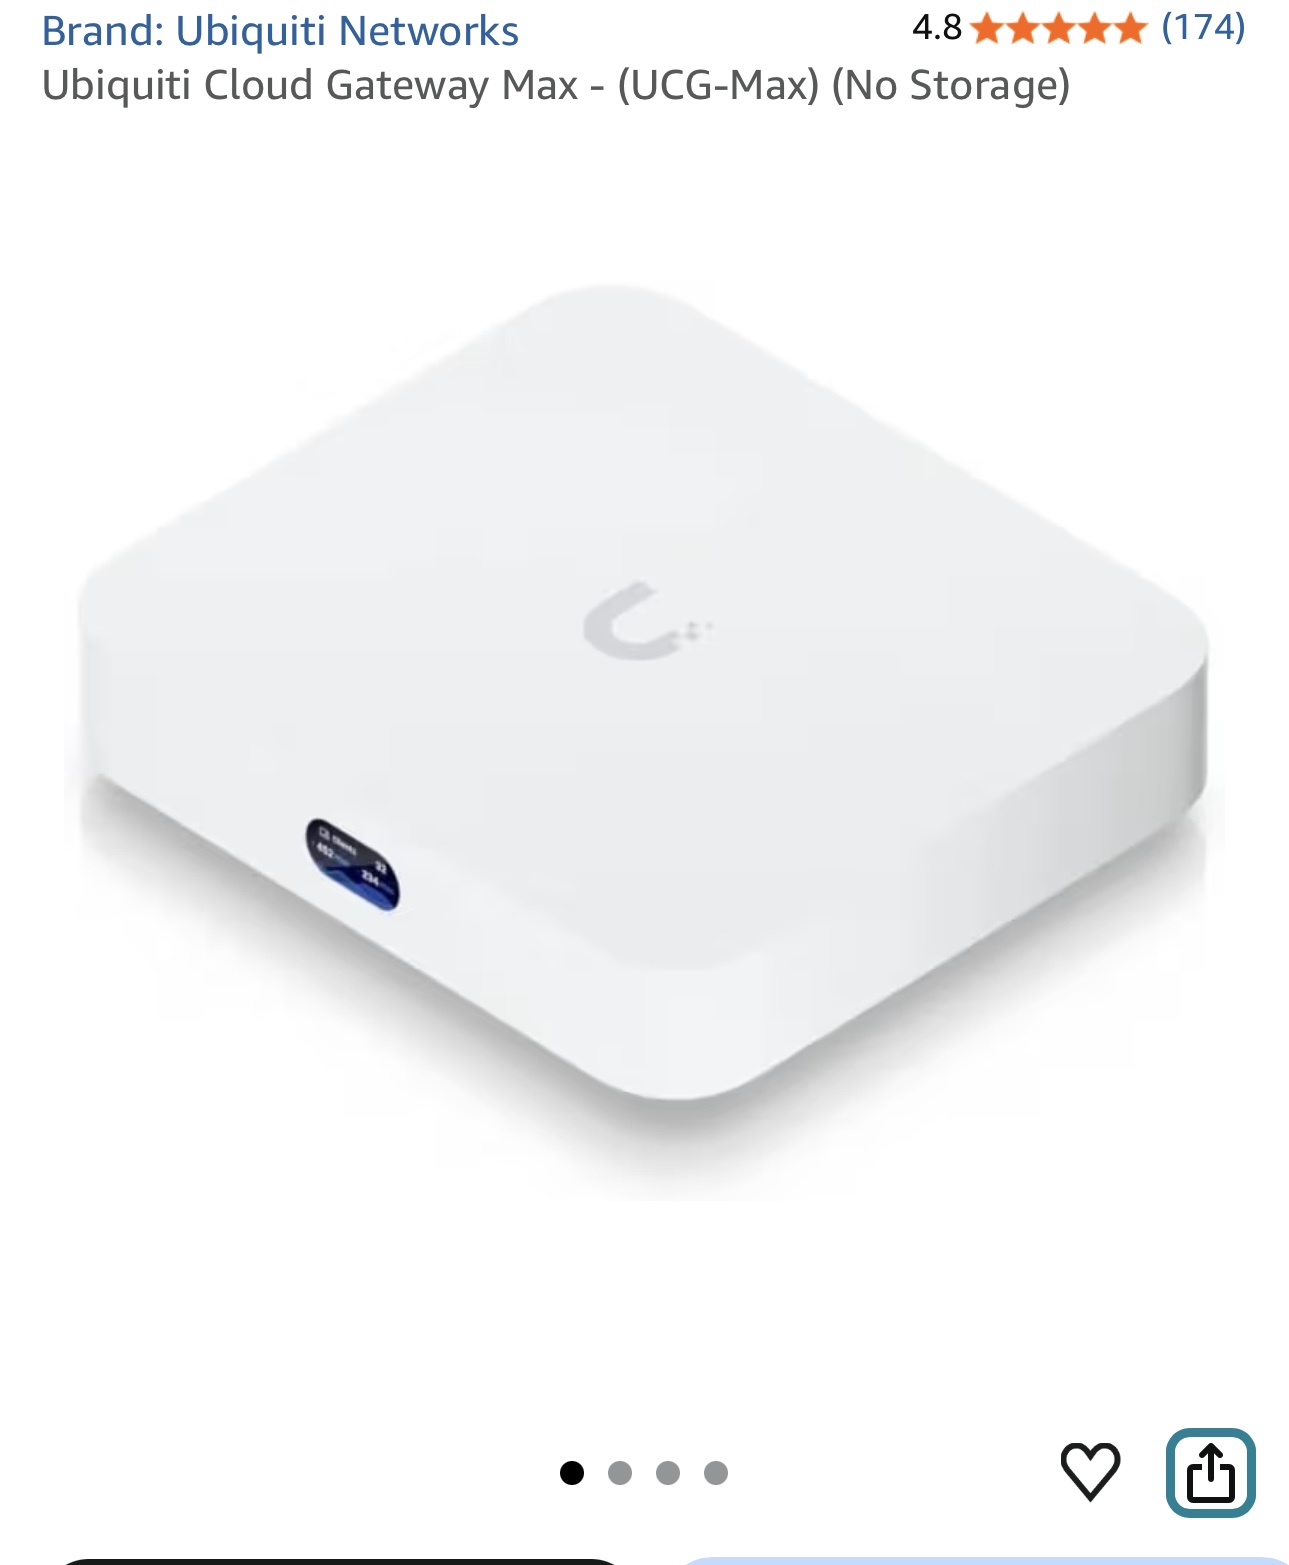
Ubiquiti Cloud Gateway Max (UCG-Max) —
Amazon
I wanted dual WAN support, and honestly I've just come to really
appreciate how simple the UniFi ecosystem makes network management.
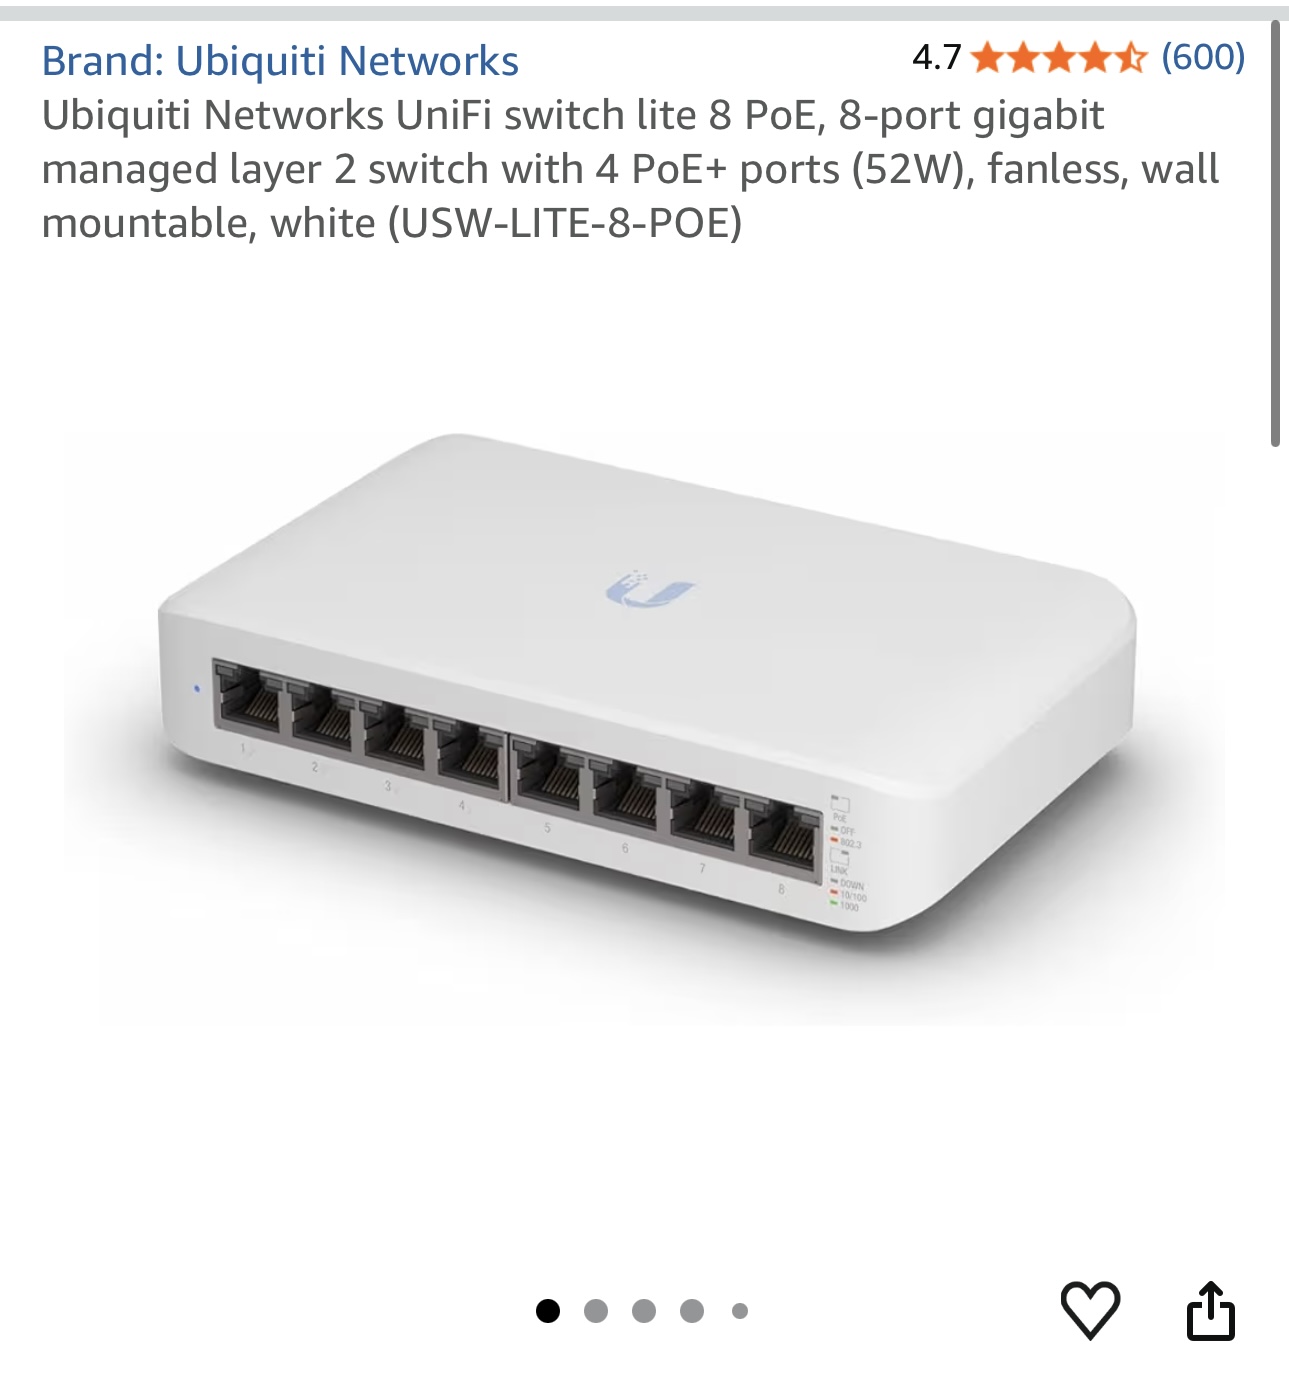
Ubiquiti UniFi Switch Lite 8 PoE —
Amazon
Picked for its compact footprint and PoE output, which powers both my
access point and one of the Pis.
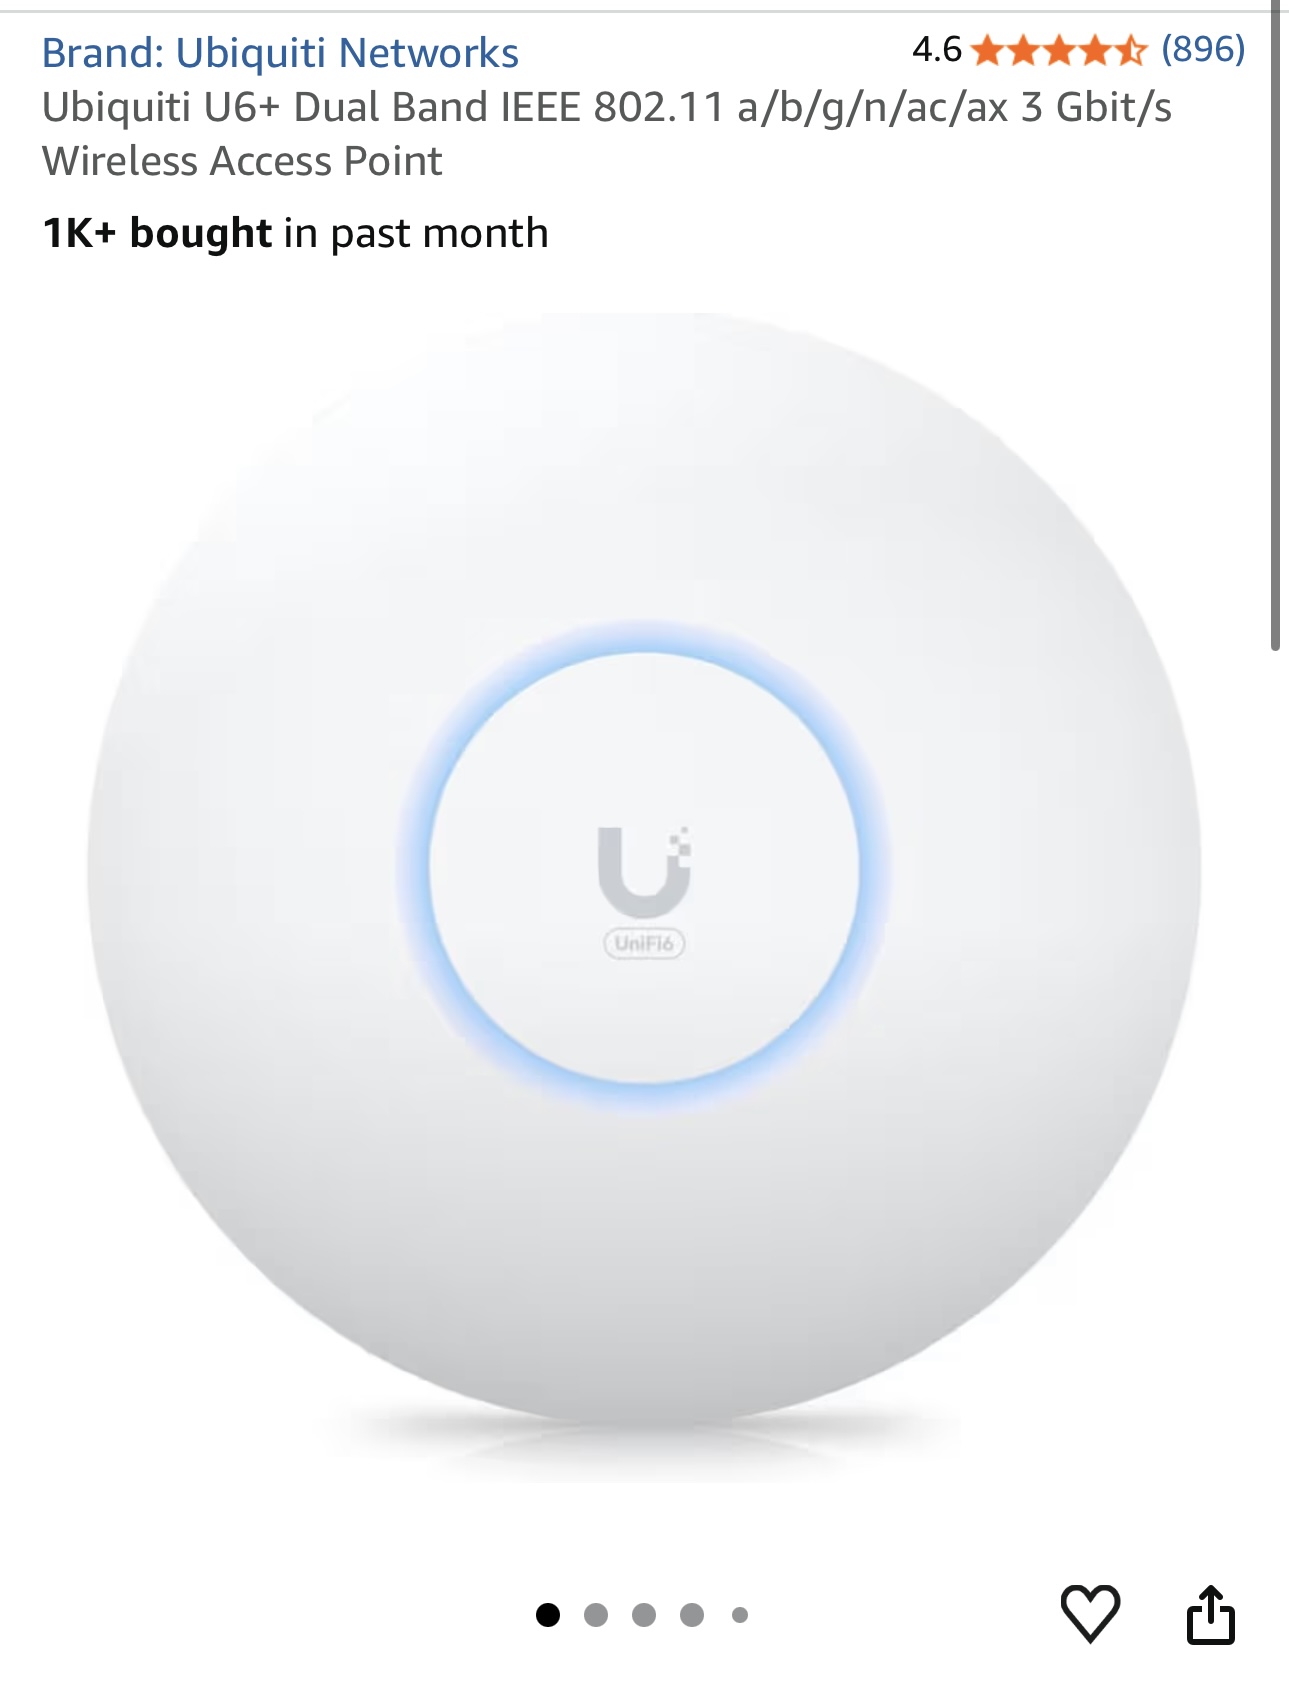
Ubiquiti U6+ Access Point —
Amazon
Solid performer. If I did it again, I'd probably go with a model that
has dedicated WiFi 6 bands and a wall-mount option instead of
ceiling-mount — but overall I have no complaints about performance.
Monitoring & Power
7.84" Touchscreen Rack Display —
Amazon
A touchscreen panel sized perfectly for the rack, used for at-a-glance
monitoring.

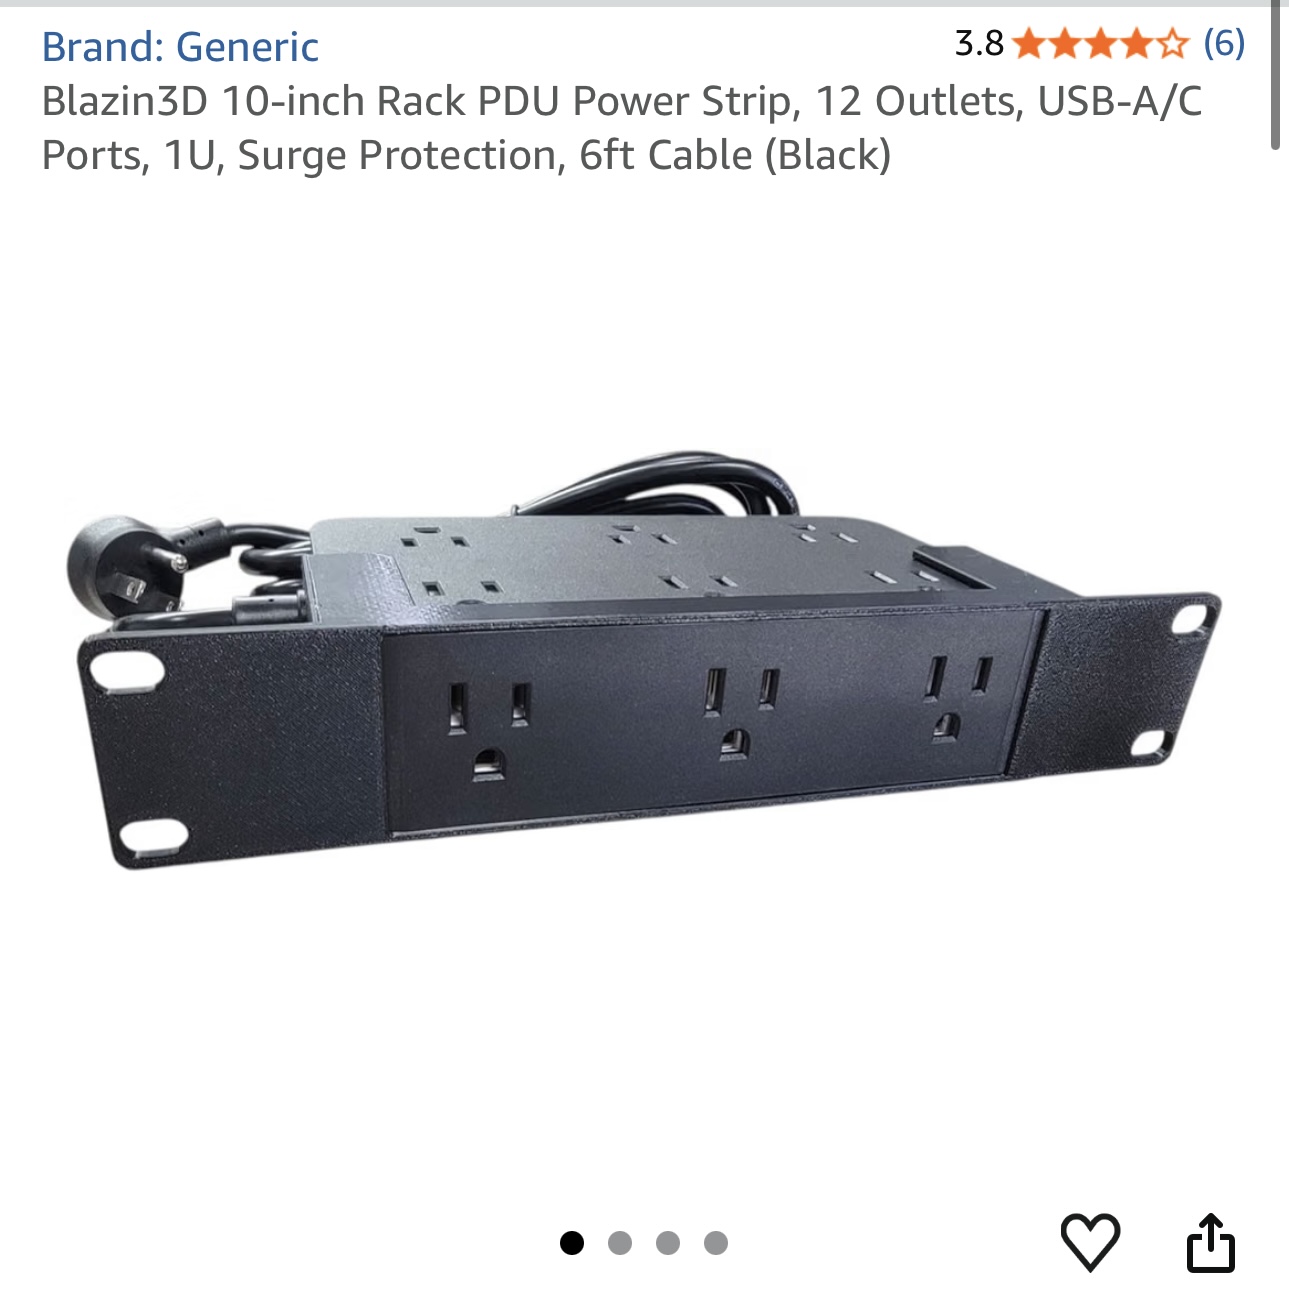
Rack PDU — Amazon
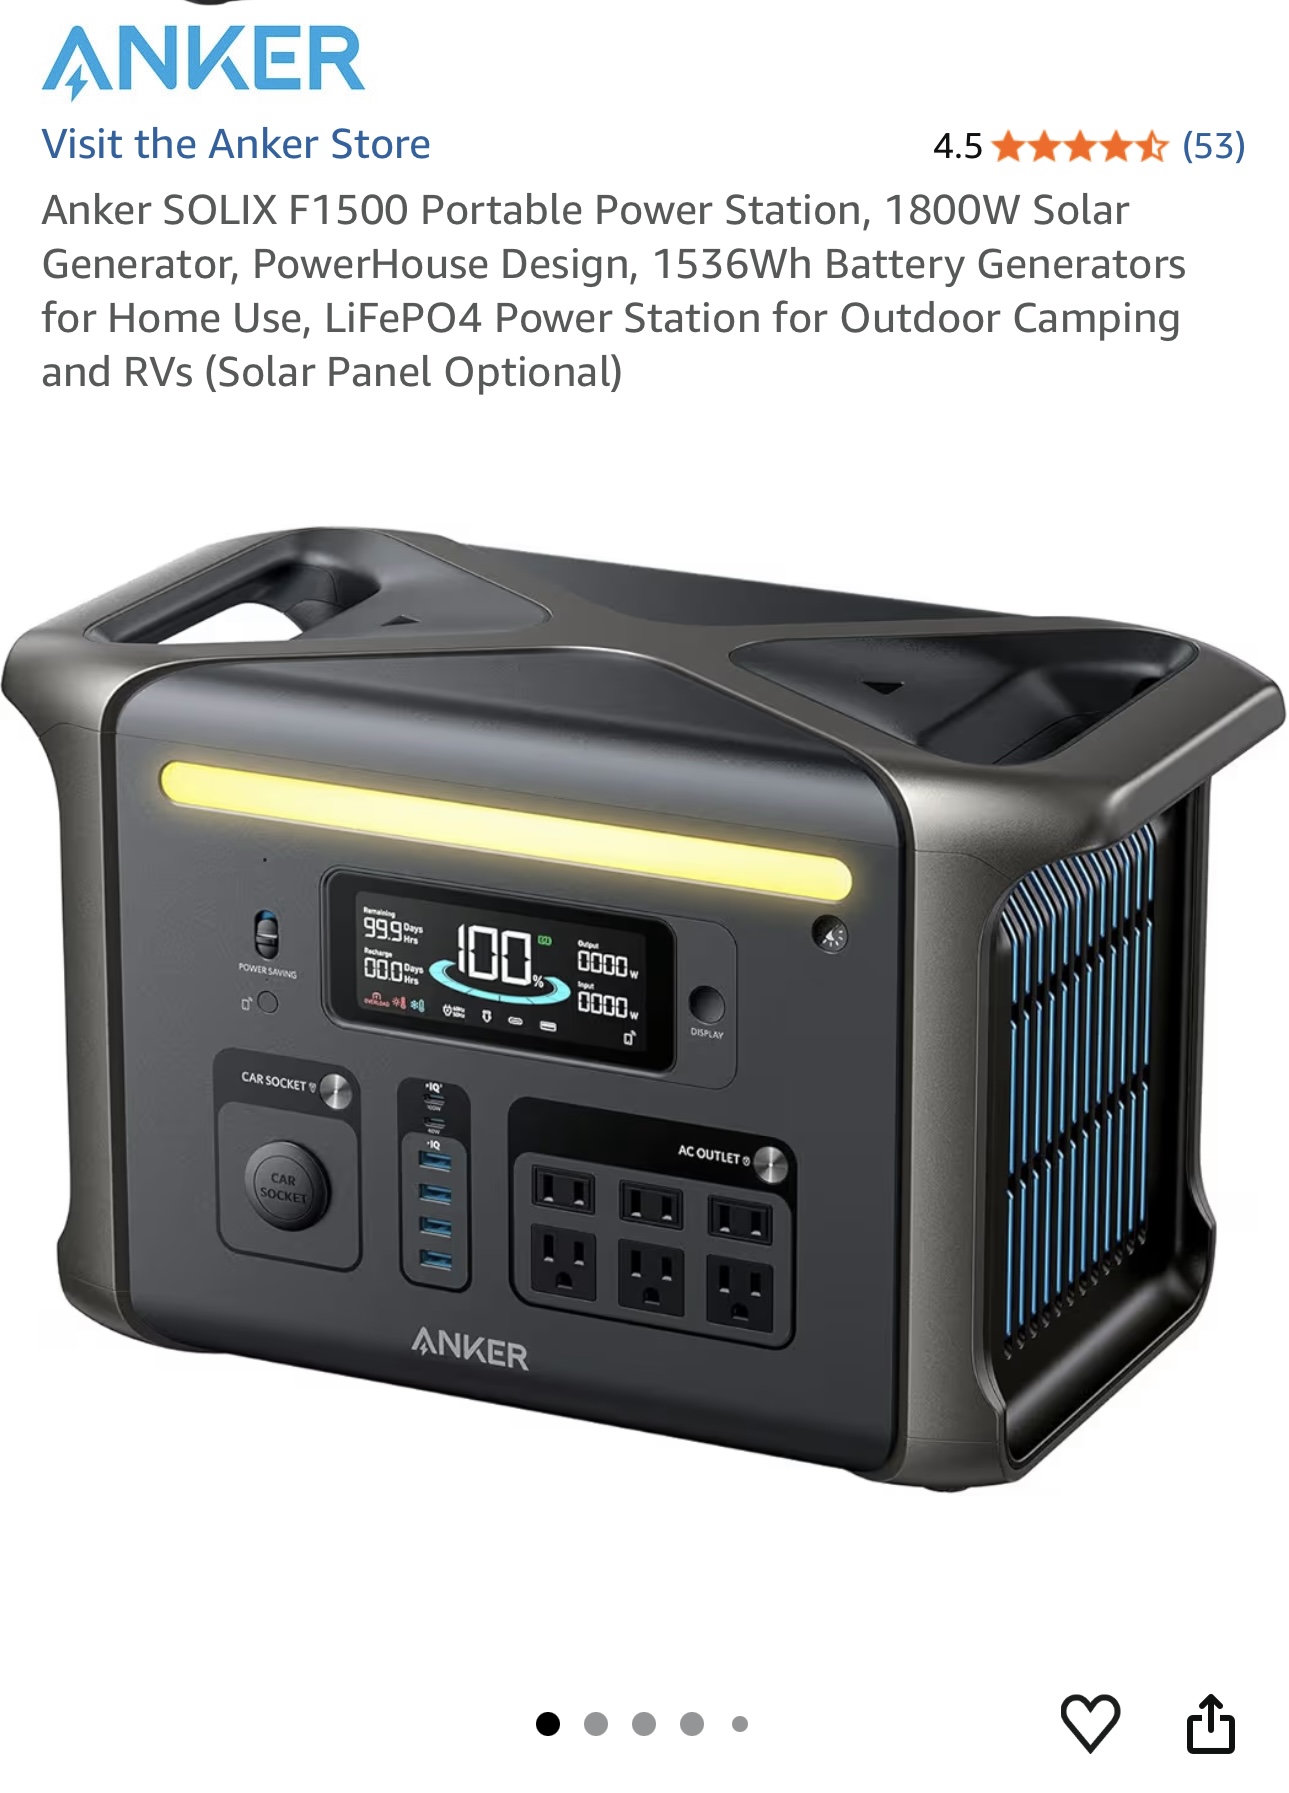
Anker SOLIX Portable Power Station —
Amazon
At roughly 65W draw for the entire stack, this gives me about 8 hours of
runtime with near-instant failover, which is more than enough to ride
out a short outage without anything dropping.
Cooling
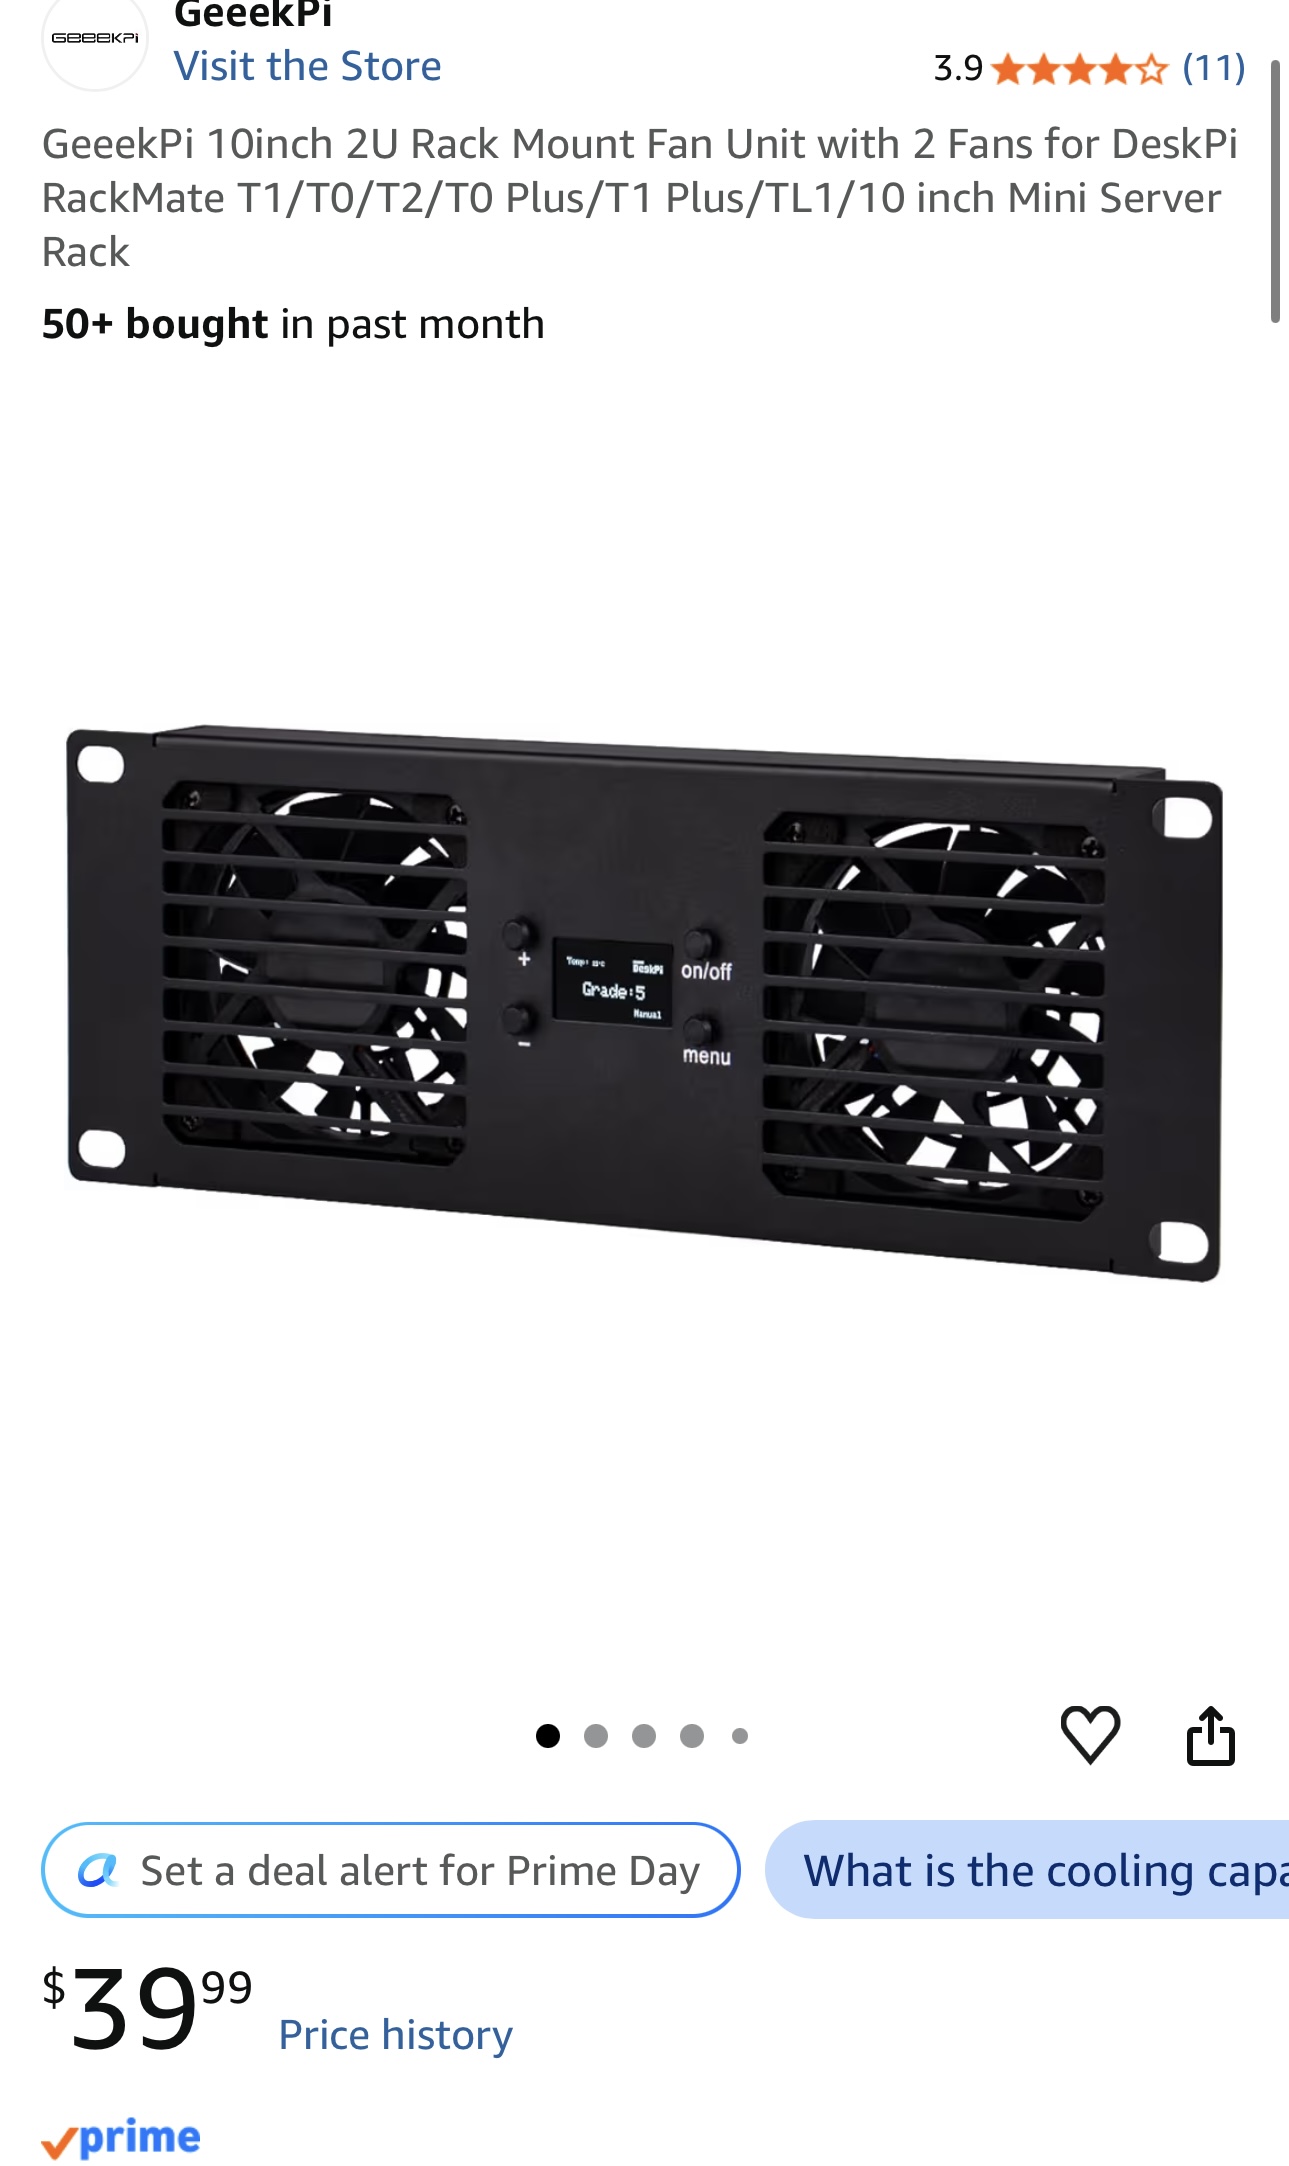
Front Intake Fan —
Amazon
Pulls cool air in from the front of the rack.
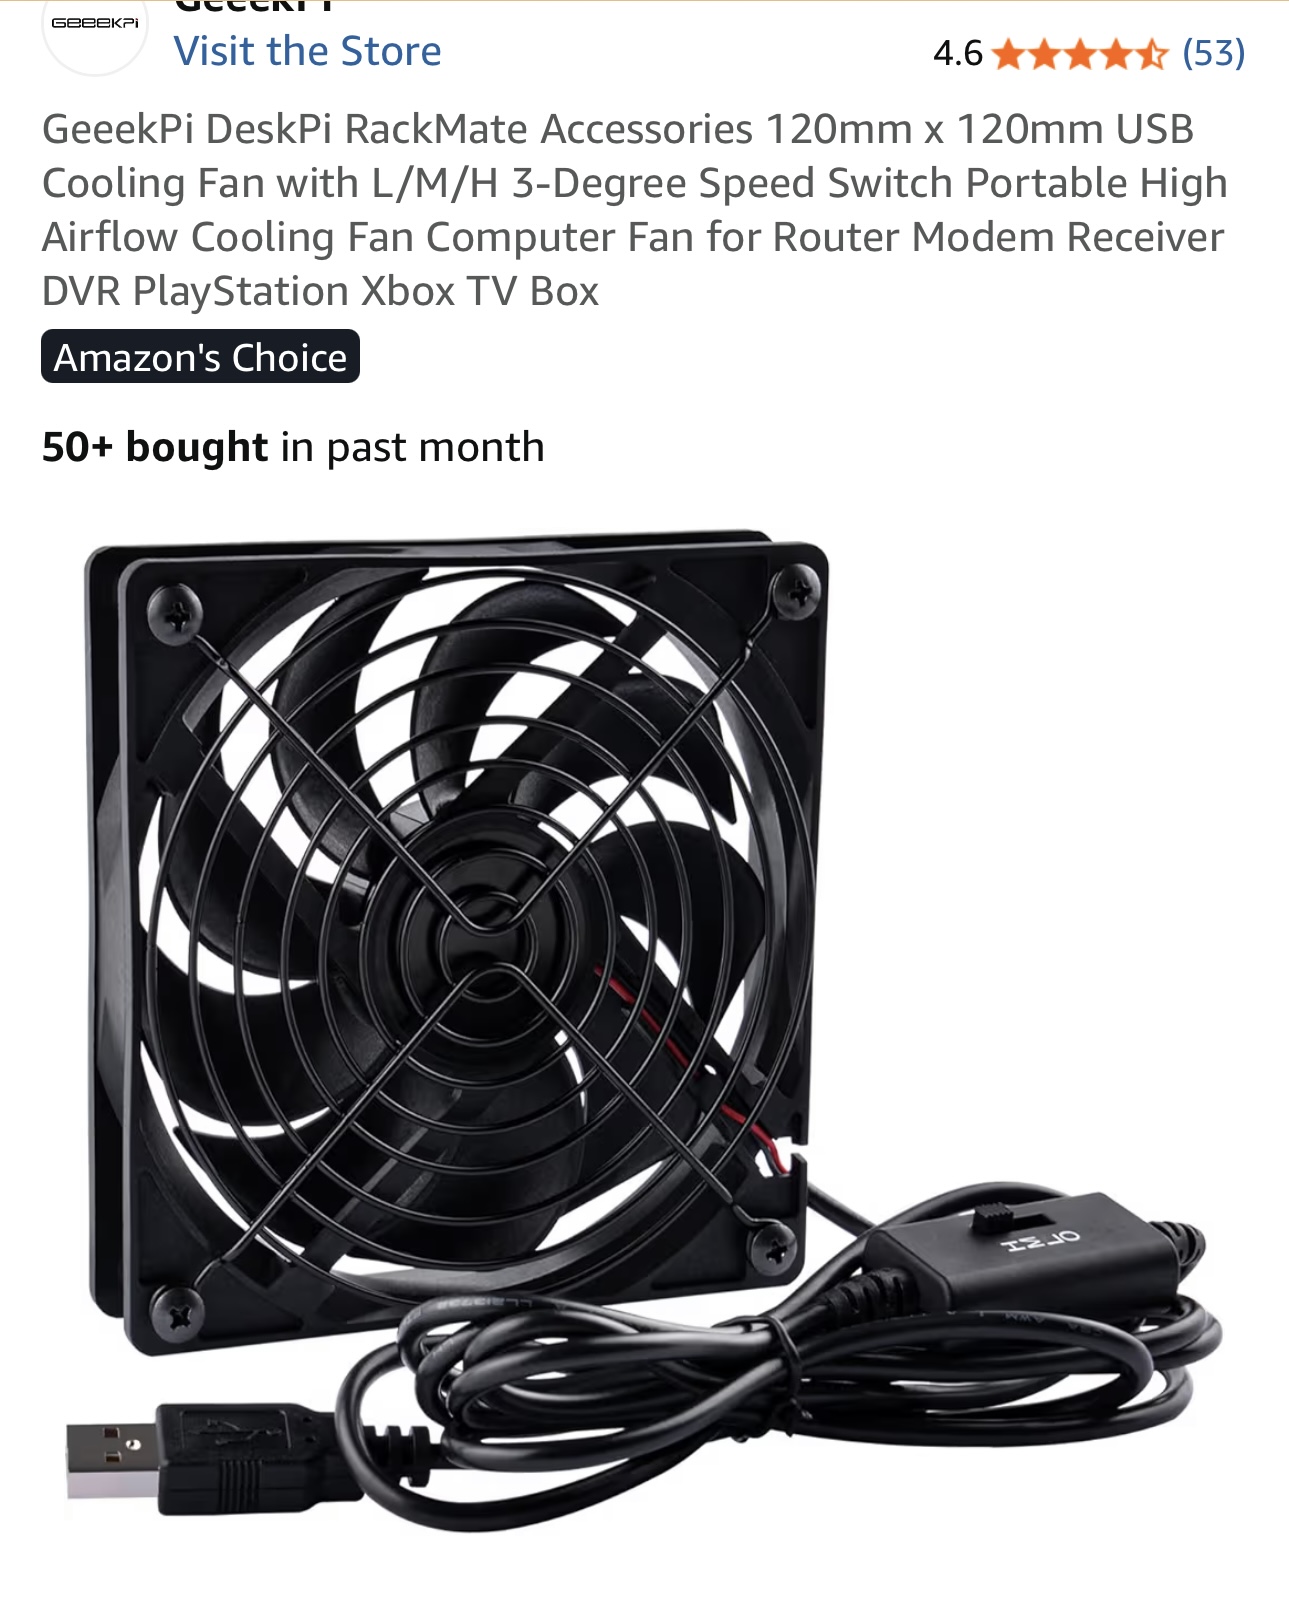
Top Exhaust Fan —
Amazon
Mounted under the top plate to push hot air up and out, completing the
front-to-top airflow path.
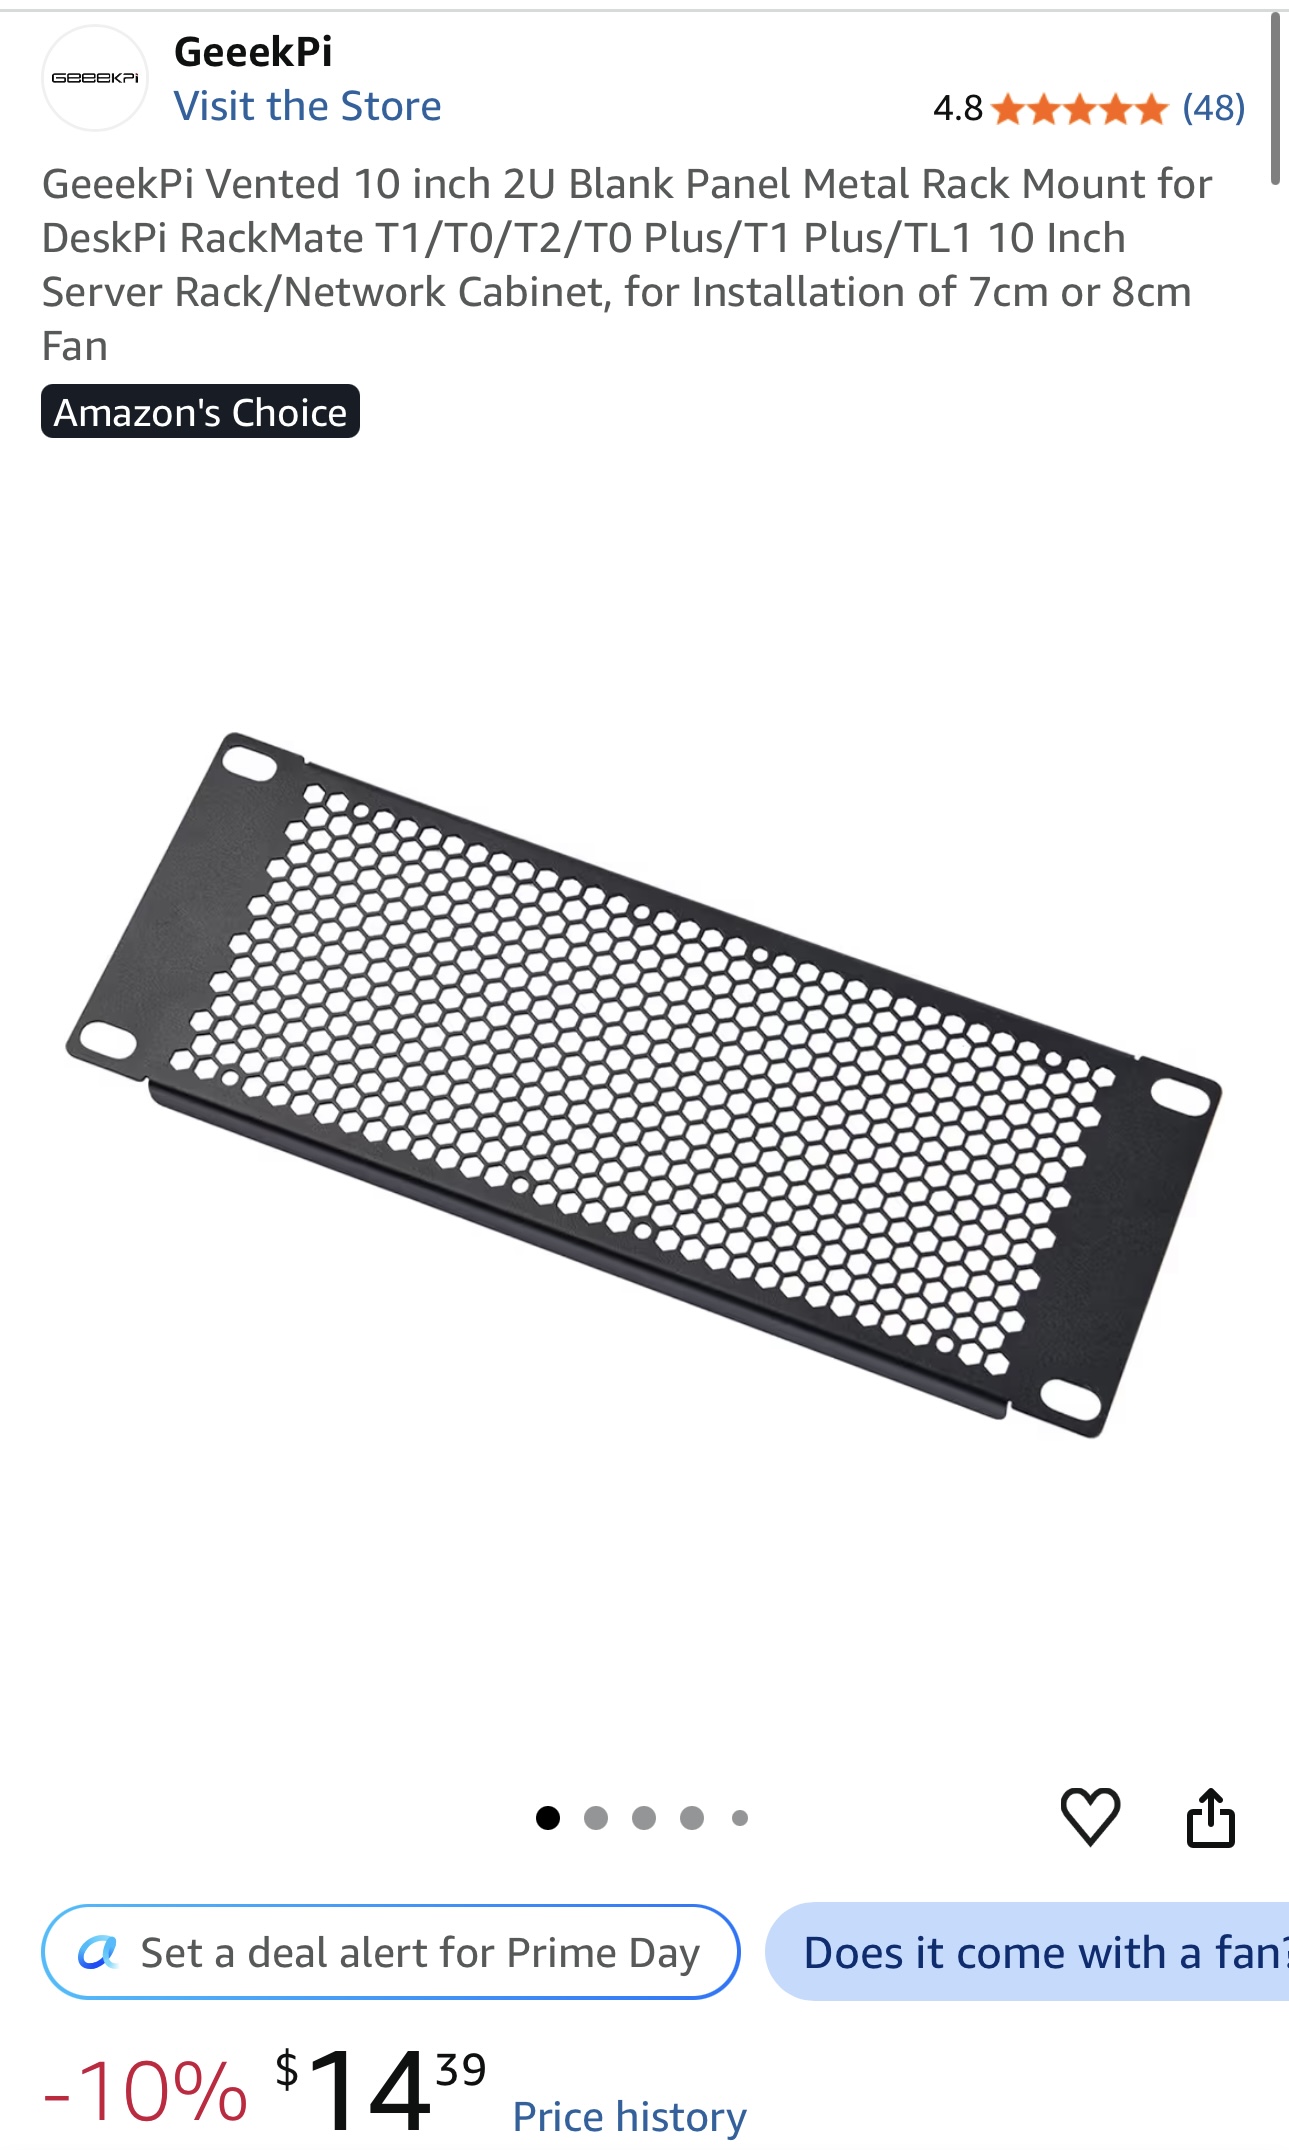
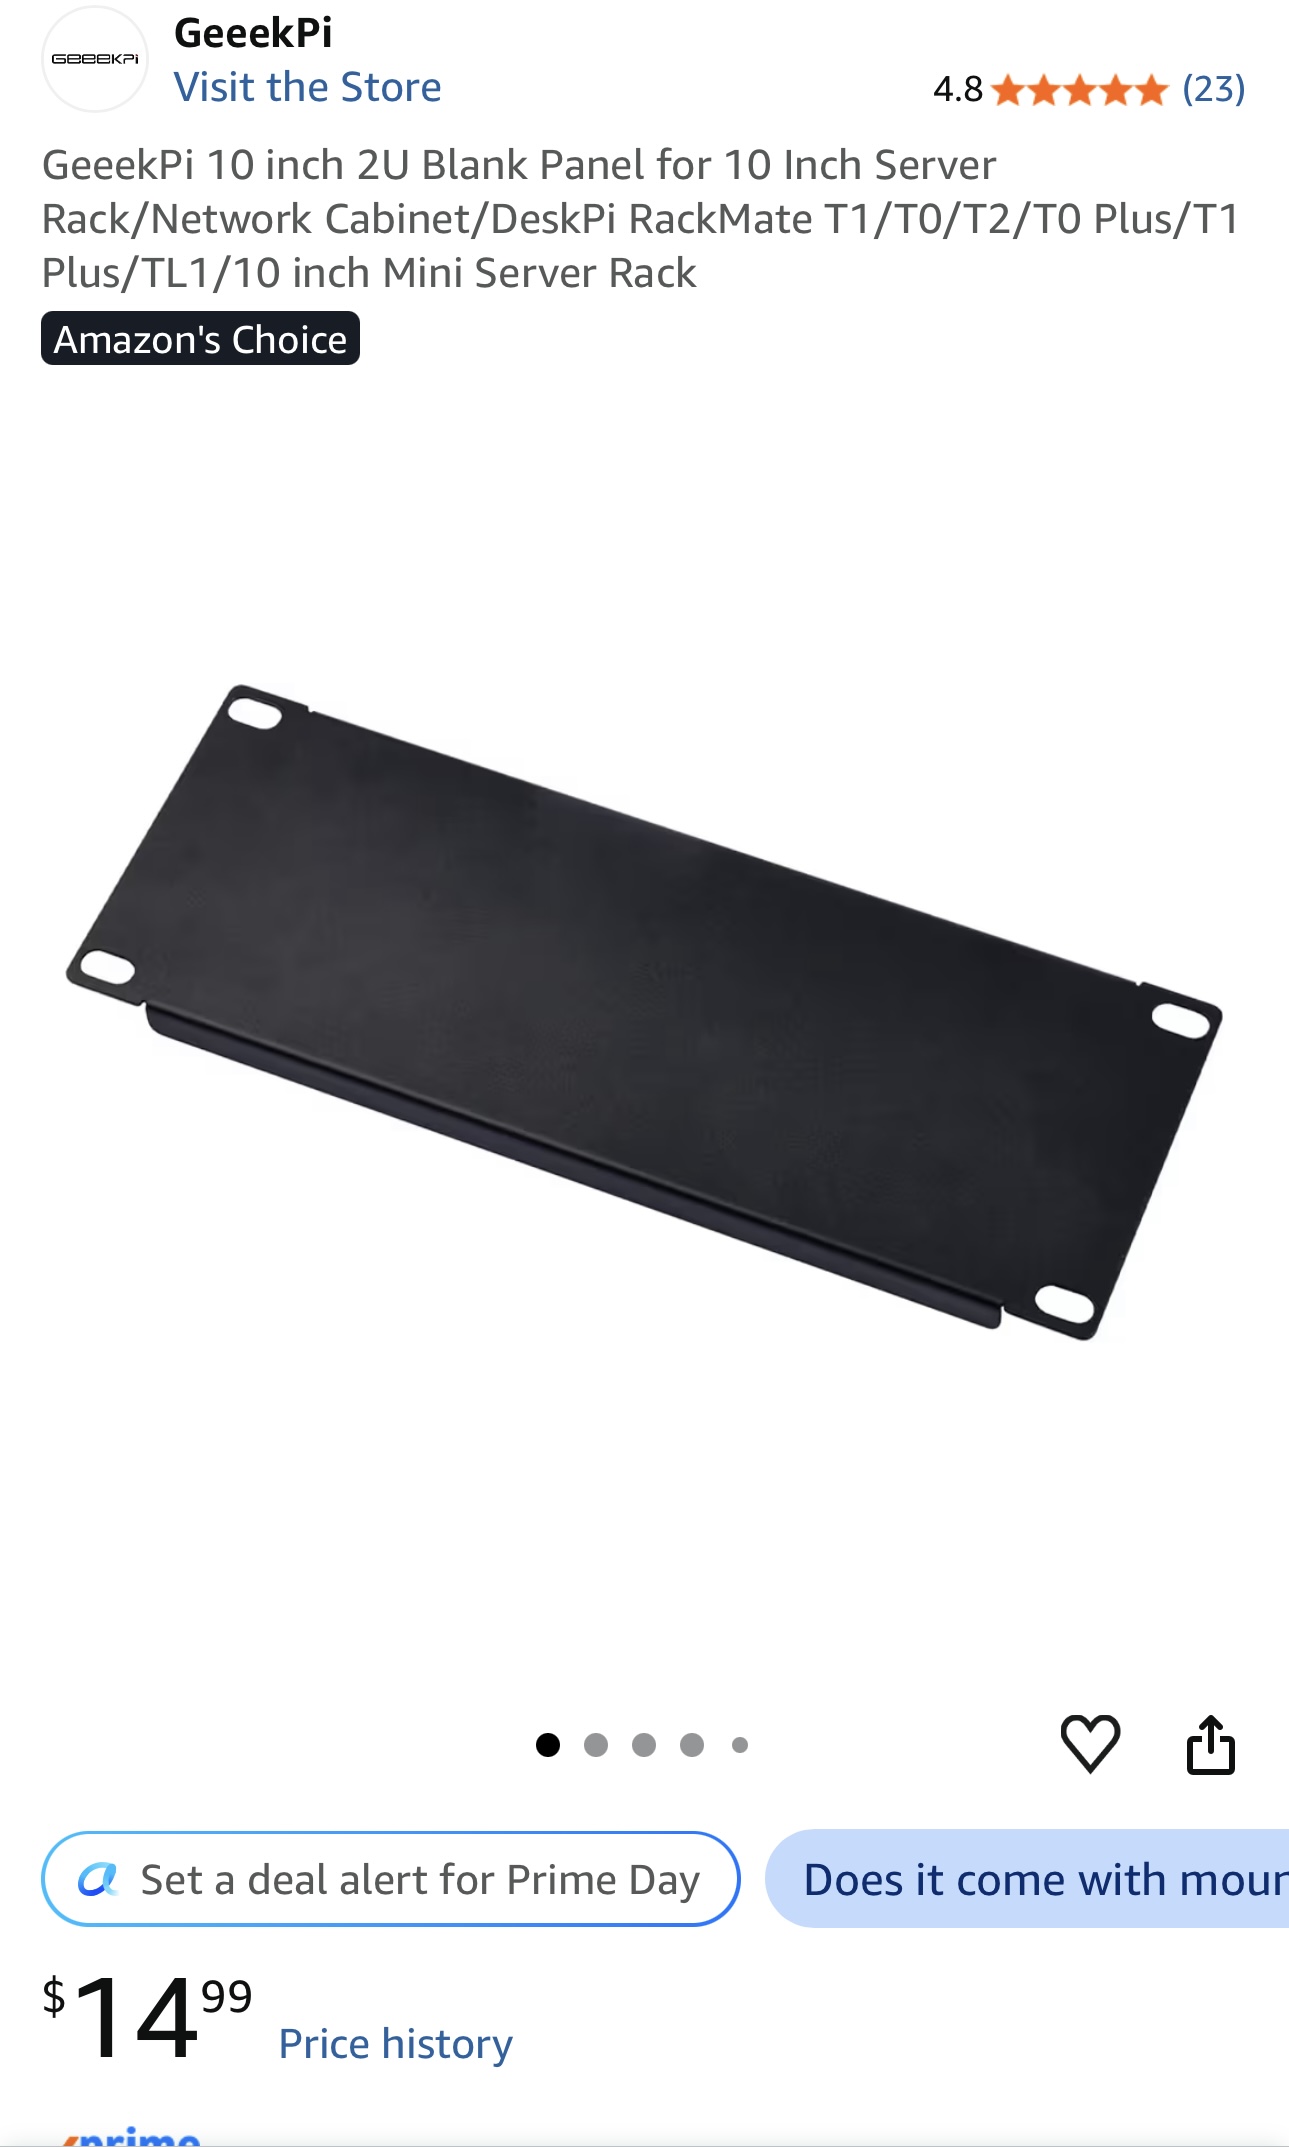
Vented/Non-Vented Panel Covers —
link 1
|
link 2
Used to help direct airflow up and out of the rack.
Mounts & Accessories
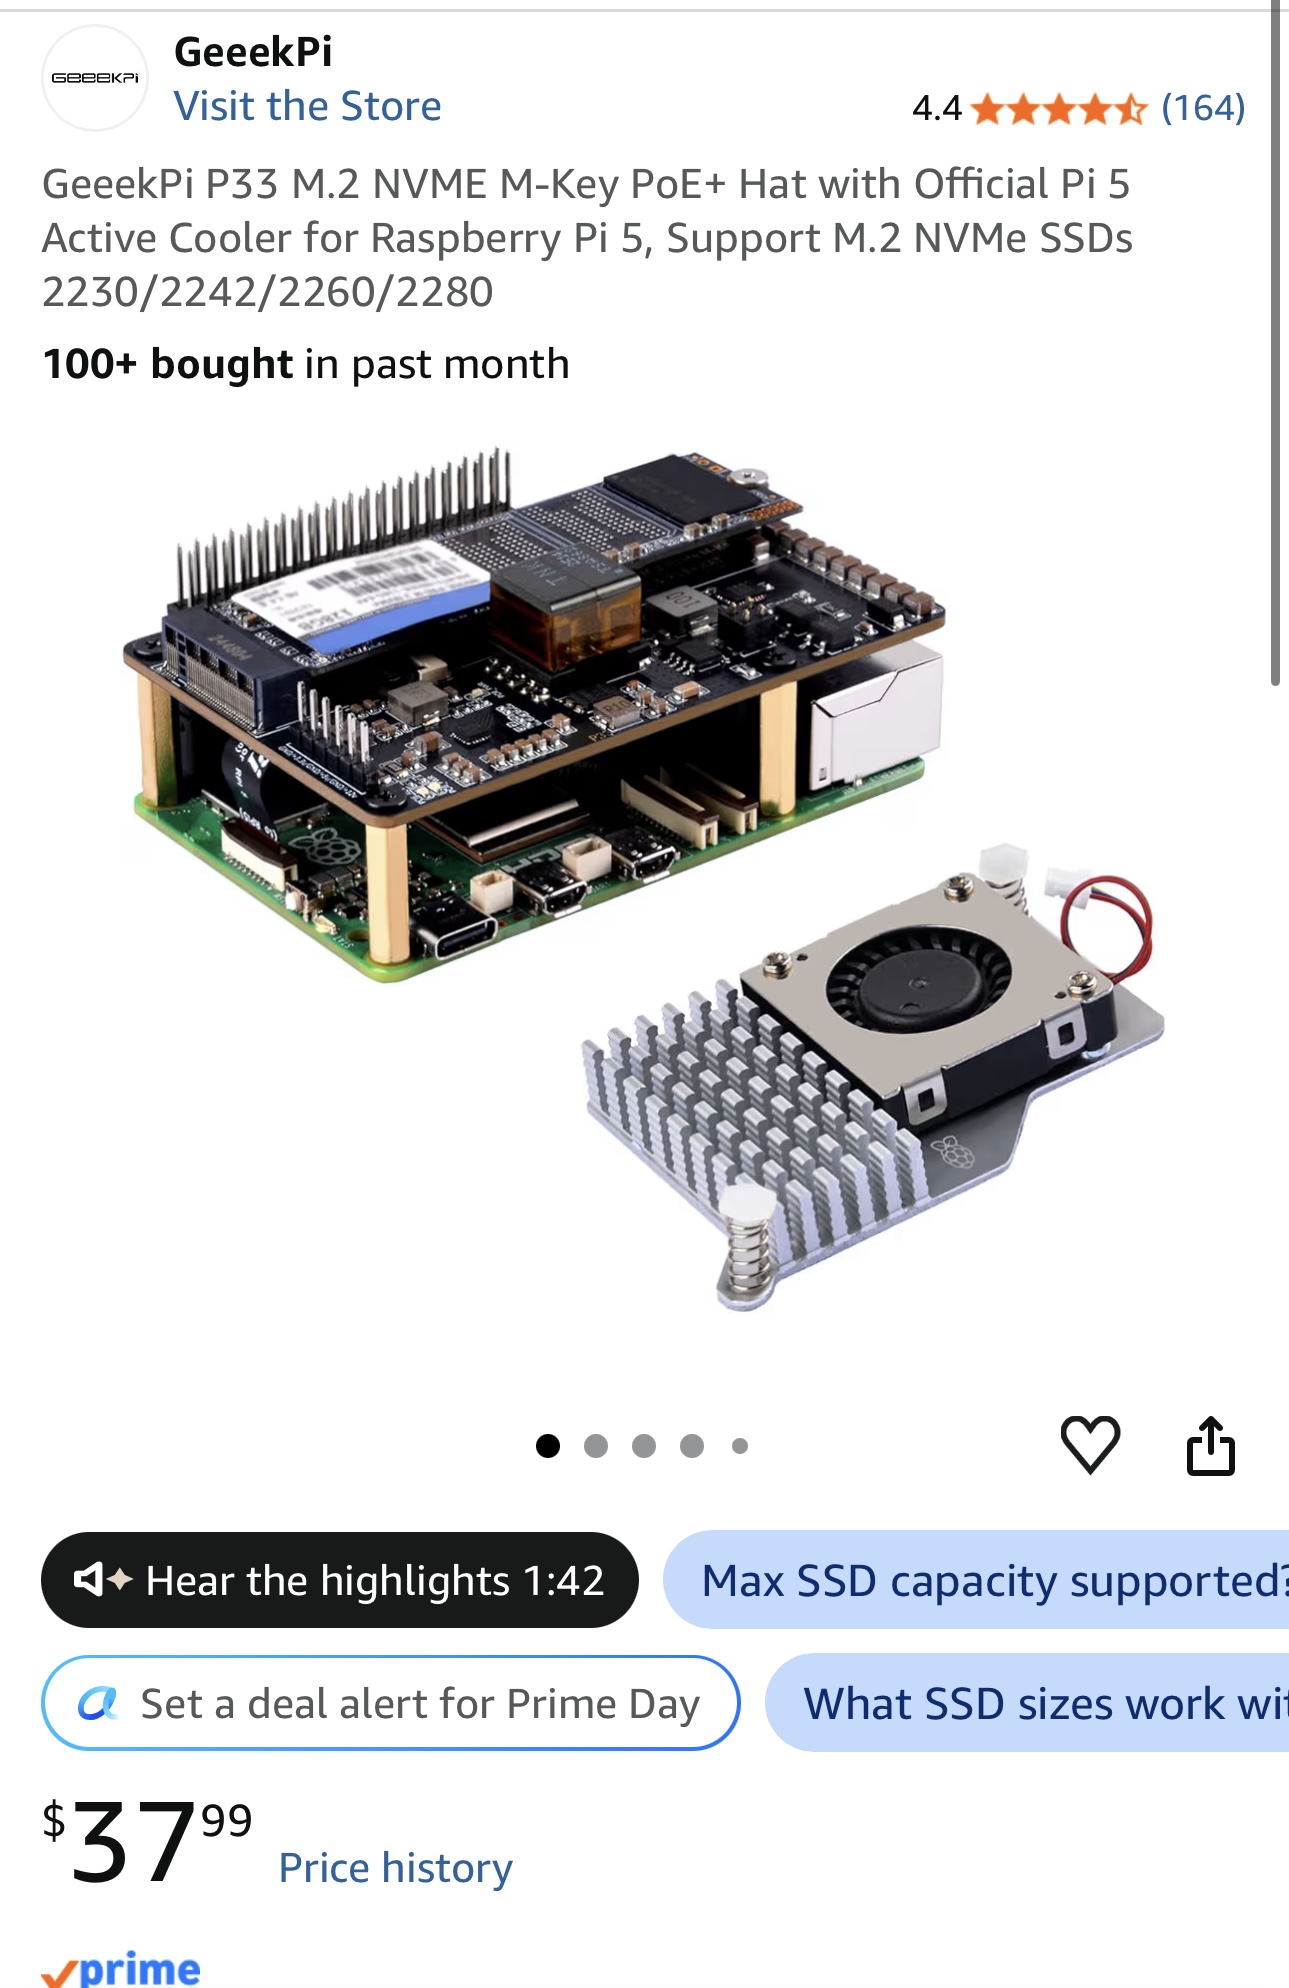
PoE HAT for Raspberry Pi — Amazon
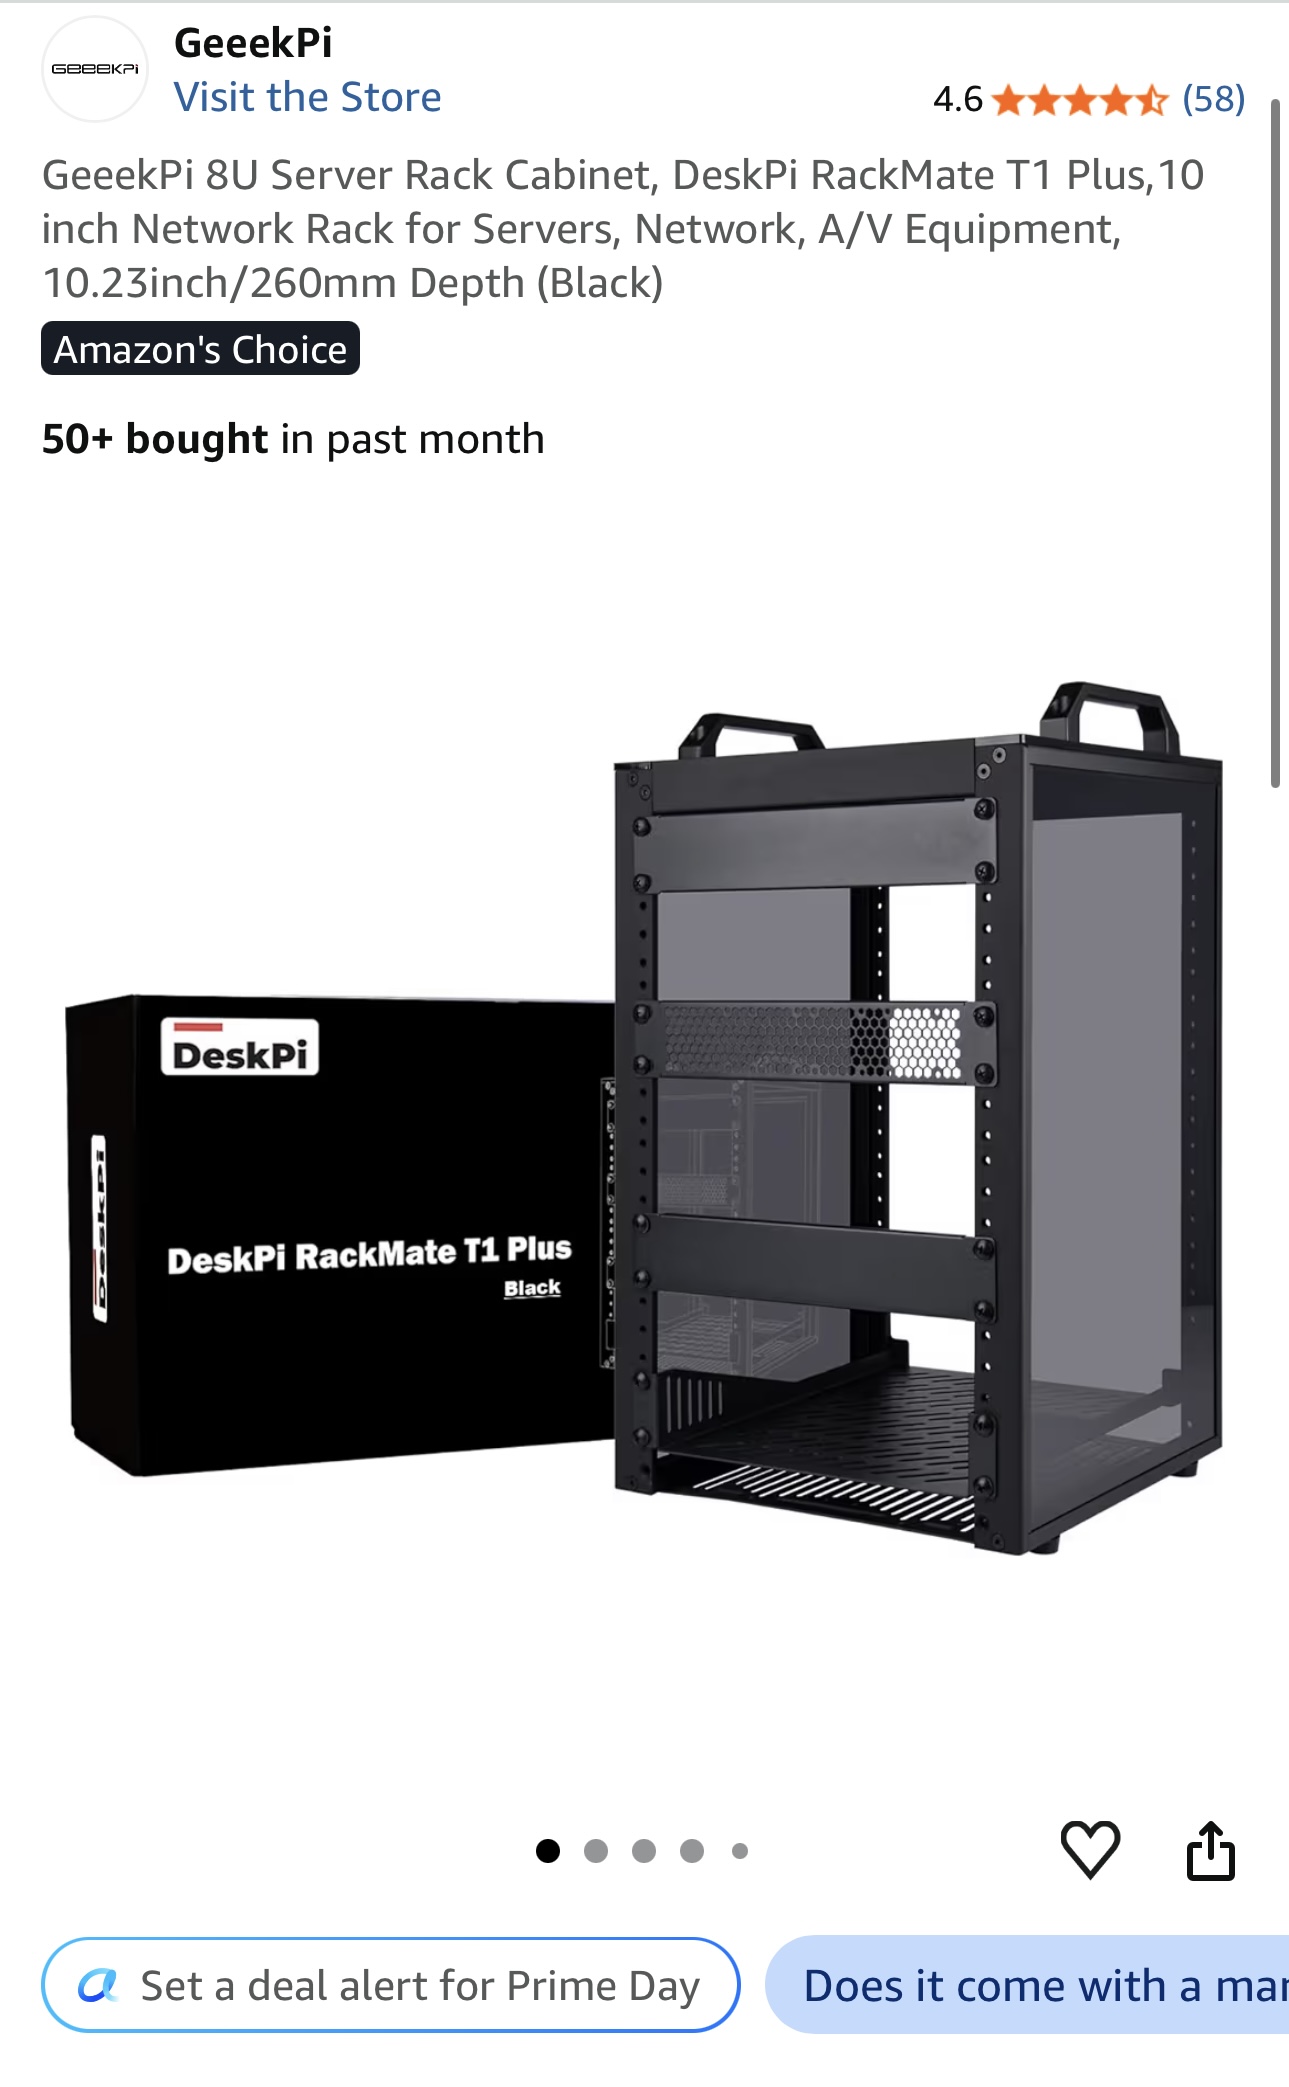
10" Rack Enclosure —
Amazon
Picked for the 10" form factor — small enough to be portable, large
enough to fit everything I needed.
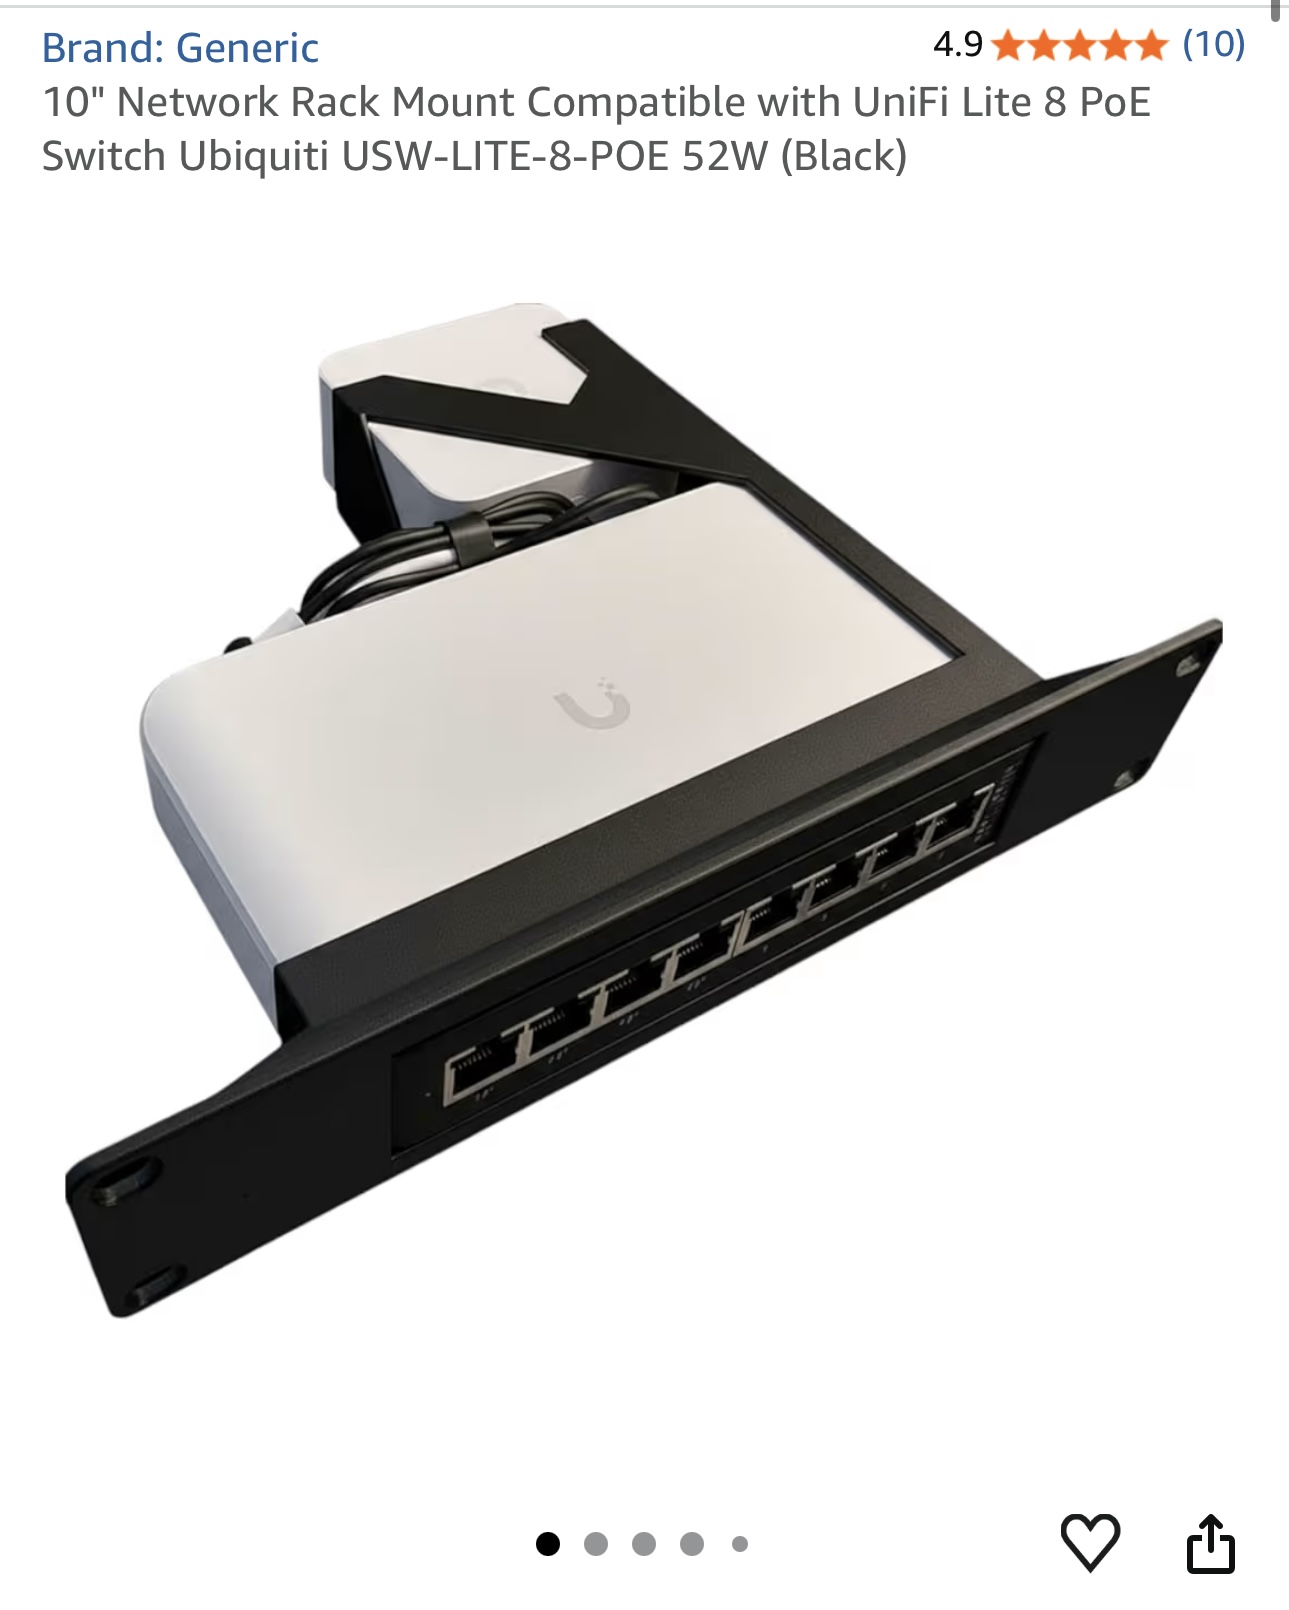
Switch Rack Mount — Amazon
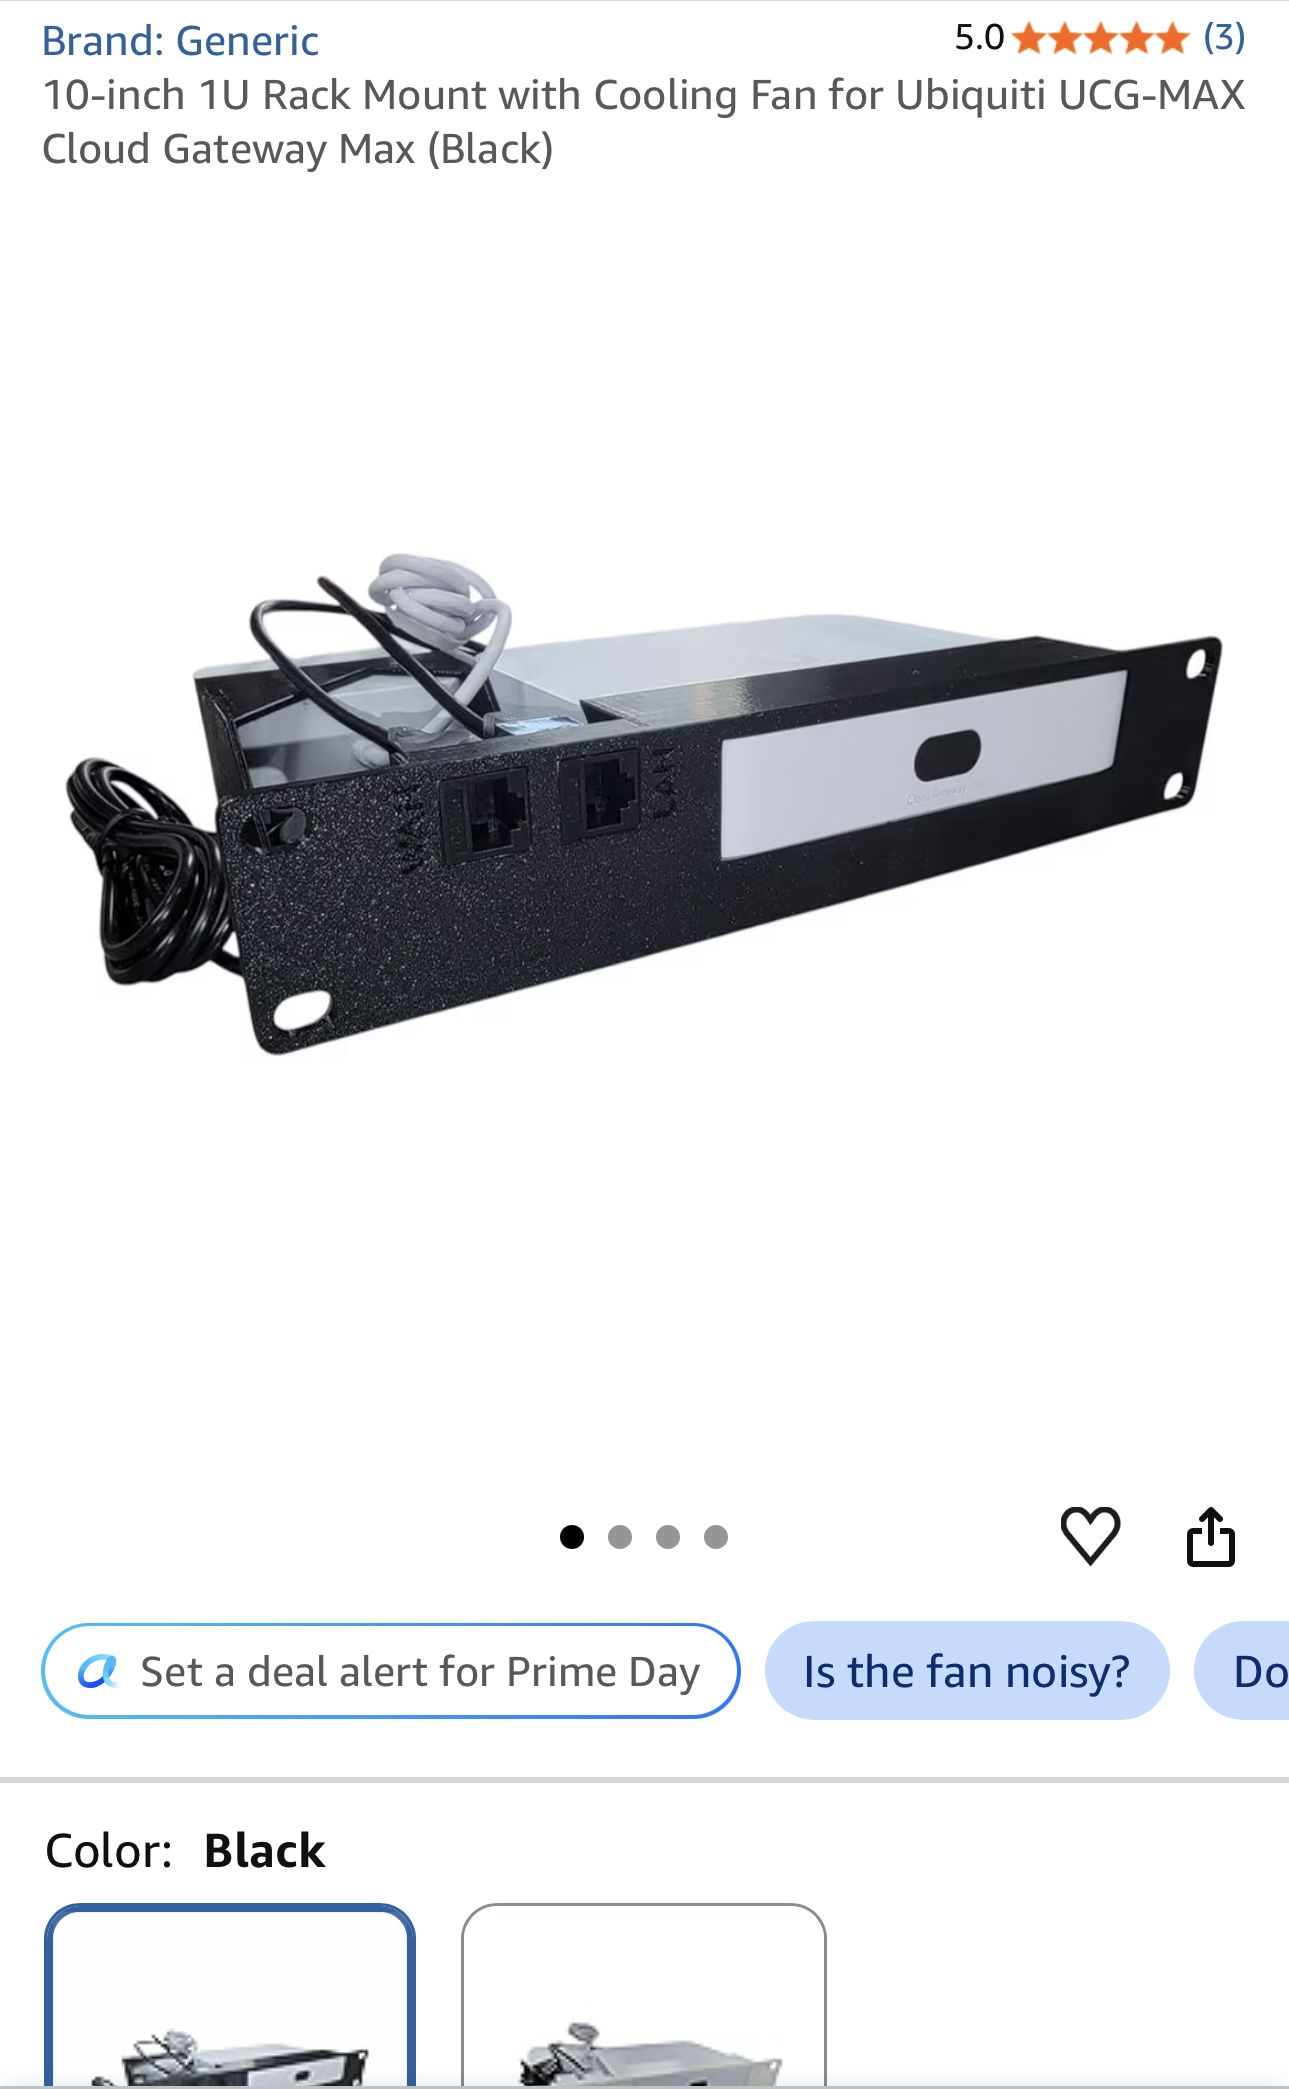
UCG-Max Rack Mount —
Amazon
The UCG-Max runs warm with Suricata IPS enabled, so I specifically
wanted a mount with a built-in fan to help keep temps down.
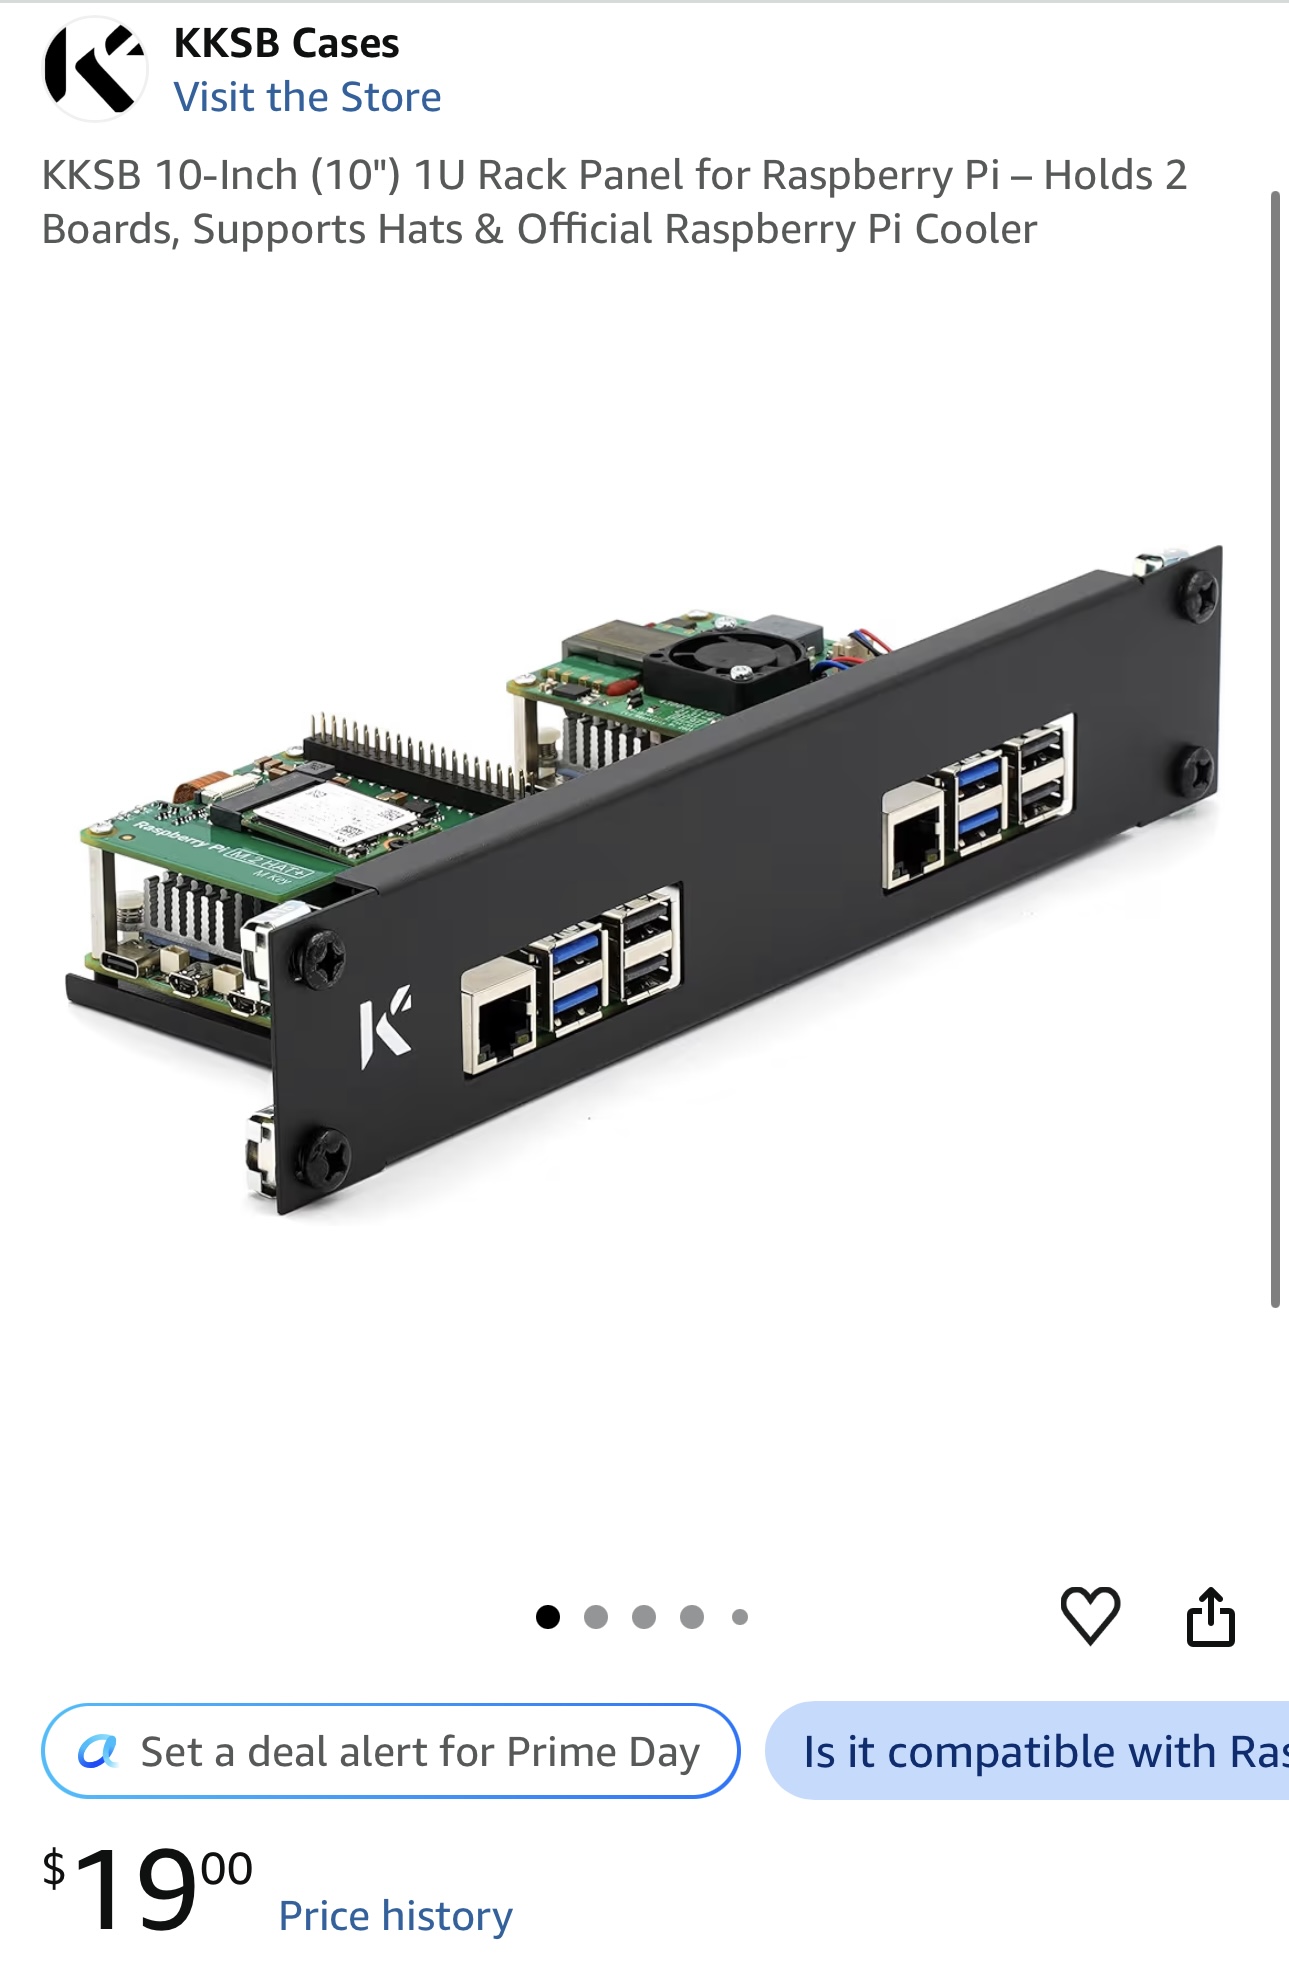
Raspberry Pi Rack Mount —
Amazon
Plays nicely with the PoE HATs.
Patch Panels
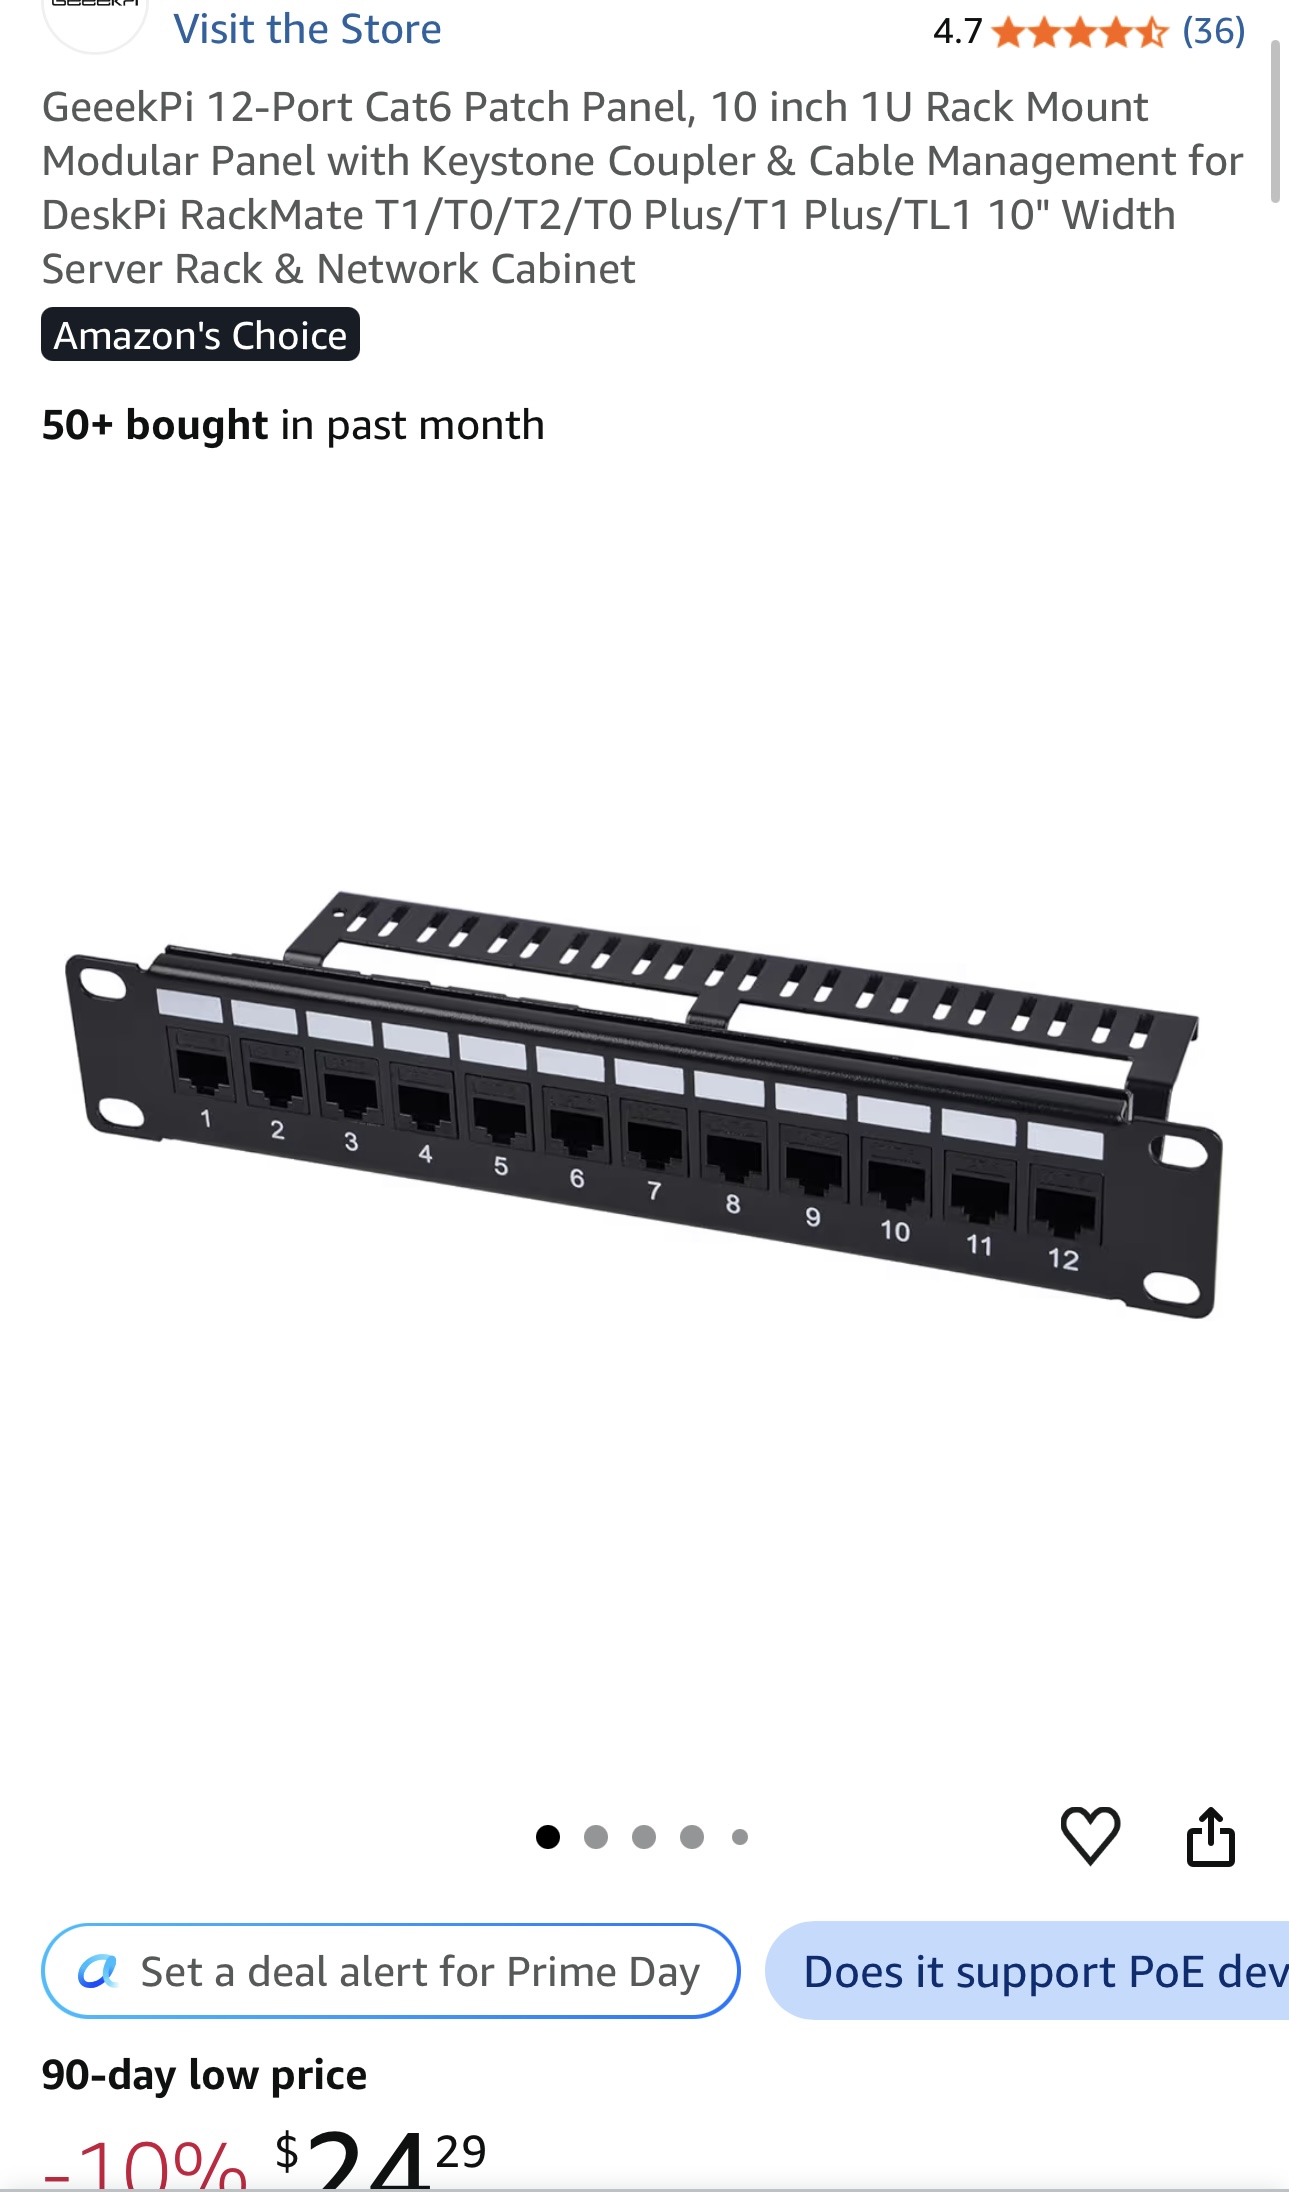
Full-Size Patch Panel —
Amazon
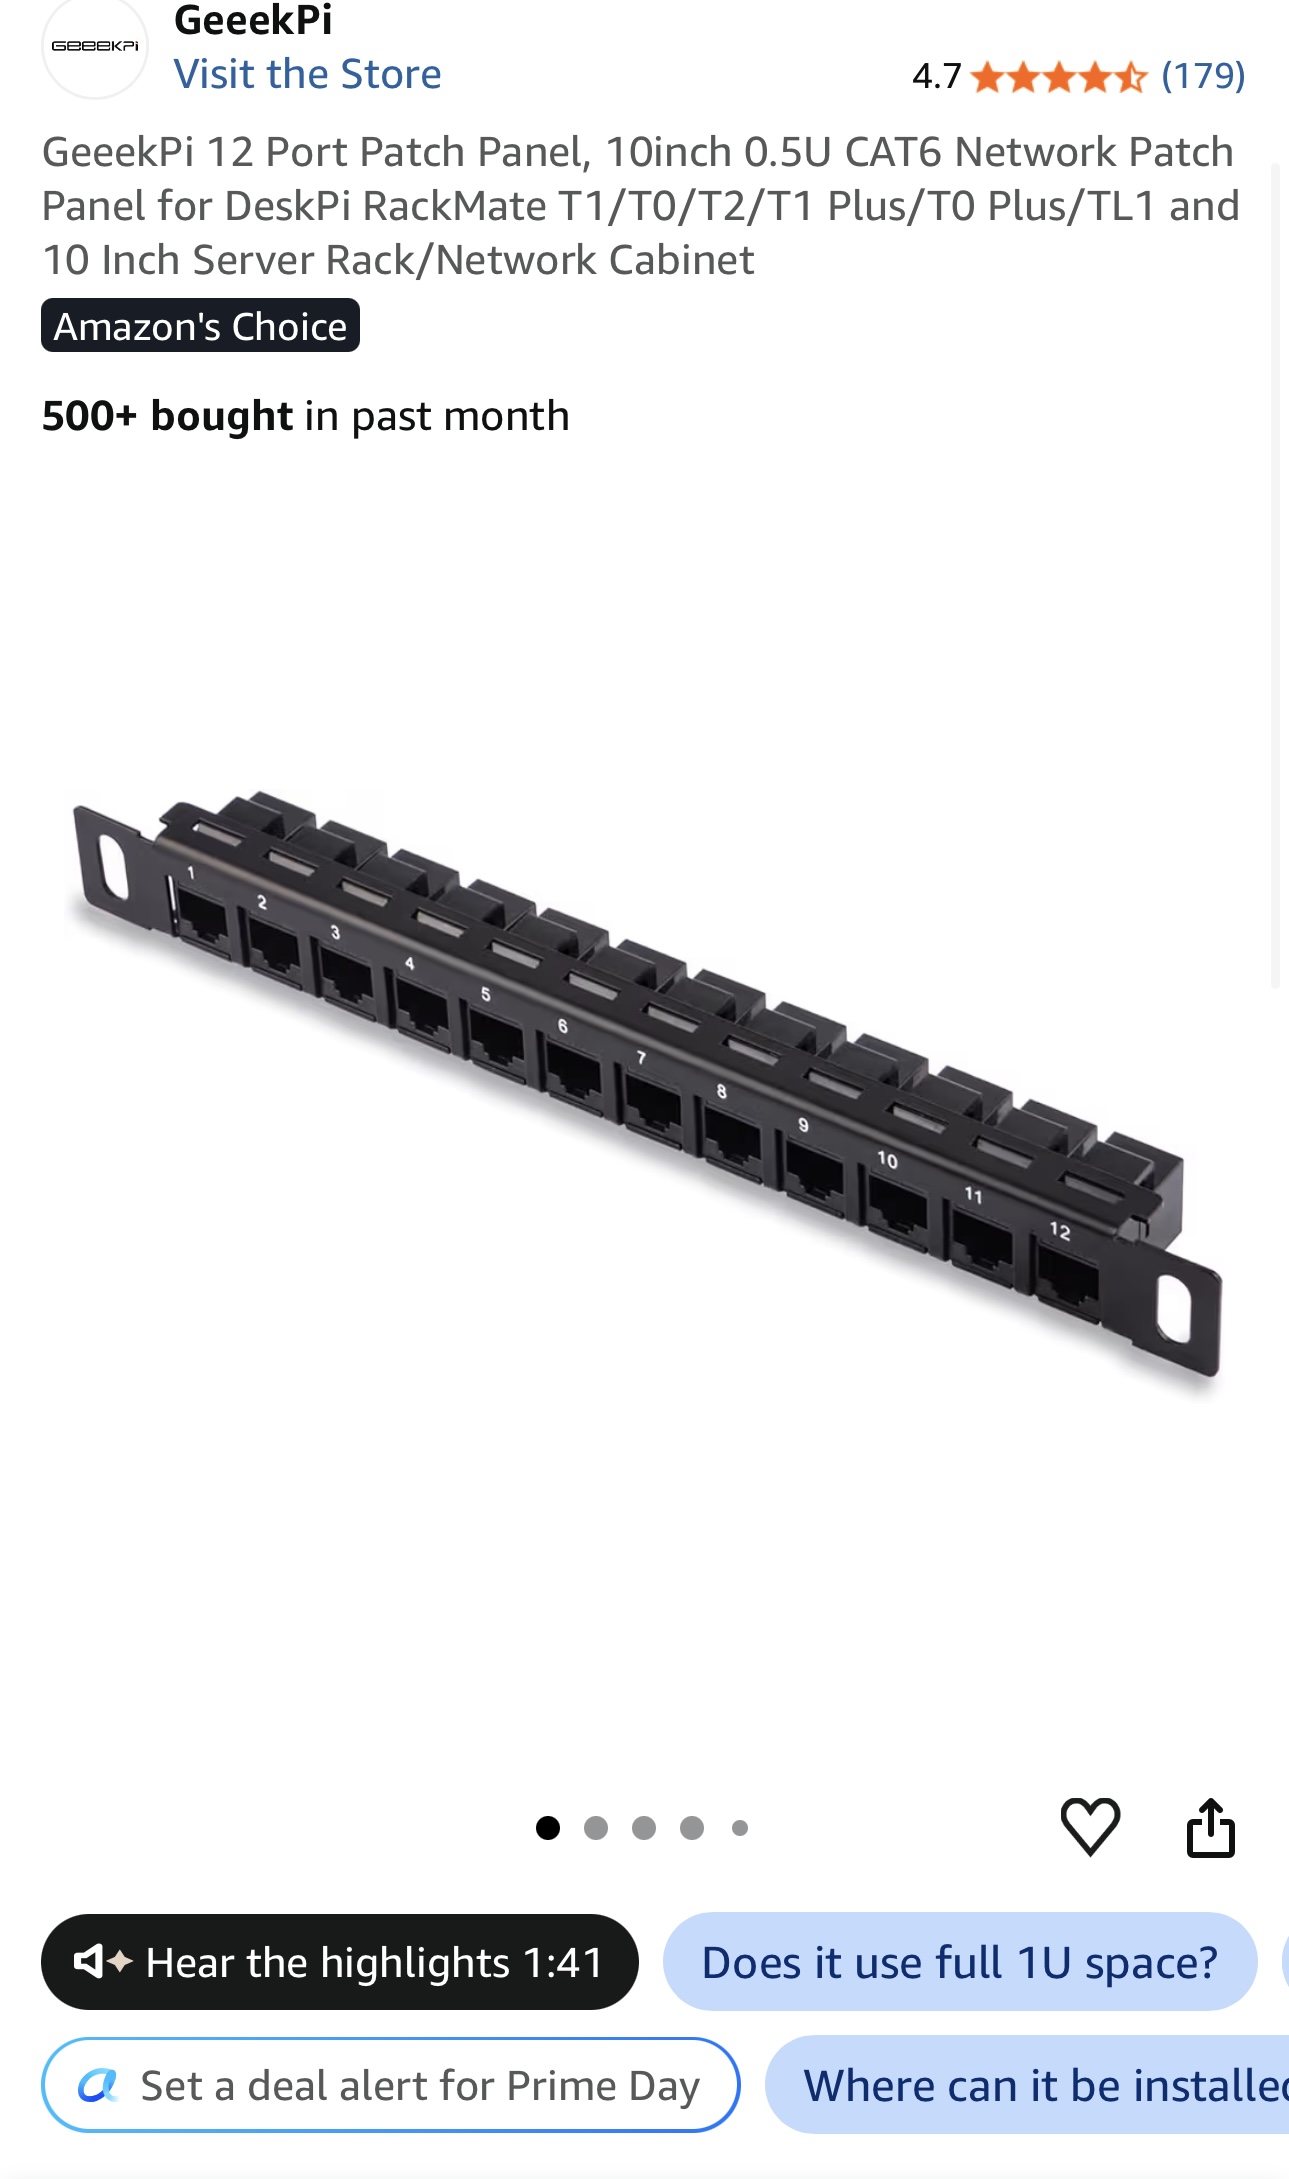
Compact Patch Panel —
Amazon
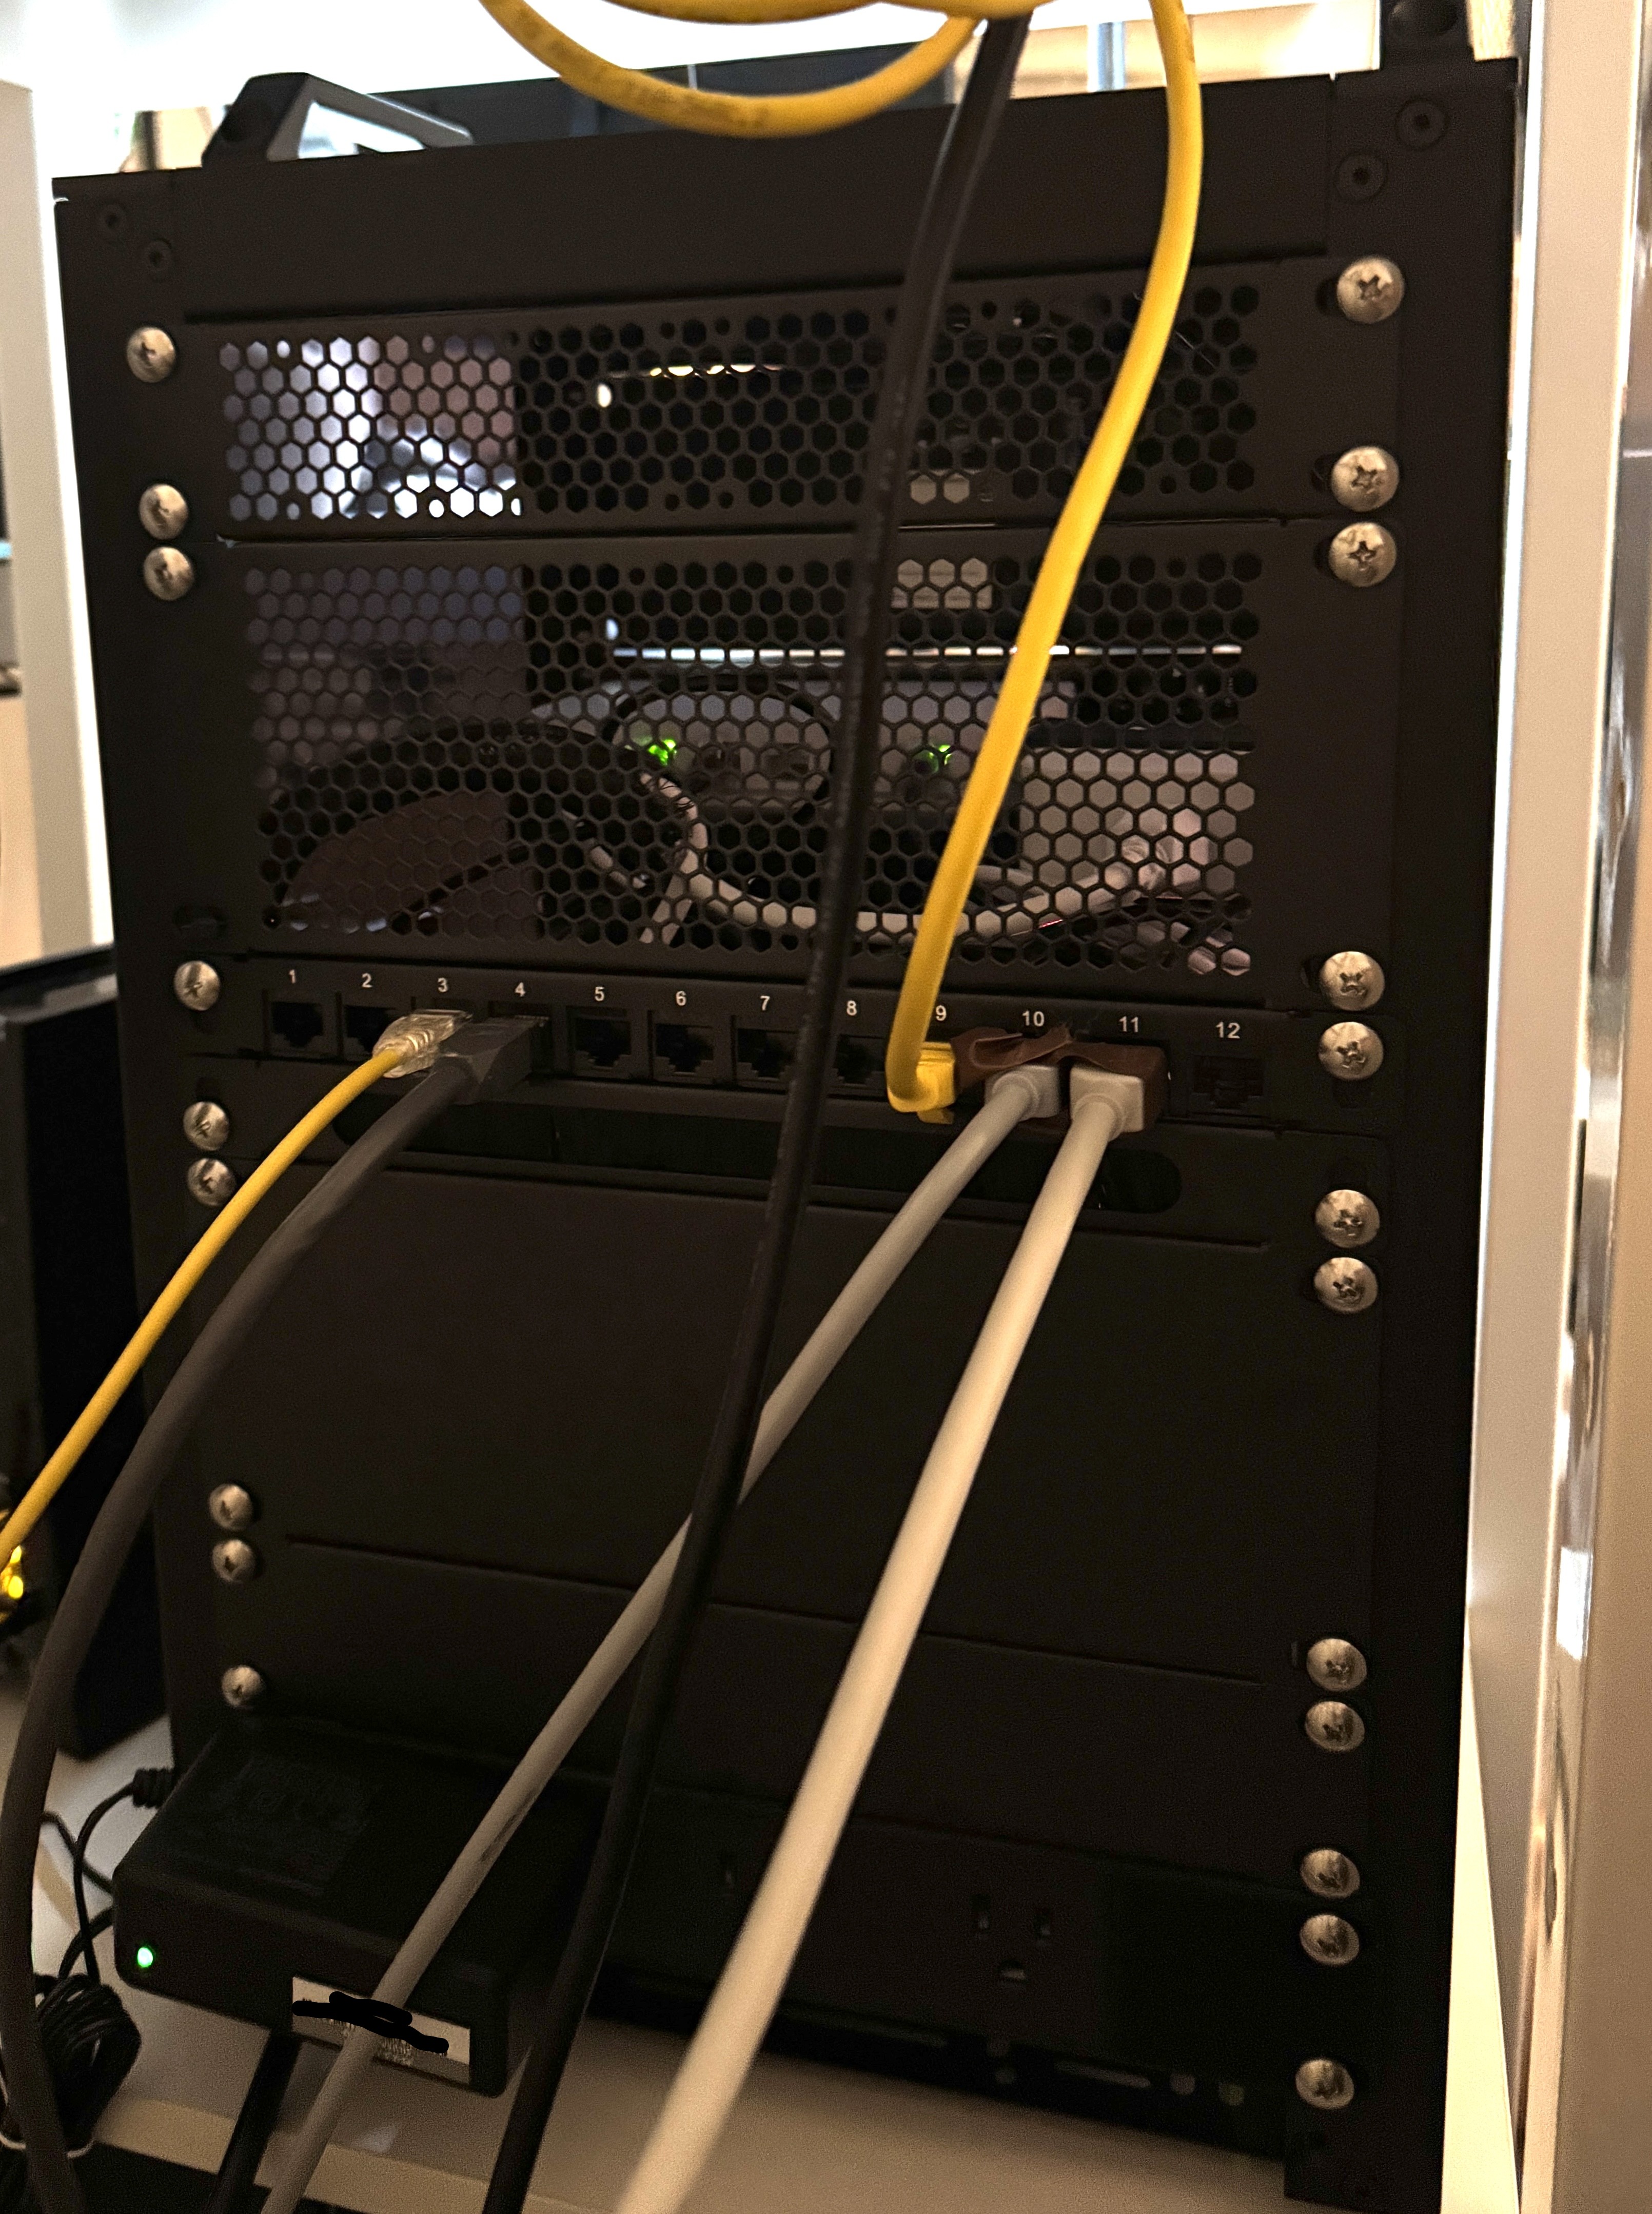
I went with two patch panels — a full-size one on the front and a smaller one on the back — connected internally with a short 1ft Ethernet run. Routing everything in from the front and then back out again through a single panel was a pain, so this setup means I never have to touch the internal wiring again. Anything plugged into the back patch panel goes straight to the switch.
Software Stack
Monitoring runs entirely off one of the Raspberry Pi 5s:
- Node Exporter — exports system metrics from each device on the rack
- Prometheus — collects and stores the metrics
- Grafana — visualizes everything on the rack-mounted touchscreen

Overall, this was a fun upgrade from "stuff on a desk" to something self-contained, monitored, and movable. If you have questions on cabling, mounts, or the monitoring stack, feel free to reach out.