Setting Up Rsyslog for Centralized Logging

This guide provides a step-by-step process to set up Rsyslog for centralized logging on Linux systems, including configuring a listener (server) to receive logs and producers (clients) to forward them. Rsyslog is a powerful, open-source logging tool that enhances system monitoring and troubleshooting.
- Rsyslog Official Documentation
- Red Hat Rsyslog Configuration Guide
- Quick Video Tutorial on Rsyslog Setup
1. How Rsyslog Works
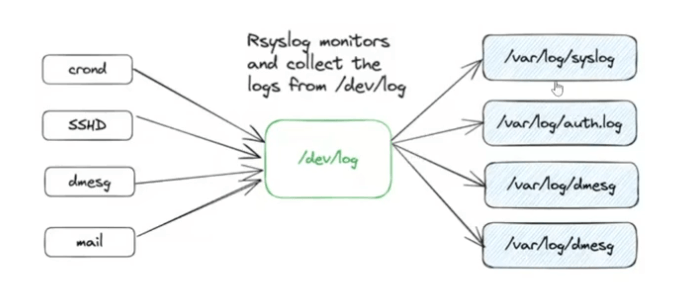
Rsyslog is an advanced syslog daemon that monitors and collects logs from various sources like /dev/log, forwarding them to files or remote servers. It supports both UDP and TCP for log transmission, with TCP being more reliable. By default, it handles logs from services like cron, SSHD, dmesg, and mail.
Key Components:
- Listener (Server): The central system that receives and stores logs from remote hosts.
- Producer (Client): The systems that forward their logs to the listener.
- Configuration: Defined in /etc/rsyslog.conf or separate .conf files in /etc/rsyslog.d/ for modularity.
- Modules: Load imudp for UDP and imtcp for TCP inputs.
2. Setting Up the Listener (Server)
Configure the server to receive logs from remote hosts. Always use rsyslogd -N1 to check
your config before restarting the service to avoid errors.
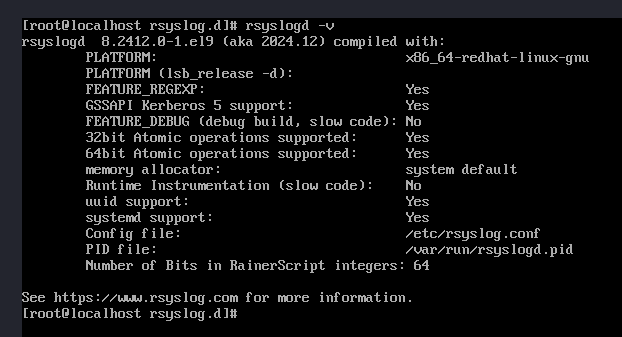
- Ensure Rsyslog is installed:
rsyslogd -v - Enable and start the service (persistent across boots):
systemctl enable rsyslog
systemctl start rsyslog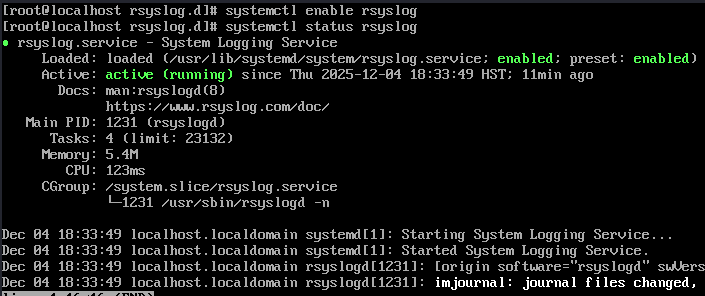
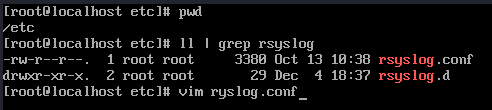
- Edit configuration: Decide between editing /etc/rsyslog.conf directly or using separate .conf files
in /etc/rsyslog.d/ for better organization. This example uses a separate file.
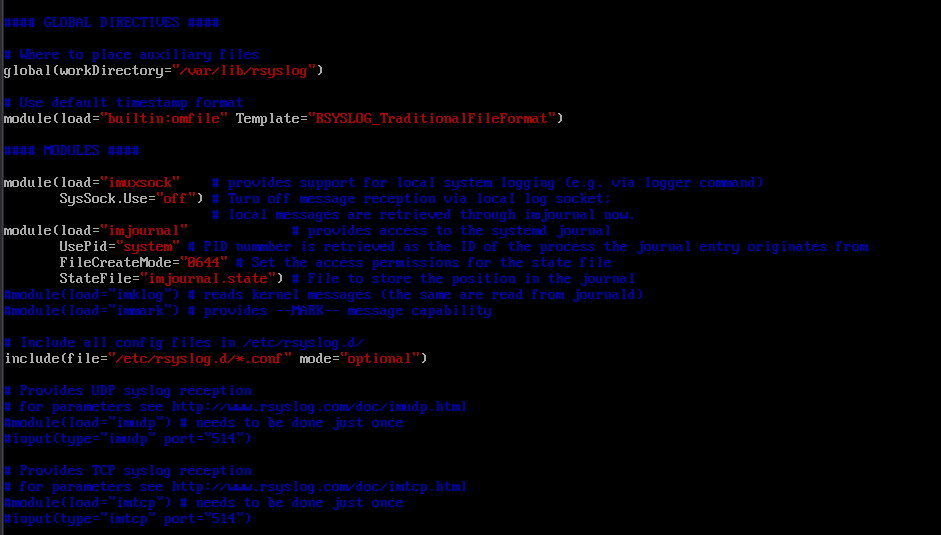
Verify /etc/rsyslog.conf has conf files enabled.

Sample default /etc/rsyslog.conf file.
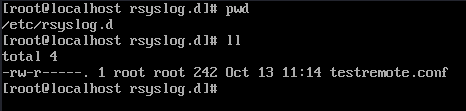
Create /etc/rsyslog.d/testremote.conf:
# Load TCP/UDP modules if not already loaded
module(load="imudp")
input(type="imudp" port="514")

module(load="imtcp")
input(type="imtcp" port="514")

# Define a template for storing remote logs
template(name="RemoteLogs" type="string" string="/var/log/remote/%HOSTNAME%/%PROGRAMNAME%.log")

# Use the template to store all logs and not log local host logs.
if ($fromhost-ip != '127.0.0.1') and ($fromhost != 'localhost') then {
    *.* ?RemoteLogs
}
This stores logs in /var/log/remote/<hostname>/<program>.log.

- Restart Rsyslog:
systemctl restart rsyslog - Allow ports in the firewall (for UFW or firewalld):
For UFW:
sudo ufw allow 514/tcp
sudo ufw allow 514/udp
For firewalld:
# Allow TCP port 514 sudo firewall-cmd --permanent --add-port=514/tcp # Allow UDP port 514 sudo firewall-cmd --permanent --add-port=514/udp # Reload the firewall to apply changes sudo firewall-cmd --reload # To check firewall-cmd --list-ports - Verify listening on ports:
ss -tulnp | grep rsyslog

3. Setting Up the Producer (Client)
Configure clients to forward logs to the server. Repeat installation and service steps from the listener if needed.
- Edit configuration to forward logs. Create or edit /etc/rsyslog.d/test.conf:
*.* @@192.168.1.10:514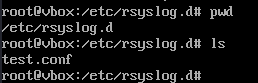
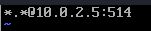
Use @ for UDP (less reliable) or @@ for TCP (recommended). You can be more specific:
auth.*,cron.* @@192.168.1.10:514 - Restart Rsyslog:
sudo systemctl restart rsyslog

4. Verifying the Setup
Test the configuration to ensure logs are being forwarded and received.
- On the server, monitor logs:
tail -f /var/log/remote/*/*.log - On the client, send a test message:
logger "Test message from Server A"You should see the message appear in the server's logs.


5. Tips and Best Practices
Enhance your Rsyslog setup with these lessons and recommendations:
- Tip 1: Always validate configs with
rsyslogd -N1before restarting to prevent service failures. - Tip 2: Use separate .conf files in /etc/rsyslog.d/ for modularity, allowing easy plug-and-play with different templates.
- Tip 3: Prefer TCP (@@) over UDP (@) for reliable log delivery, especially in production environments.
- Lesson Learned: Filter out local logs on the server to avoid duplication and keep remote logs organized by hostname.
- Future Improvements: Integrate with tools like Logrotate for automatic log rotation and compression to manage disk space.
6. Conclusion
This guide covers the basics of setting up Rsyslog for centralized logging, from installation to verification. With this setup, you can efficiently collect and analyze logs from multiple systems for better security and monitoring. Explore advanced features like filters and encryption for more robust implementations.