1. Project Overview
This project focuses on sideloading Kali NetHunter, a mobile penetration testing platform, onto the TicWatch Pro 3 running Wear OS. This process was incredibly challenging and required precise steps, custom hardware modifications, and persistence due to the watch's unique constraints, such as the lack of a data cable in its default packaging.
- Objective: Install Kali NetHunter on the TicWatch Pro 3 to enable portable pentesting capabilities on a wearable device.
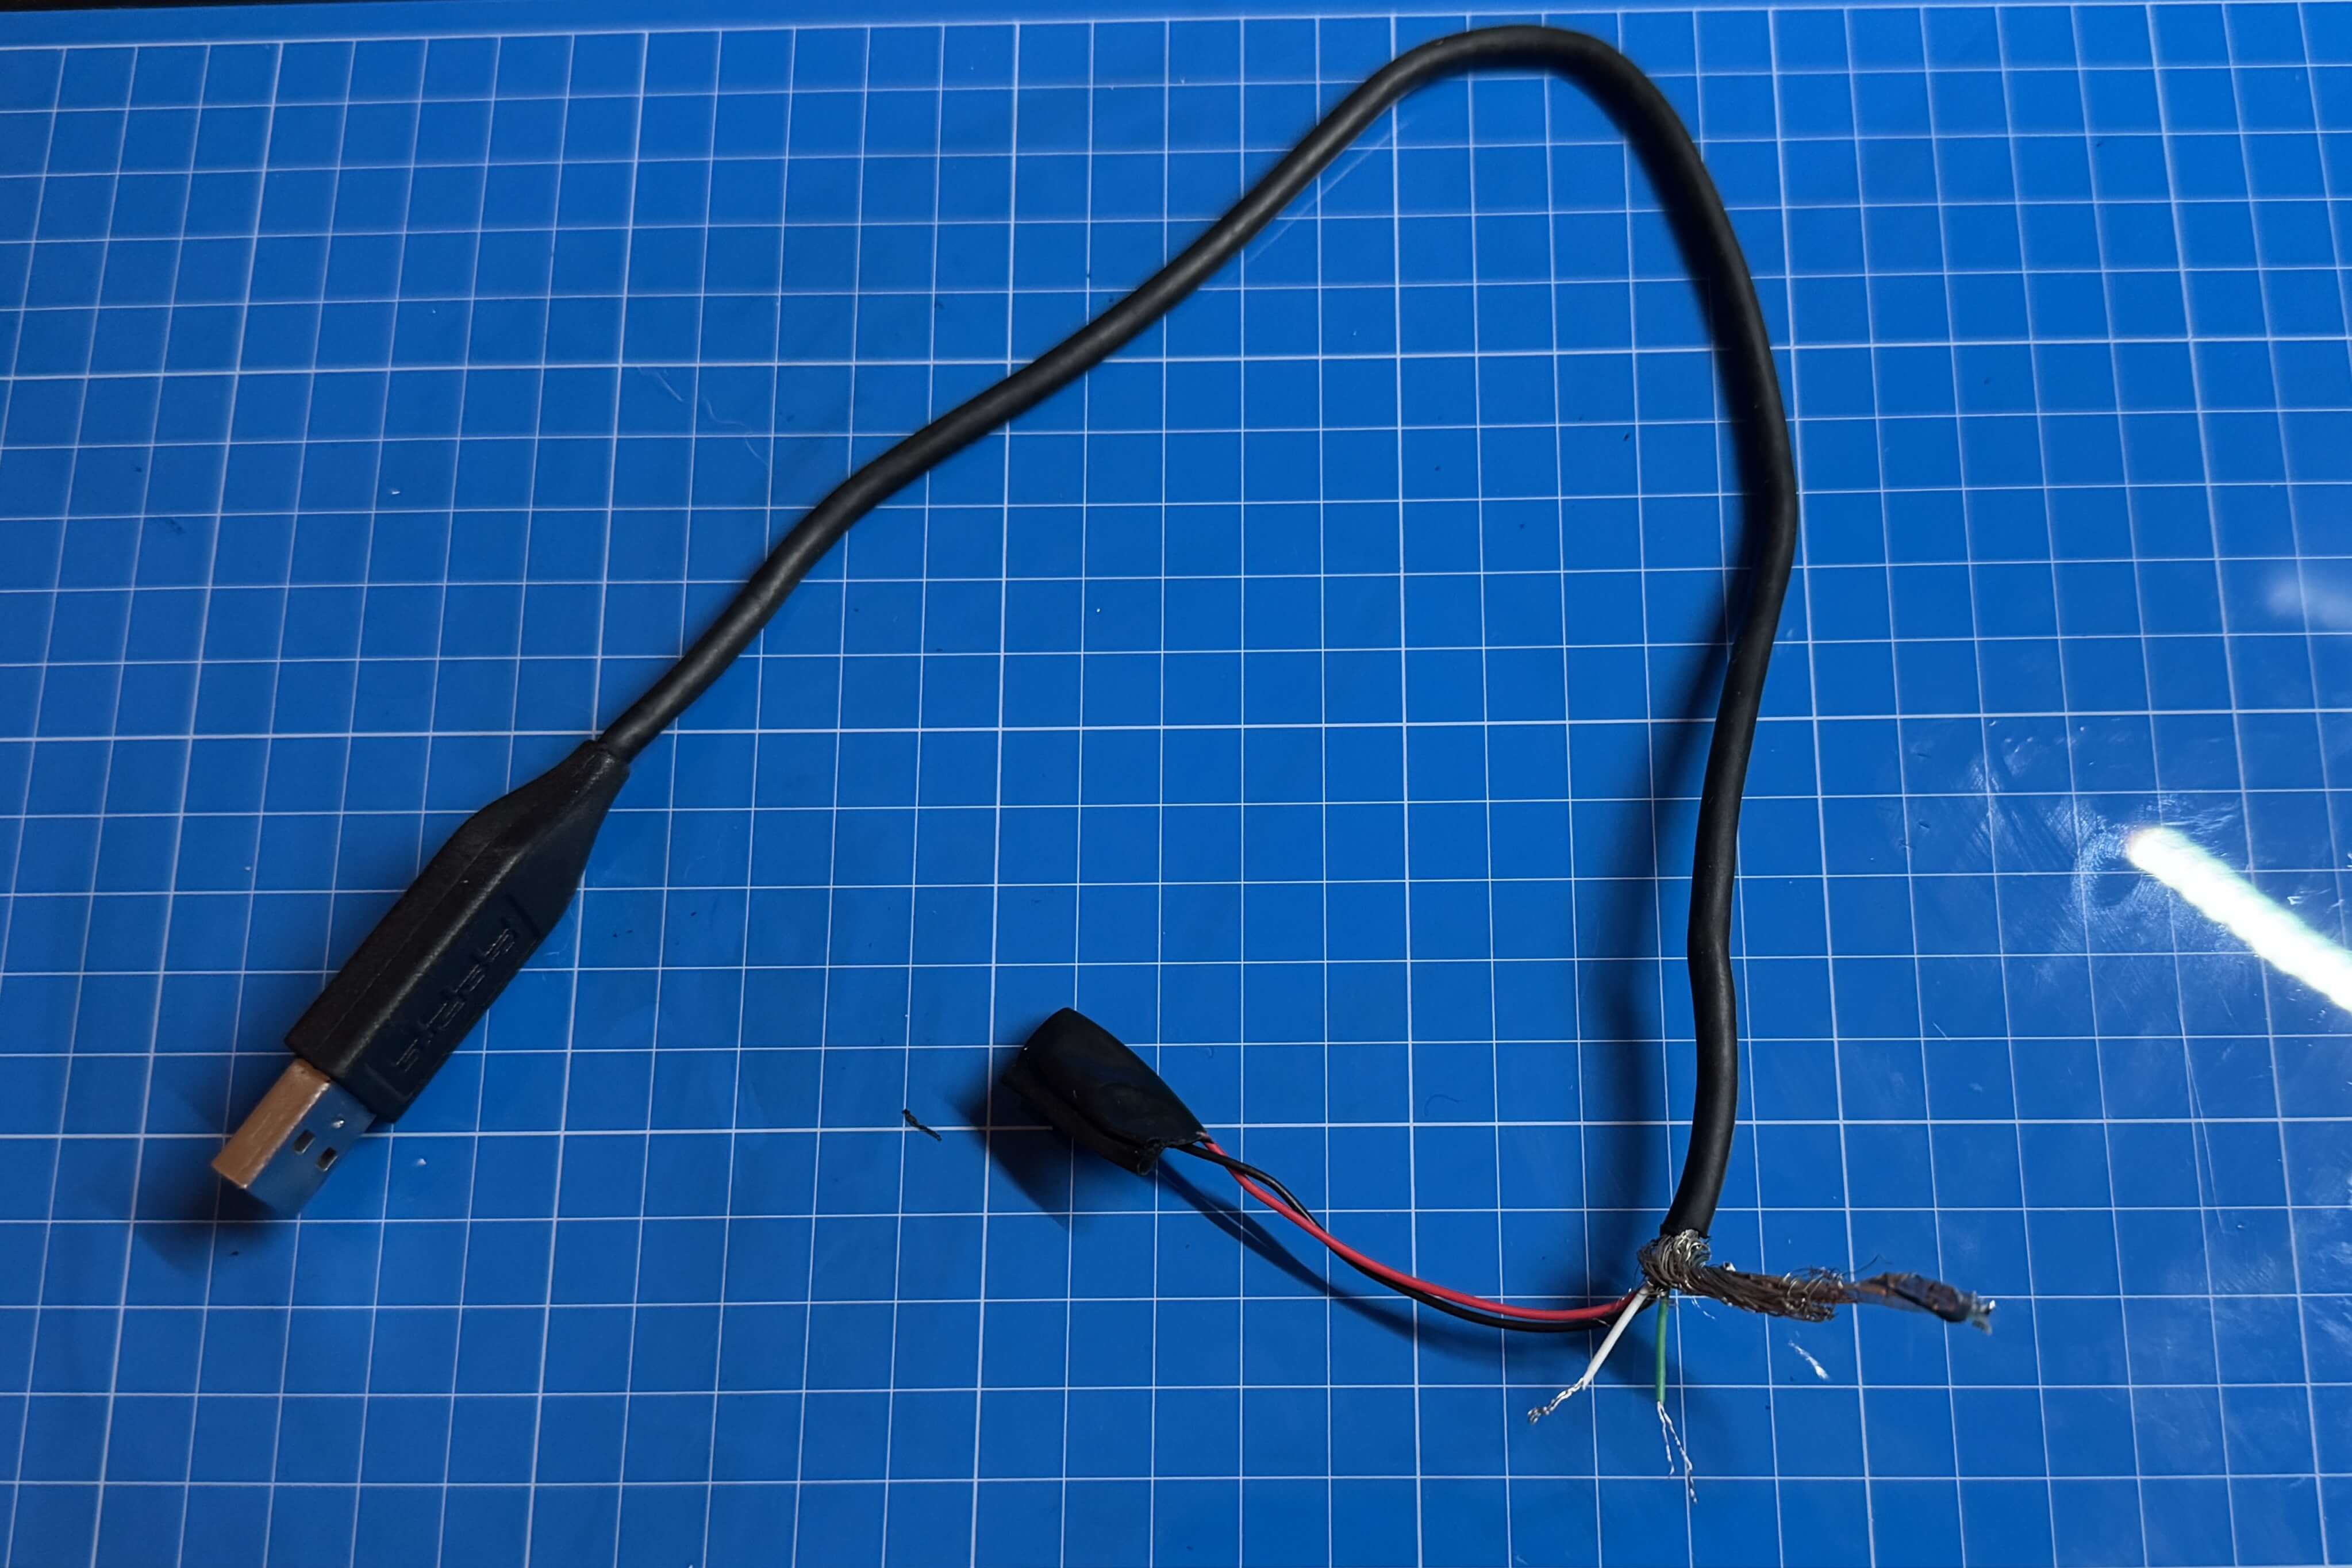
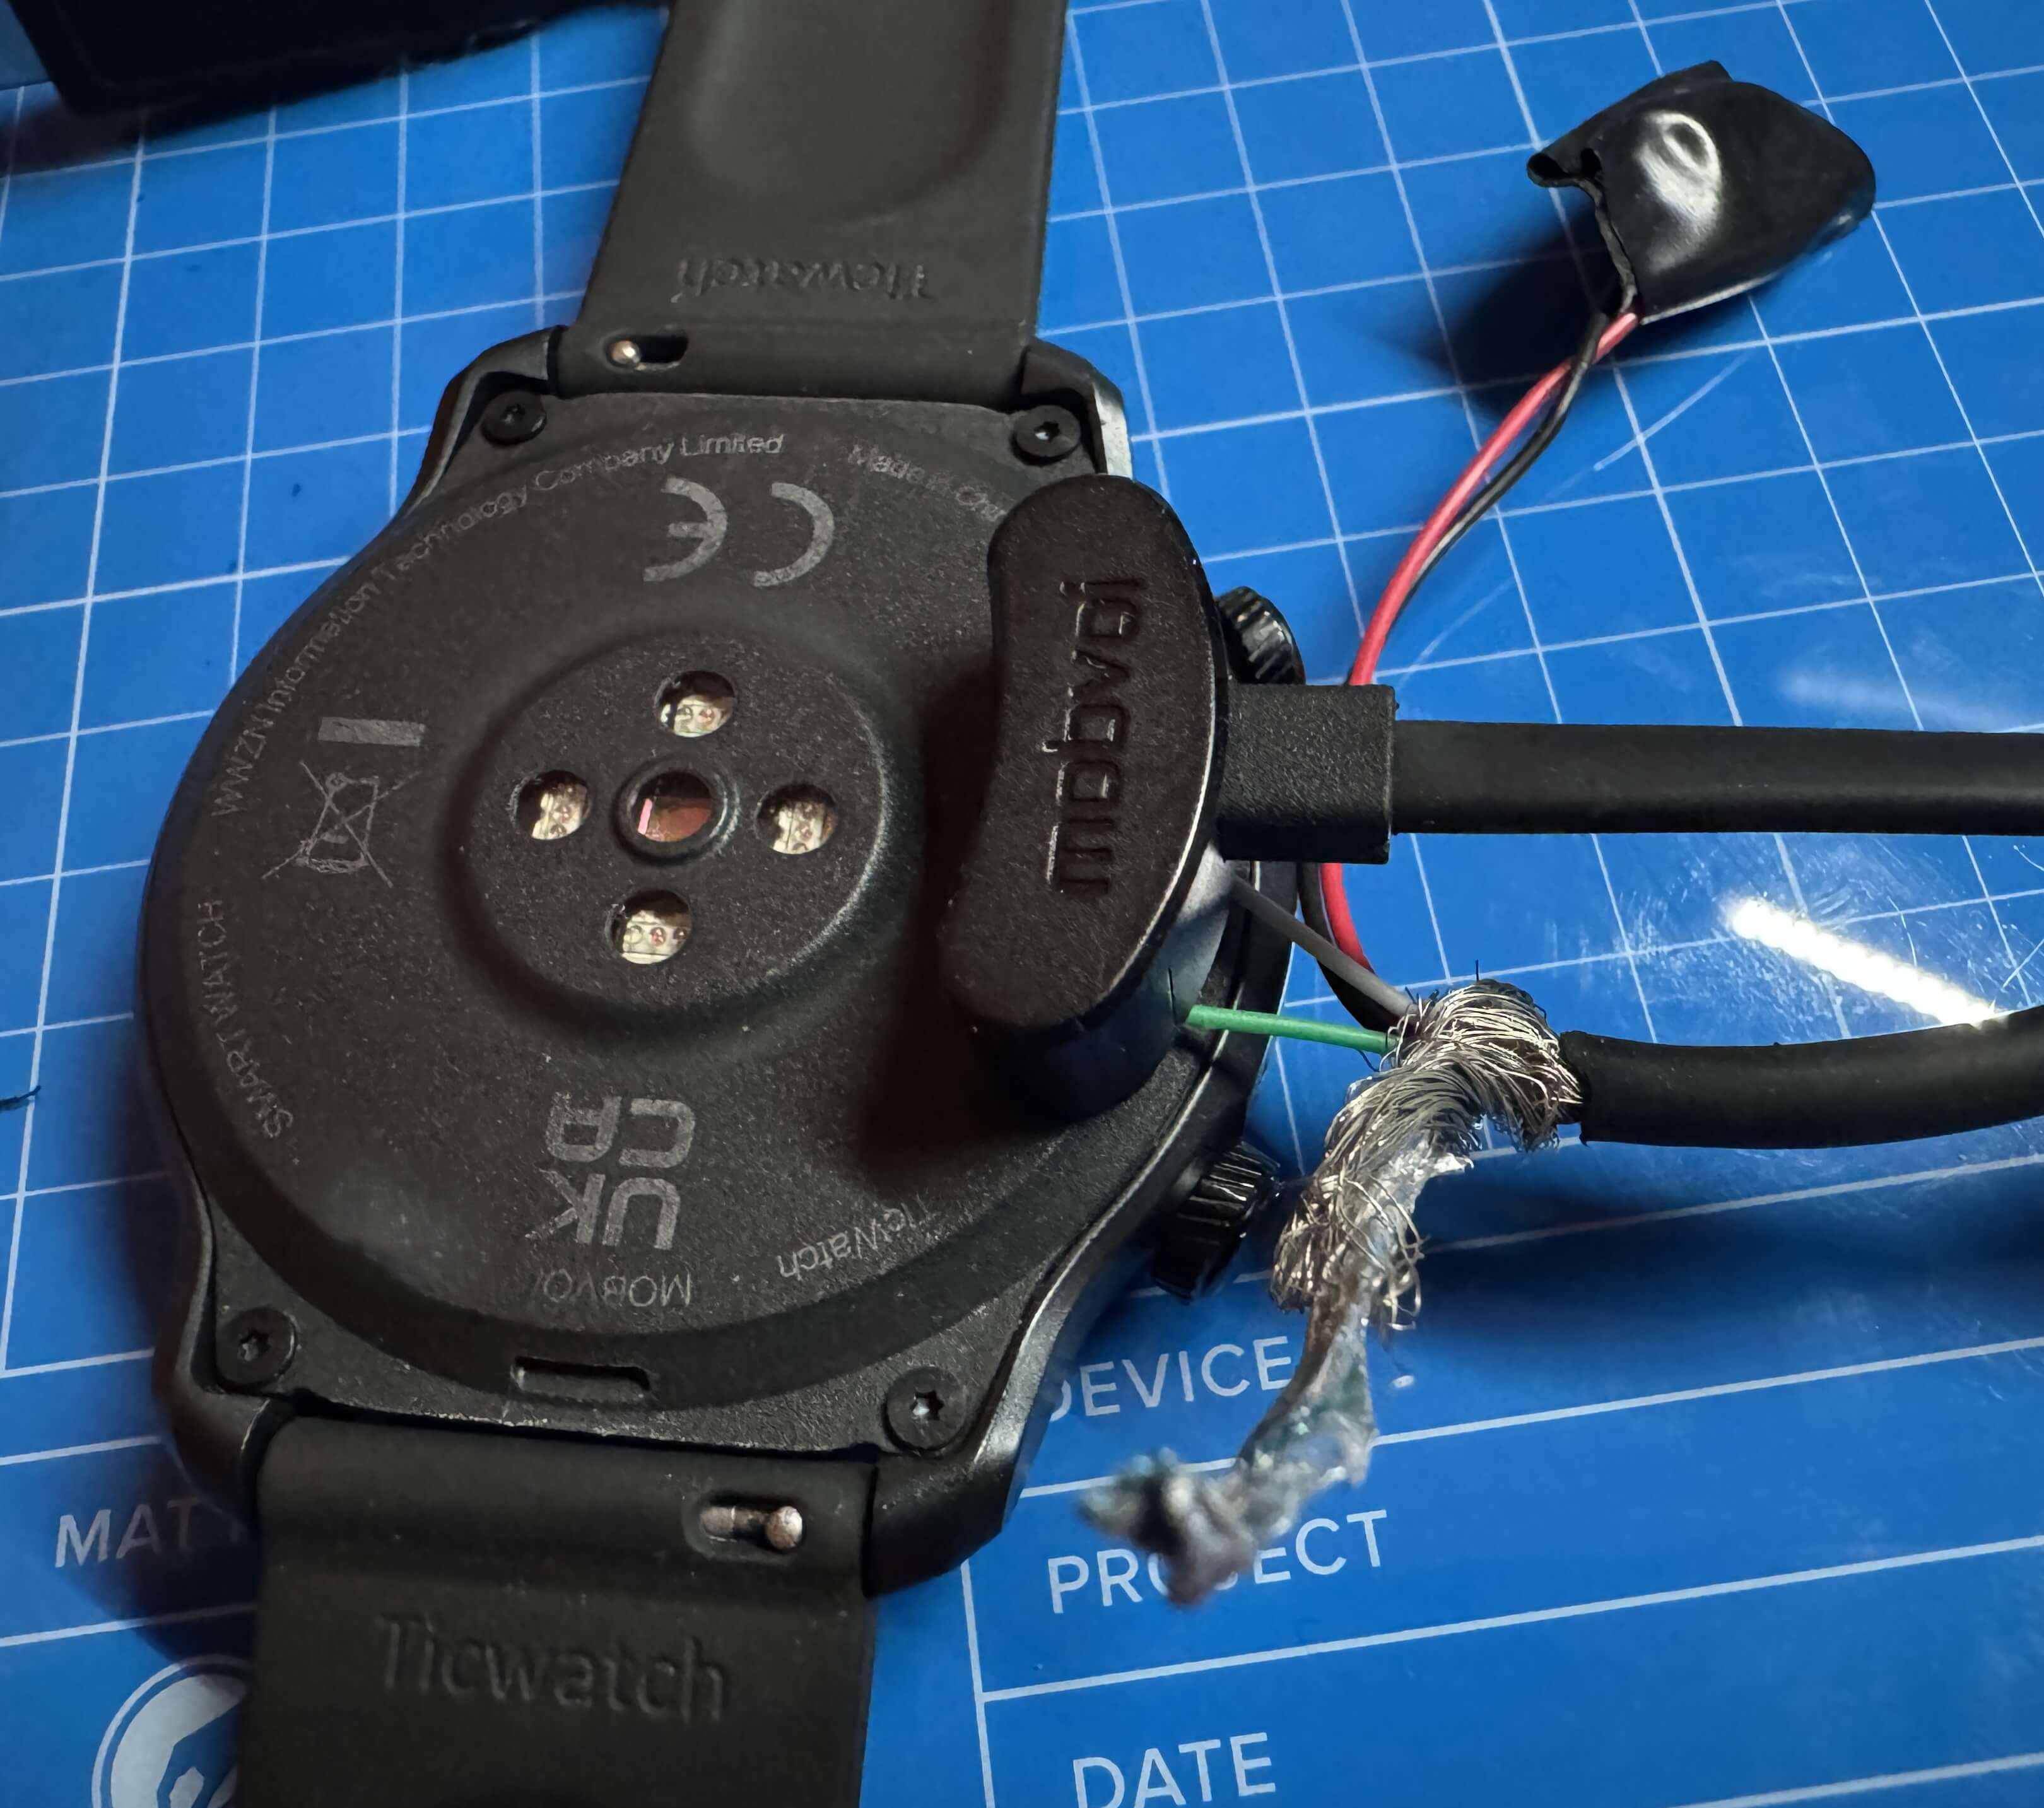
- Hardware Used: TicWatch Pro 3, modified GoPro data cable (cut and repurposed for data transfer), computer for ADB and Fastboot operations.
- Software Used: Kali NetHunter 2024.4 (TicWatch Pro 3 Wear OS rootfs nano), Magisk v24.3, vbmeta.img, rubyfish_recovery.img, disabler.zip, RUBYFISH_STOCK_PMRB.220703.001.zip.
- Skills Learned: ADB and Fastboot usage, Wear OS rooting, Magisk configuration, NetHunter setup on constrained devices.
2. Resources and References
The following resources were critical for completing this project:
-
Resource 1:
Title: Kali NetHunter TicWatch Pro 3 Installation Guide
Usage: Official guide for installing NetHunter on the TicWatch Pro 3, provided baseline steps. -
Resource 2:
Title: Kali NetHunter for TicWatch Pro Wear OS (XDA Forums)
Usage: Referenced for community insights and troubleshooting tips specific to Wear OS. -
Resource 3:
Title: BeeHiveSafety KnowledgeBase - NetHunter on TicWatch Pro
Usage: Detailed alternative guide with additional context for the installation process. -
Resource 4:
Title: YouTube Video - Installing NetHunter on Wear OS
Usage: Provided visual guidance, though not specific to TicWatch Pro 3, helped with general process understanding.
Additional Notes: The official Kali guide and XDA thread were the most reliable, but the YouTube video helped visualize the process despite not being an exact match for the TicWatch Pro 3. The BeeHiveSafety guide filled in gaps for specific steps.
Files I ended up using.: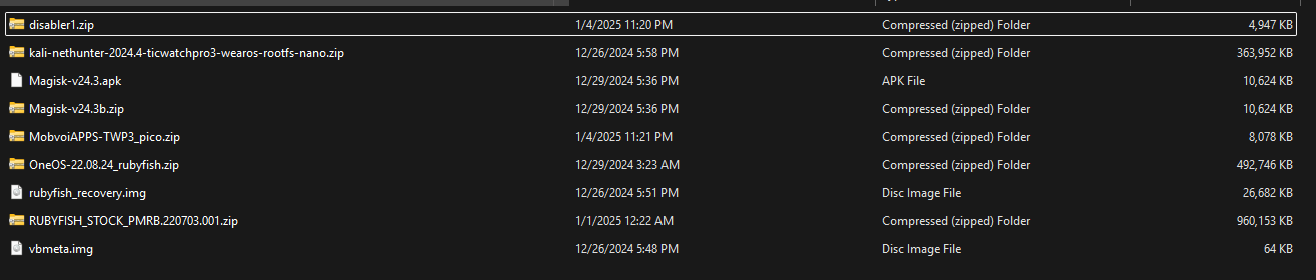
3. Reset Steps (If Something Goes Wrong)
If the installation fails or the device becomes unstable, follow these steps to reset the TicWatch Pro 3:
- Step 1: Reboot into recovery mode.
- Step 2: Use ADB to push the stock firmware:
adb push RUBYFISH_STOCK_PMRB.220703.001.zip /sdcard/. - Step 3: Install the stock firmware (stock_PMRB.zip) via recovery.
- Step 4: Reboot to system.
- Step 5: Reboot to recovery again.
-
Step 6: If "no command" appears:
- Hold the top button and swipe up.
- Select "wipe data and factory reset," then confirm with "yes." - Step 7: Select "reboot system now" to complete the reset.
4. Installation Steps
The installation process is highly specific and must be followed in this exact order. This was not a simple task and required significant trial and error:
-
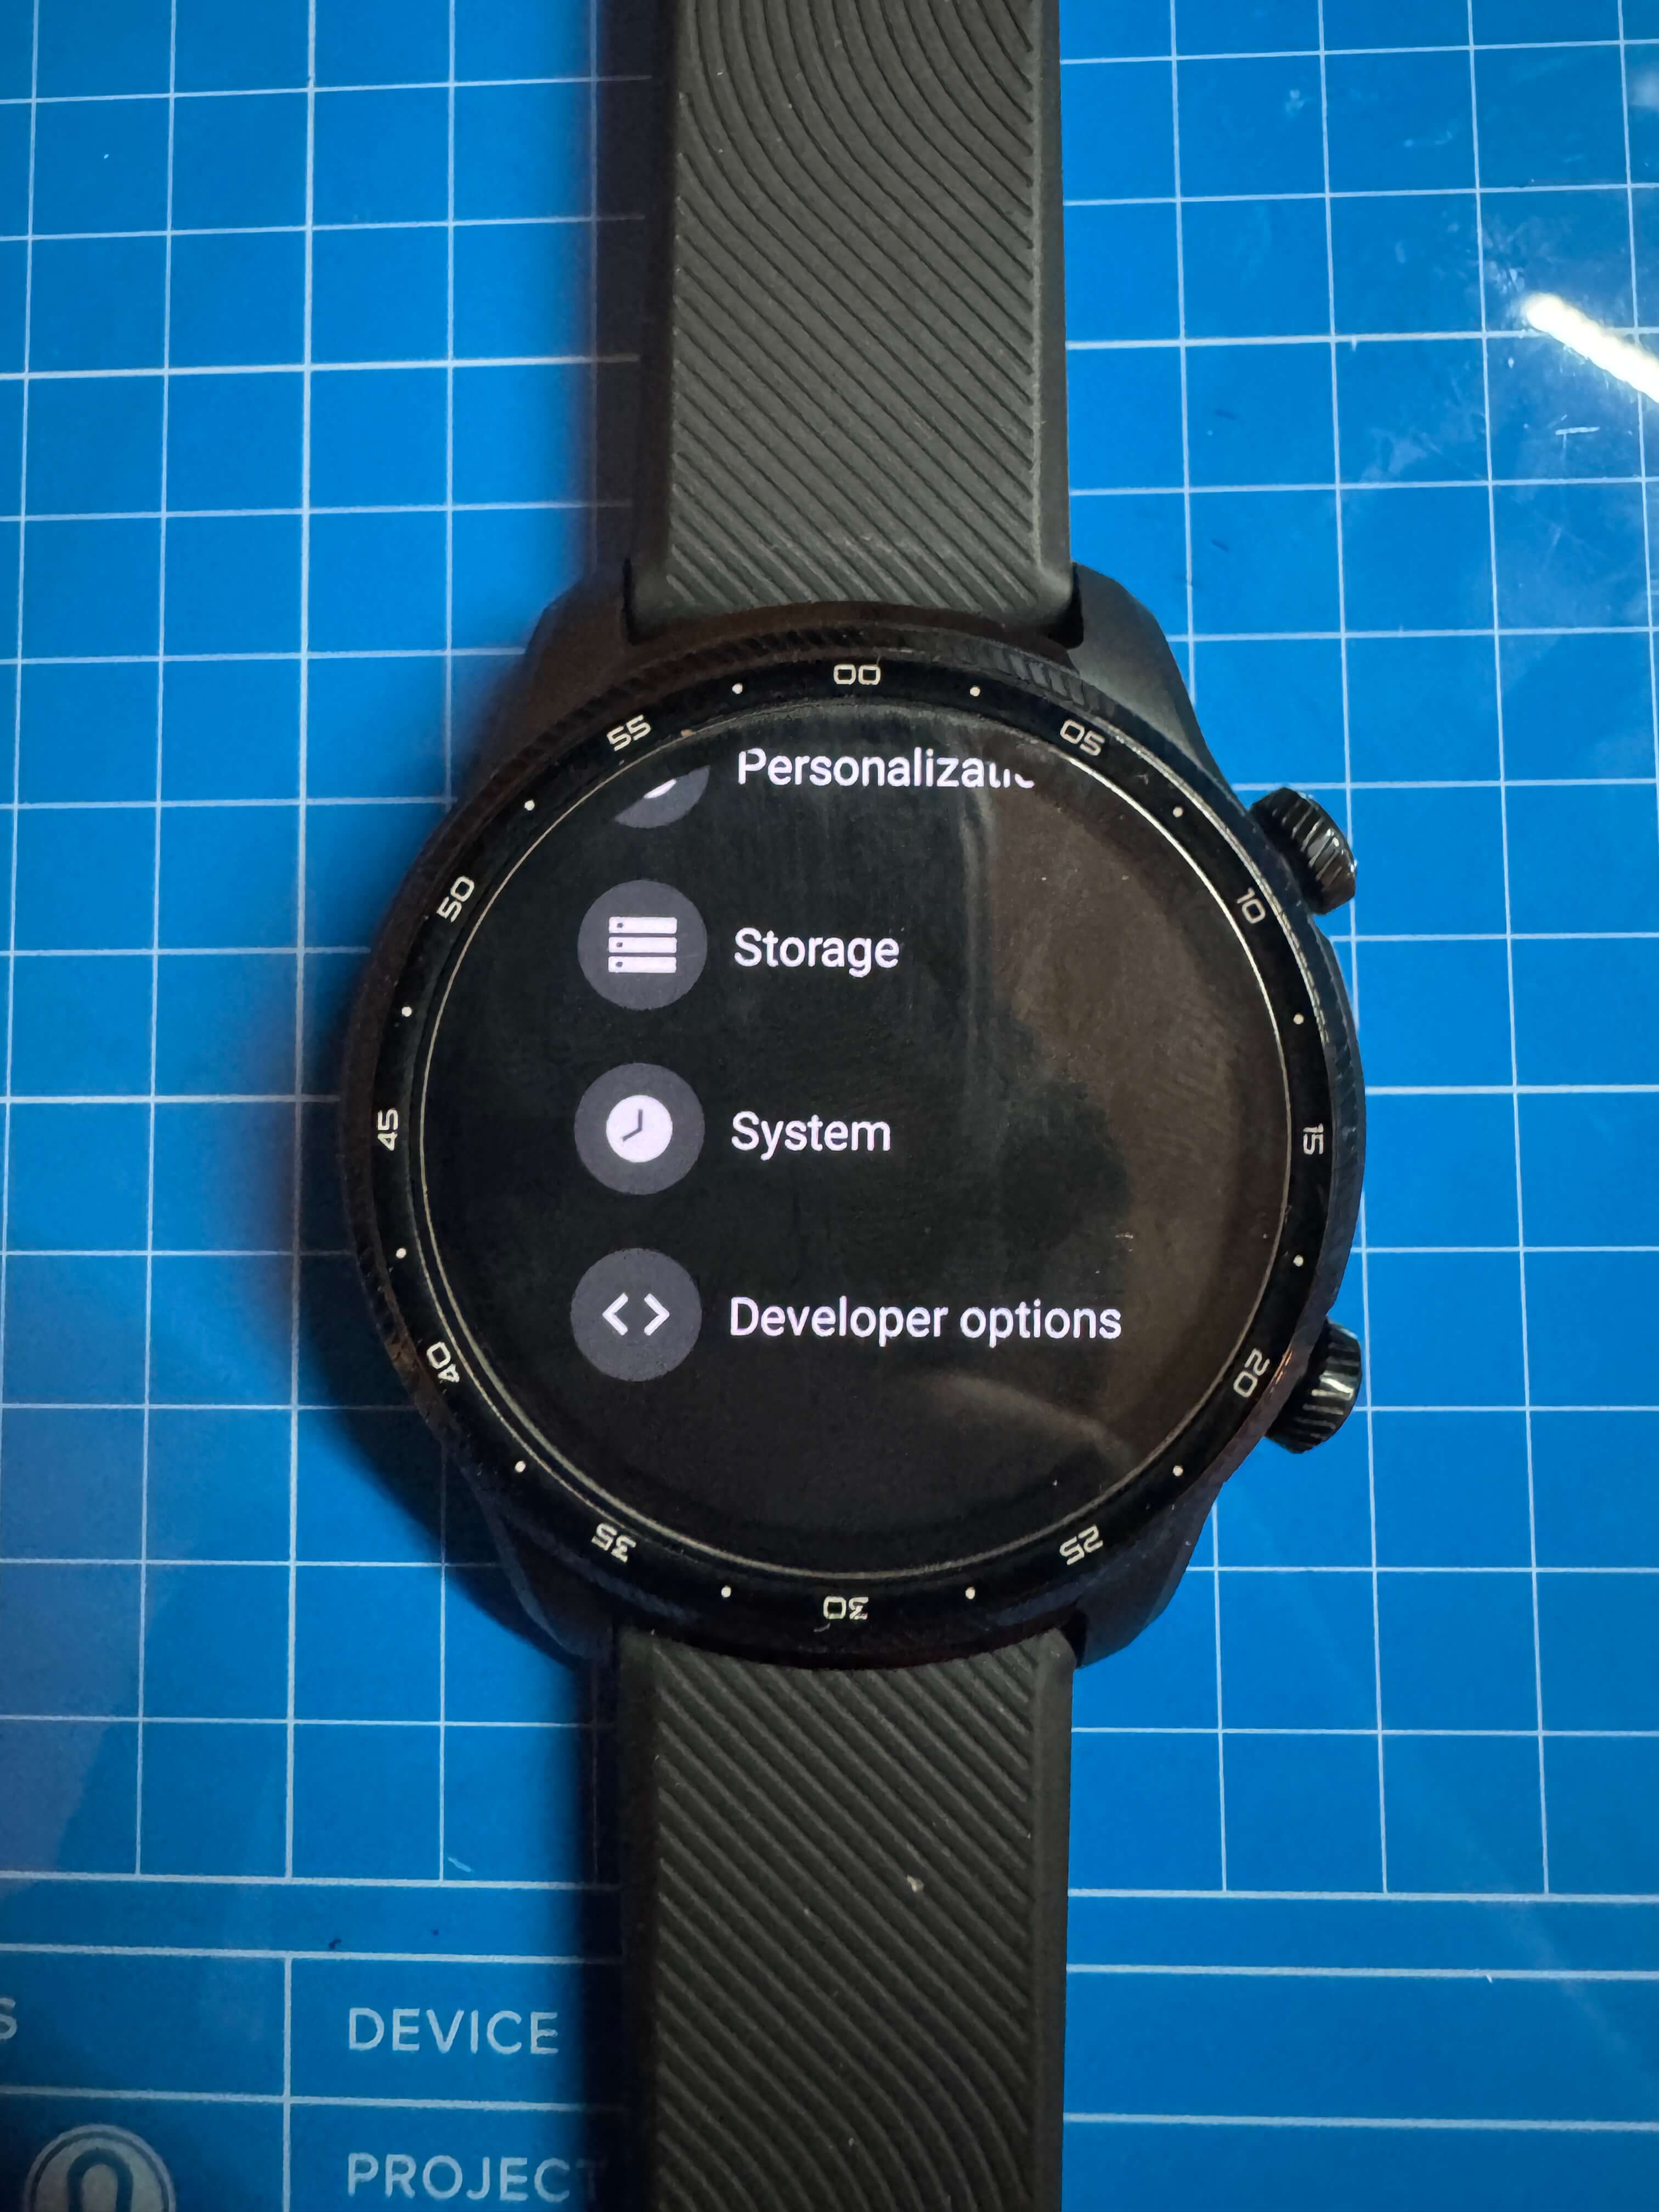
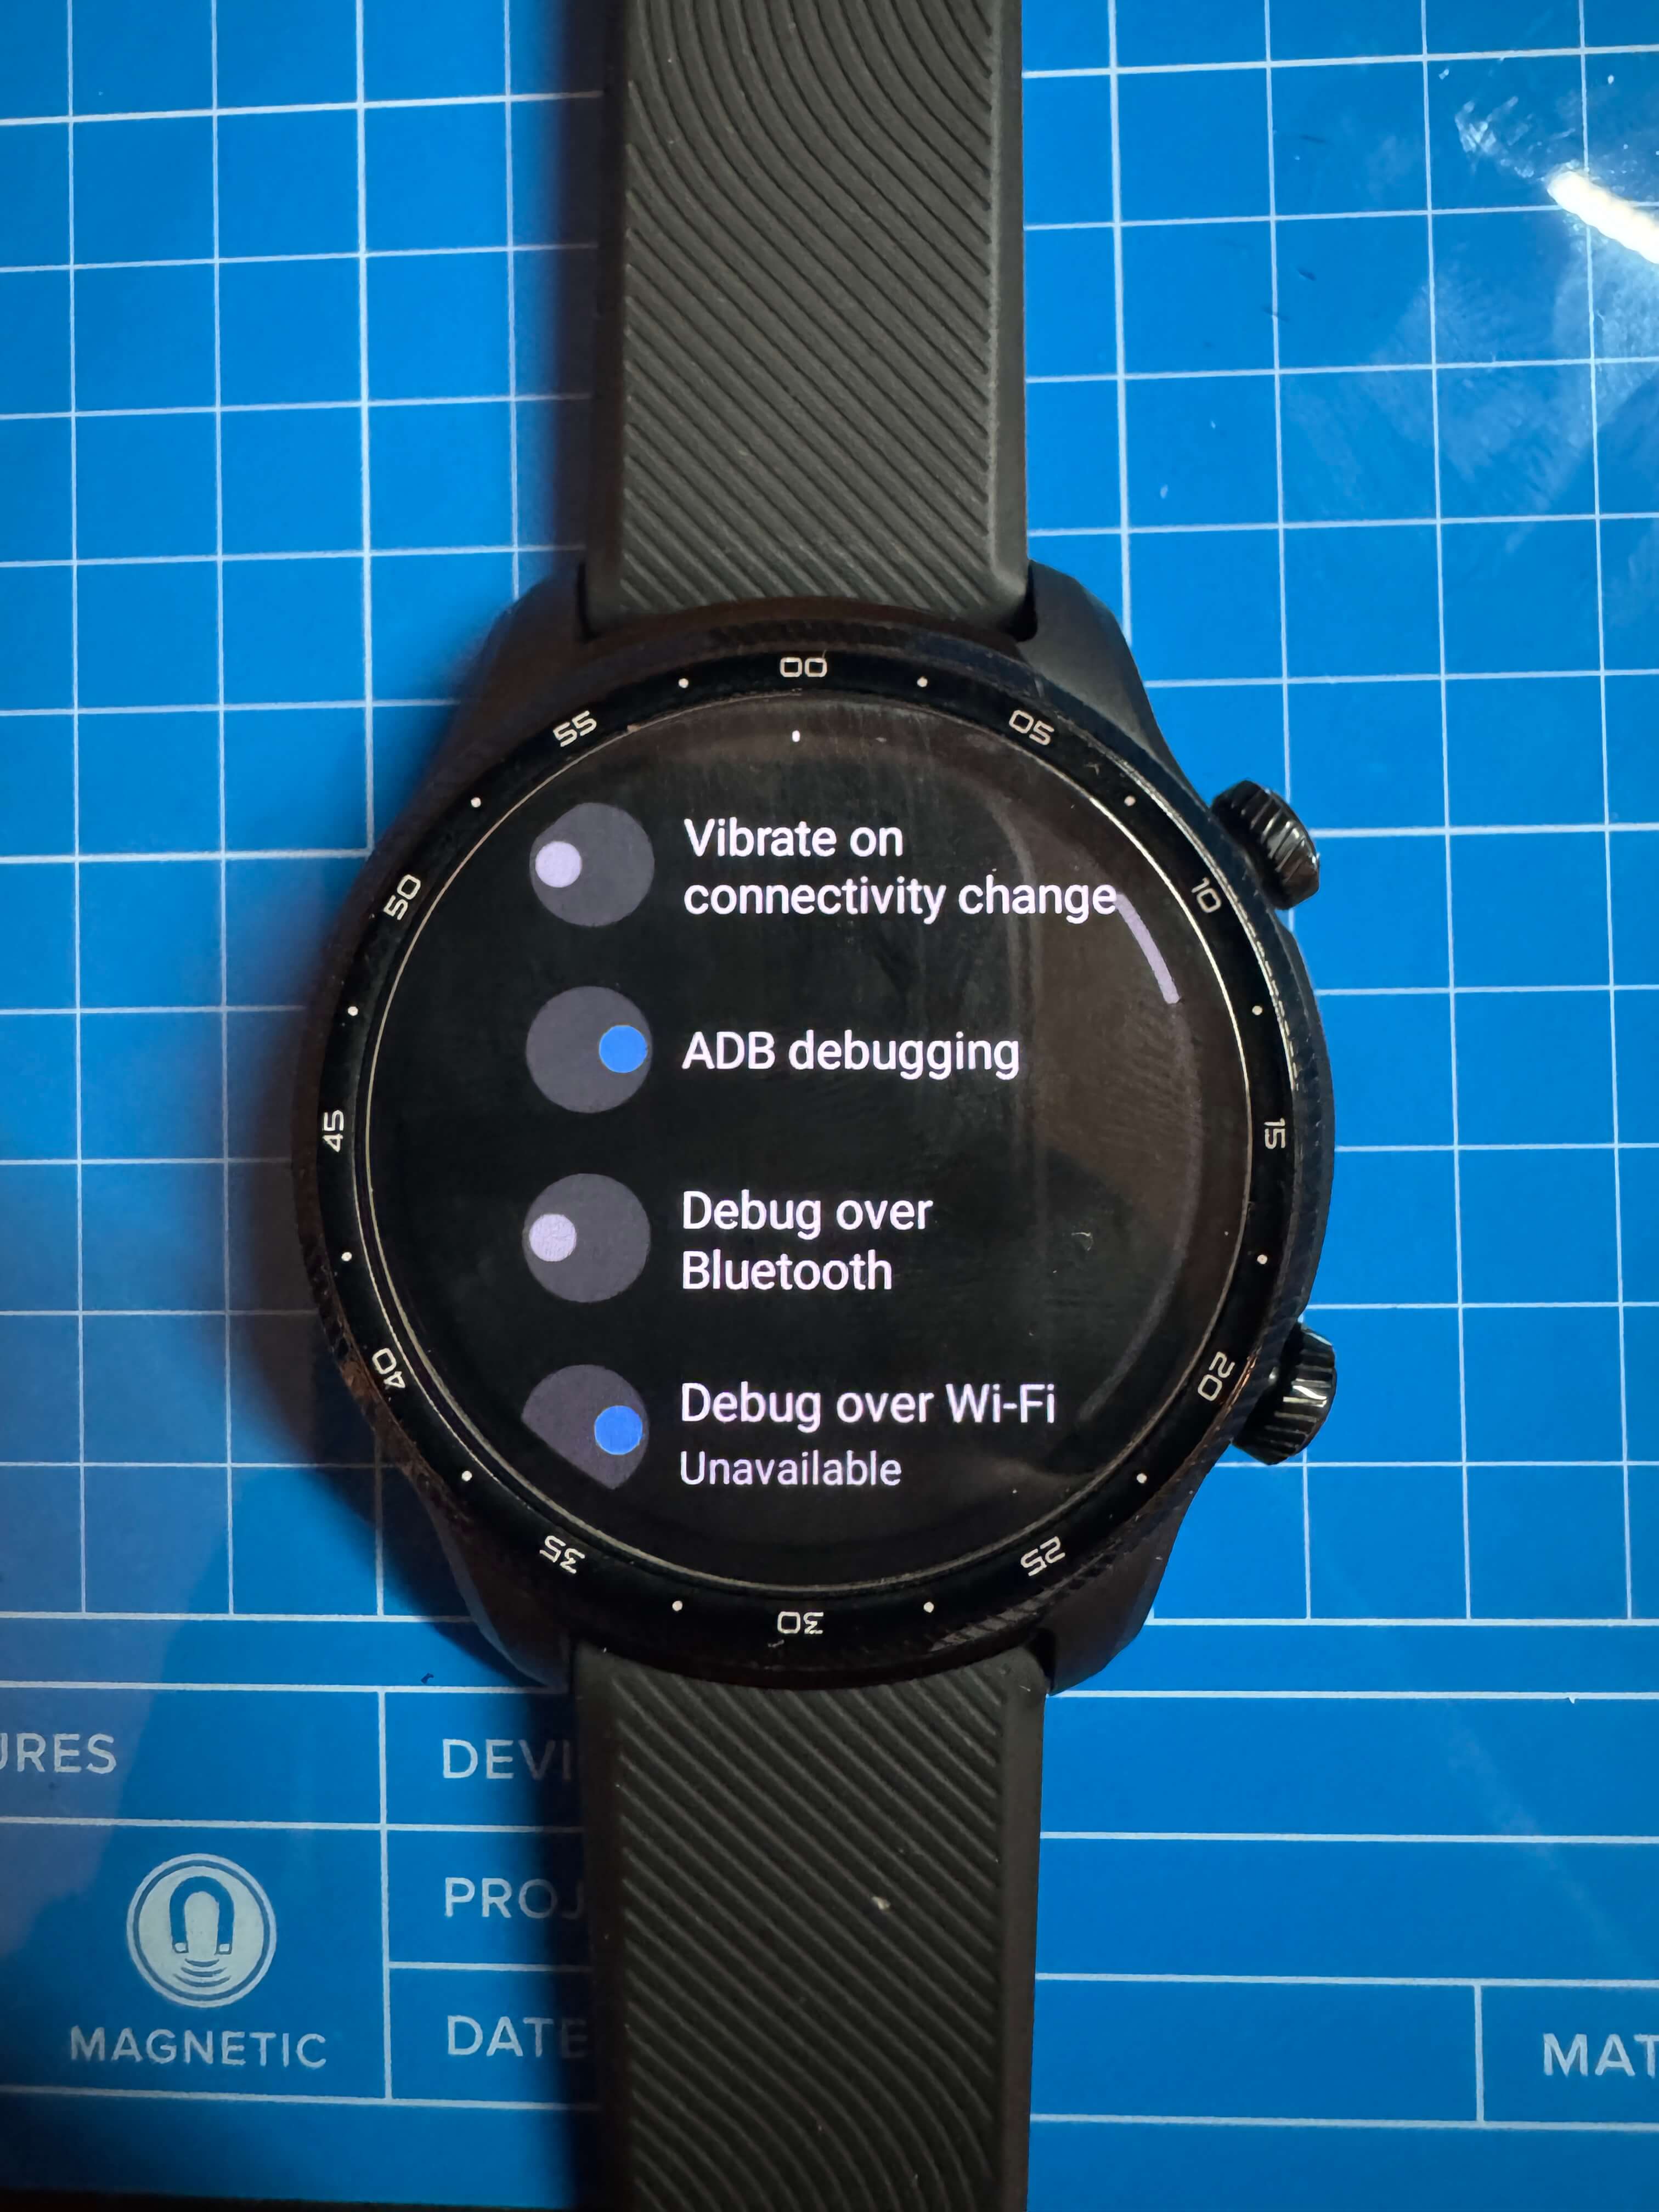
Step 1: Enable Developer Options
Description: Plug the TicWatch Pro 3 into a computer using a modified GoPro data cable (the watch ships with a power-only cable, so I had to cut and repurpose a GoPro cable for data transfer). Enable ADB in Developer Options.
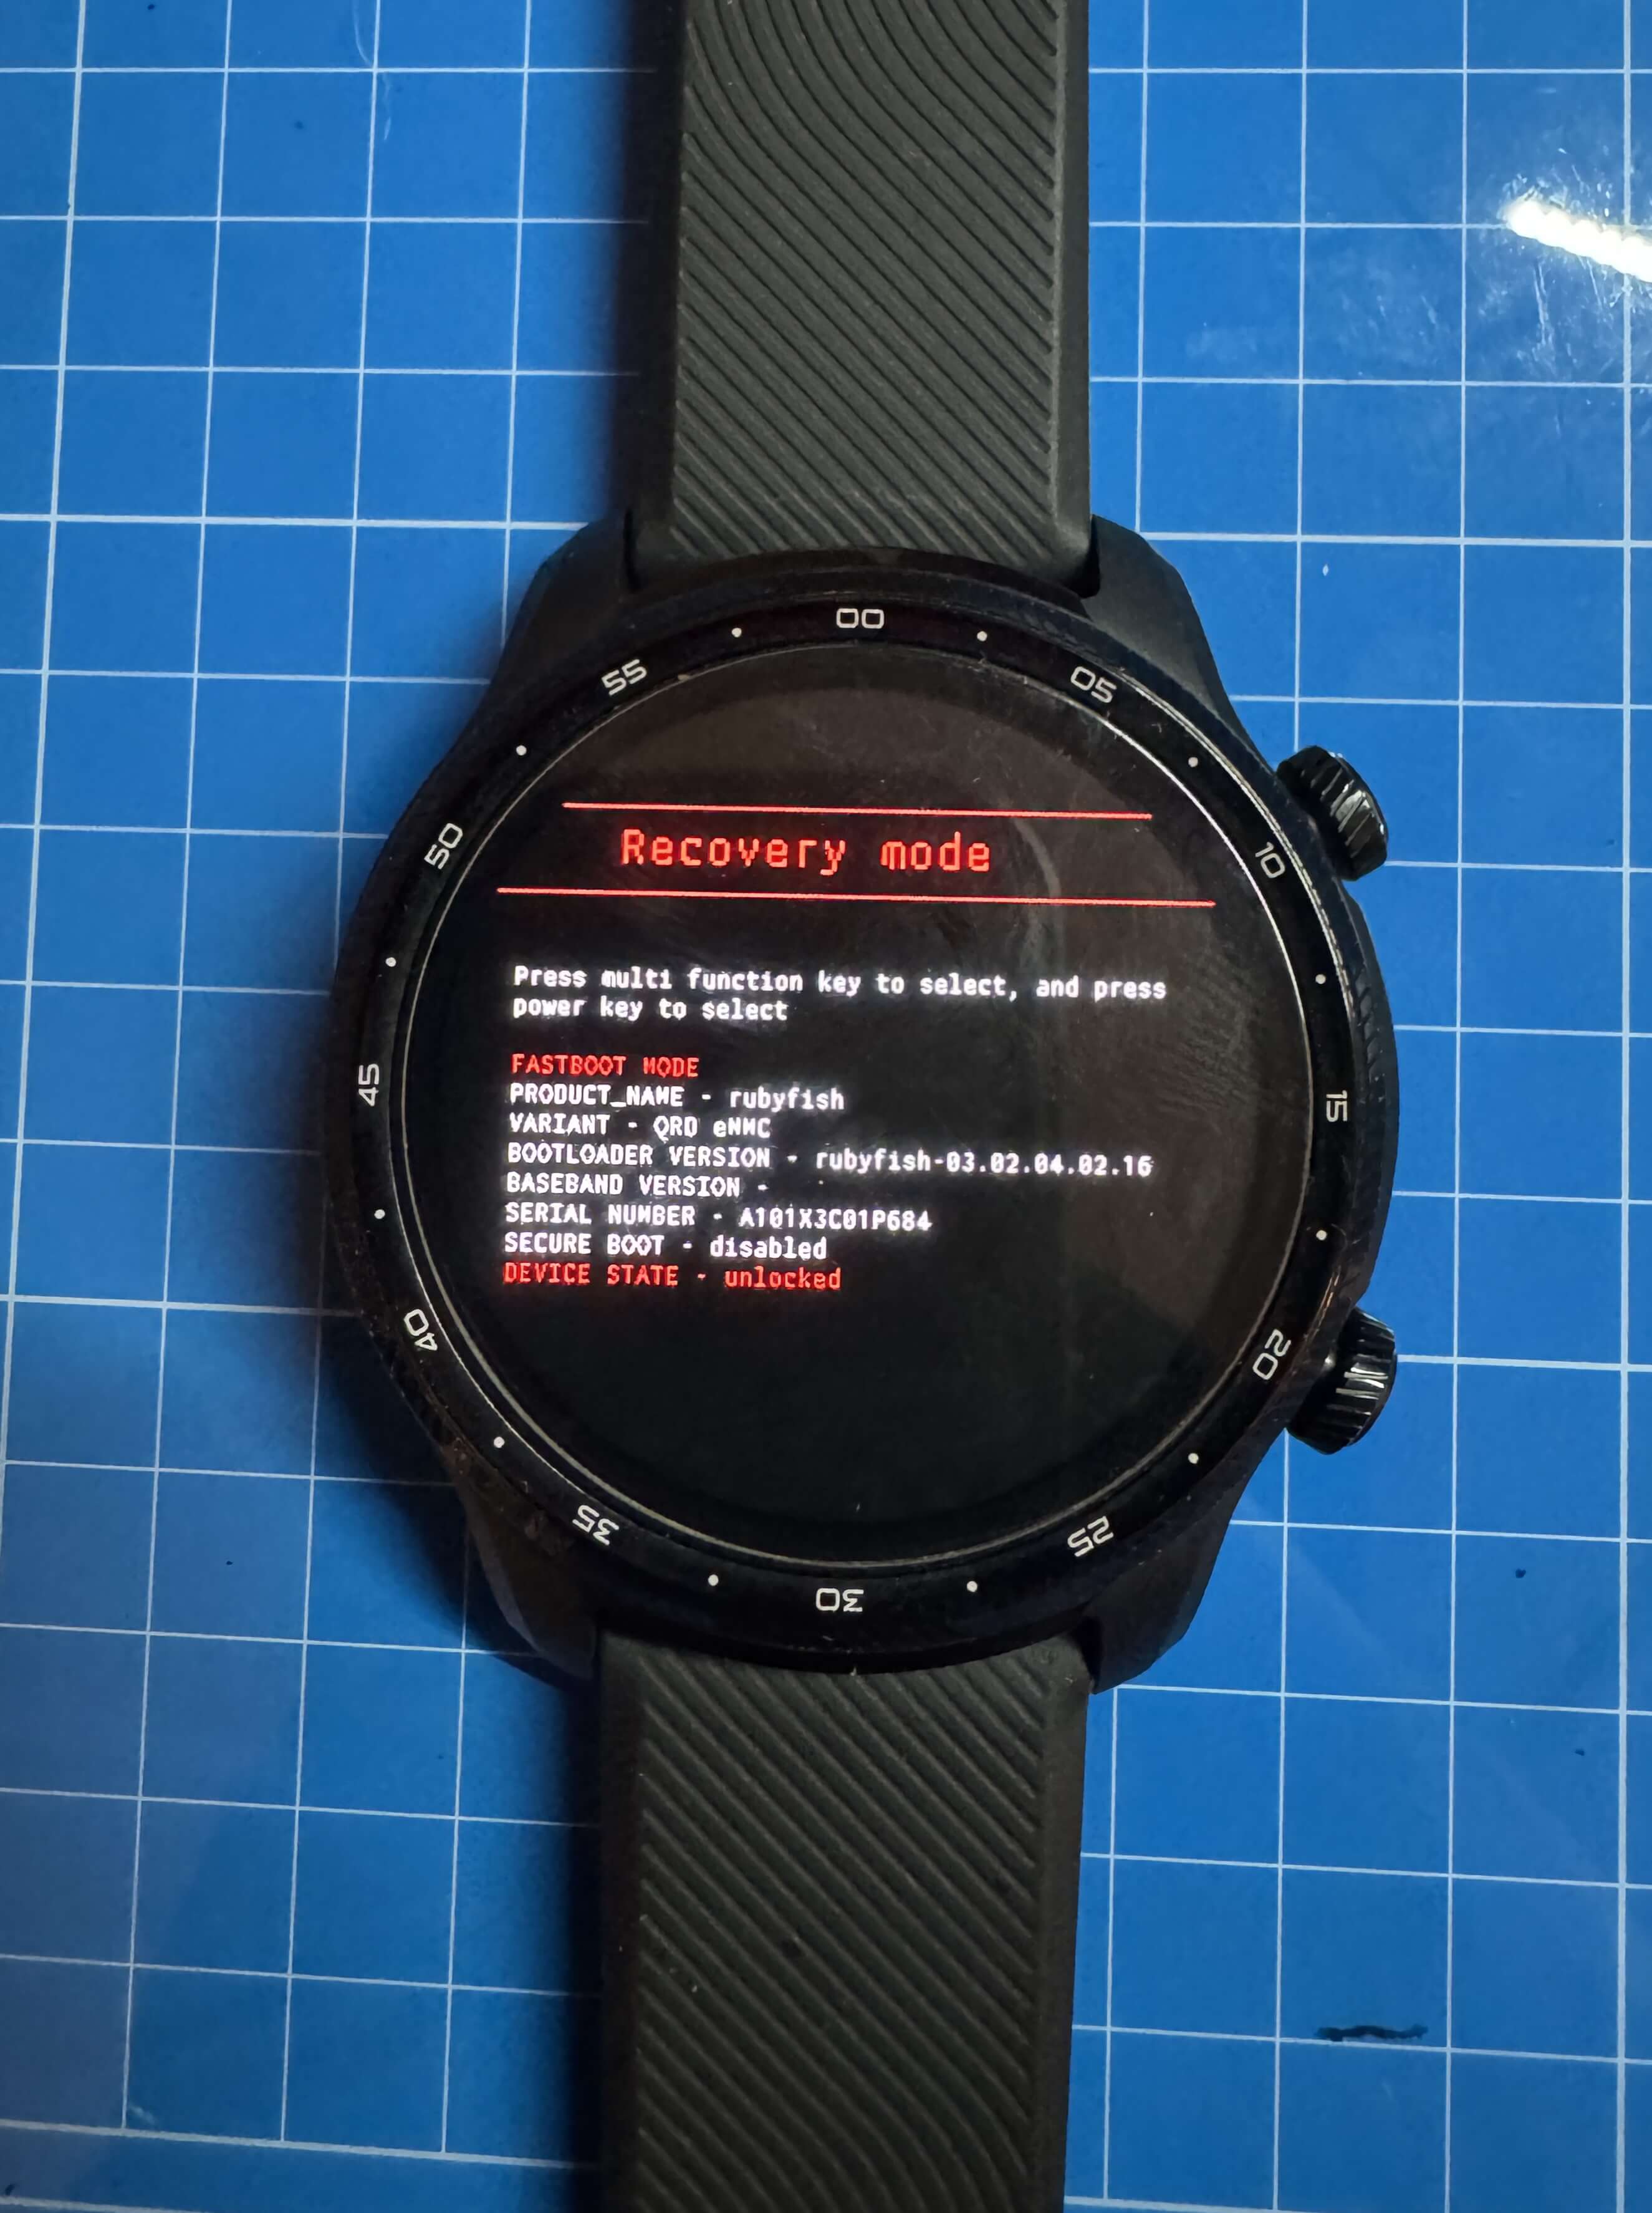
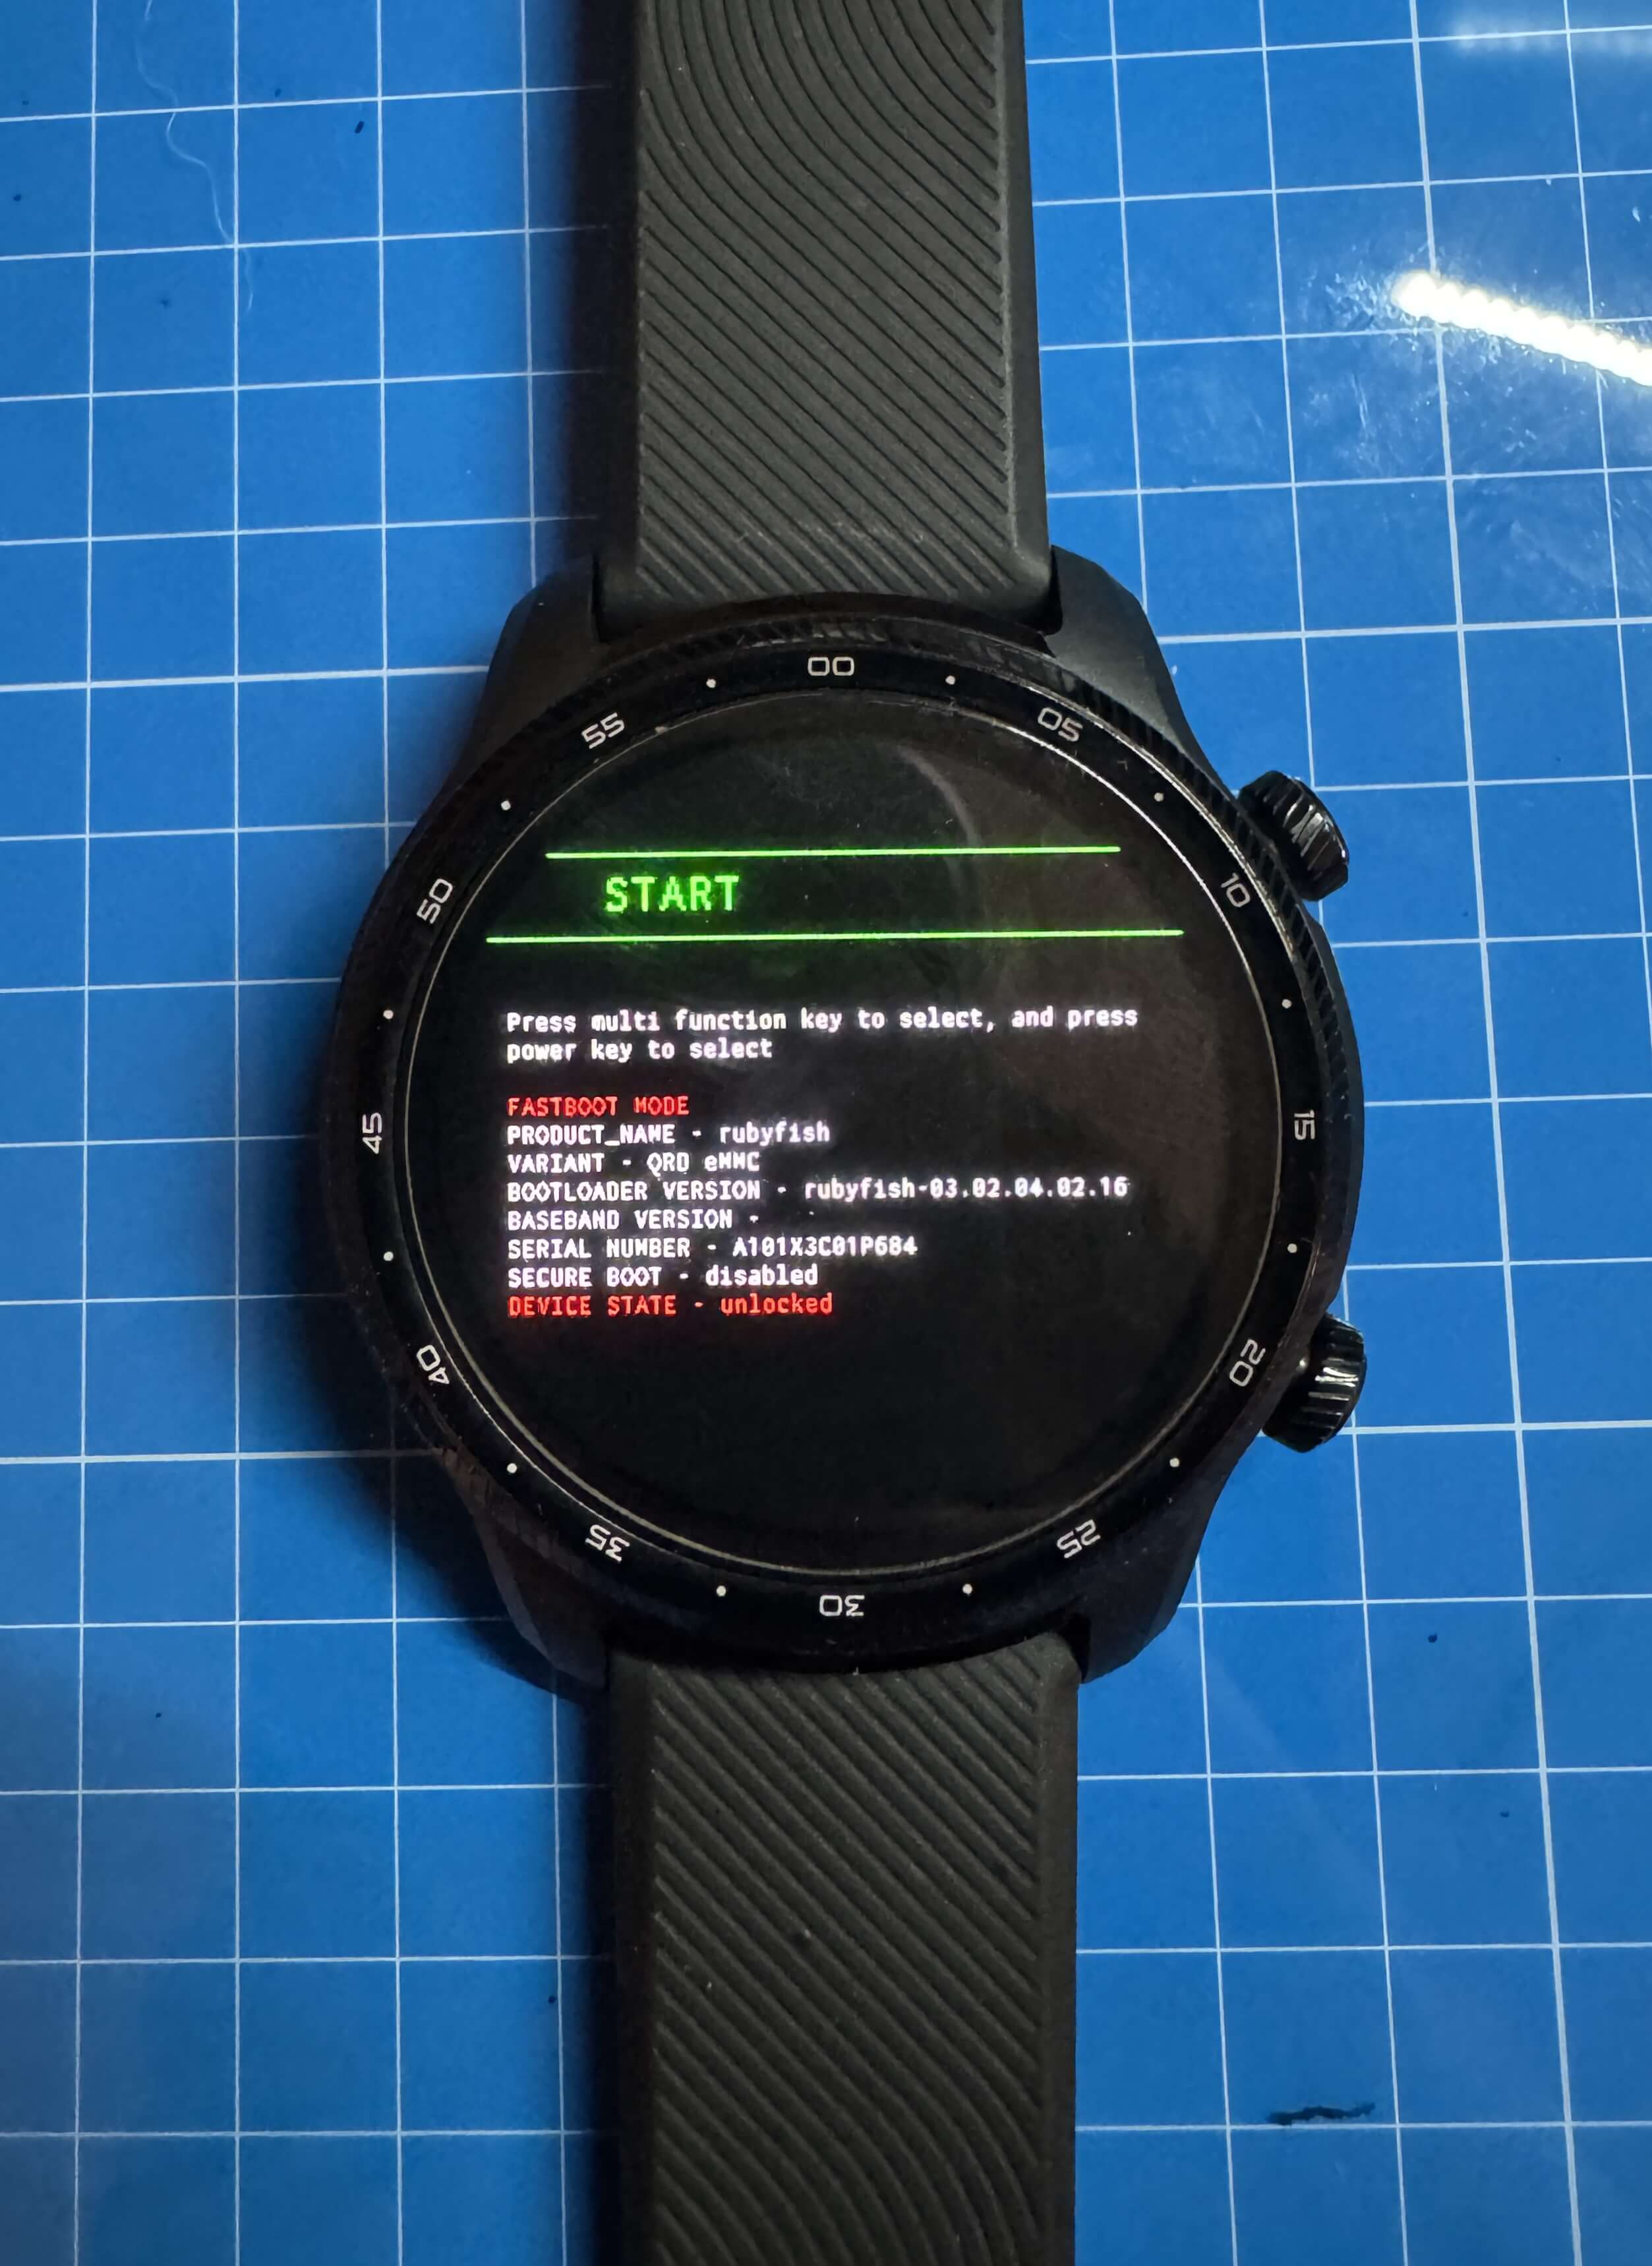
Challenges: Sourcing a data-capable cable was a major hurdle since the TicWatch Pro 3 does not include one. - Step 2: Reboot into bootloader:
adb reboot bootloader. - Step 3: Disable verity and verification, then flash vbmeta:
fastboot --disable-verity --disable-verification flash vbmeta vbmeta.img. - Step 4: Flash the custom recovery:
fastboot flash recovery rubyfish_recovery.img. - Step 5: Reboot into recovery:
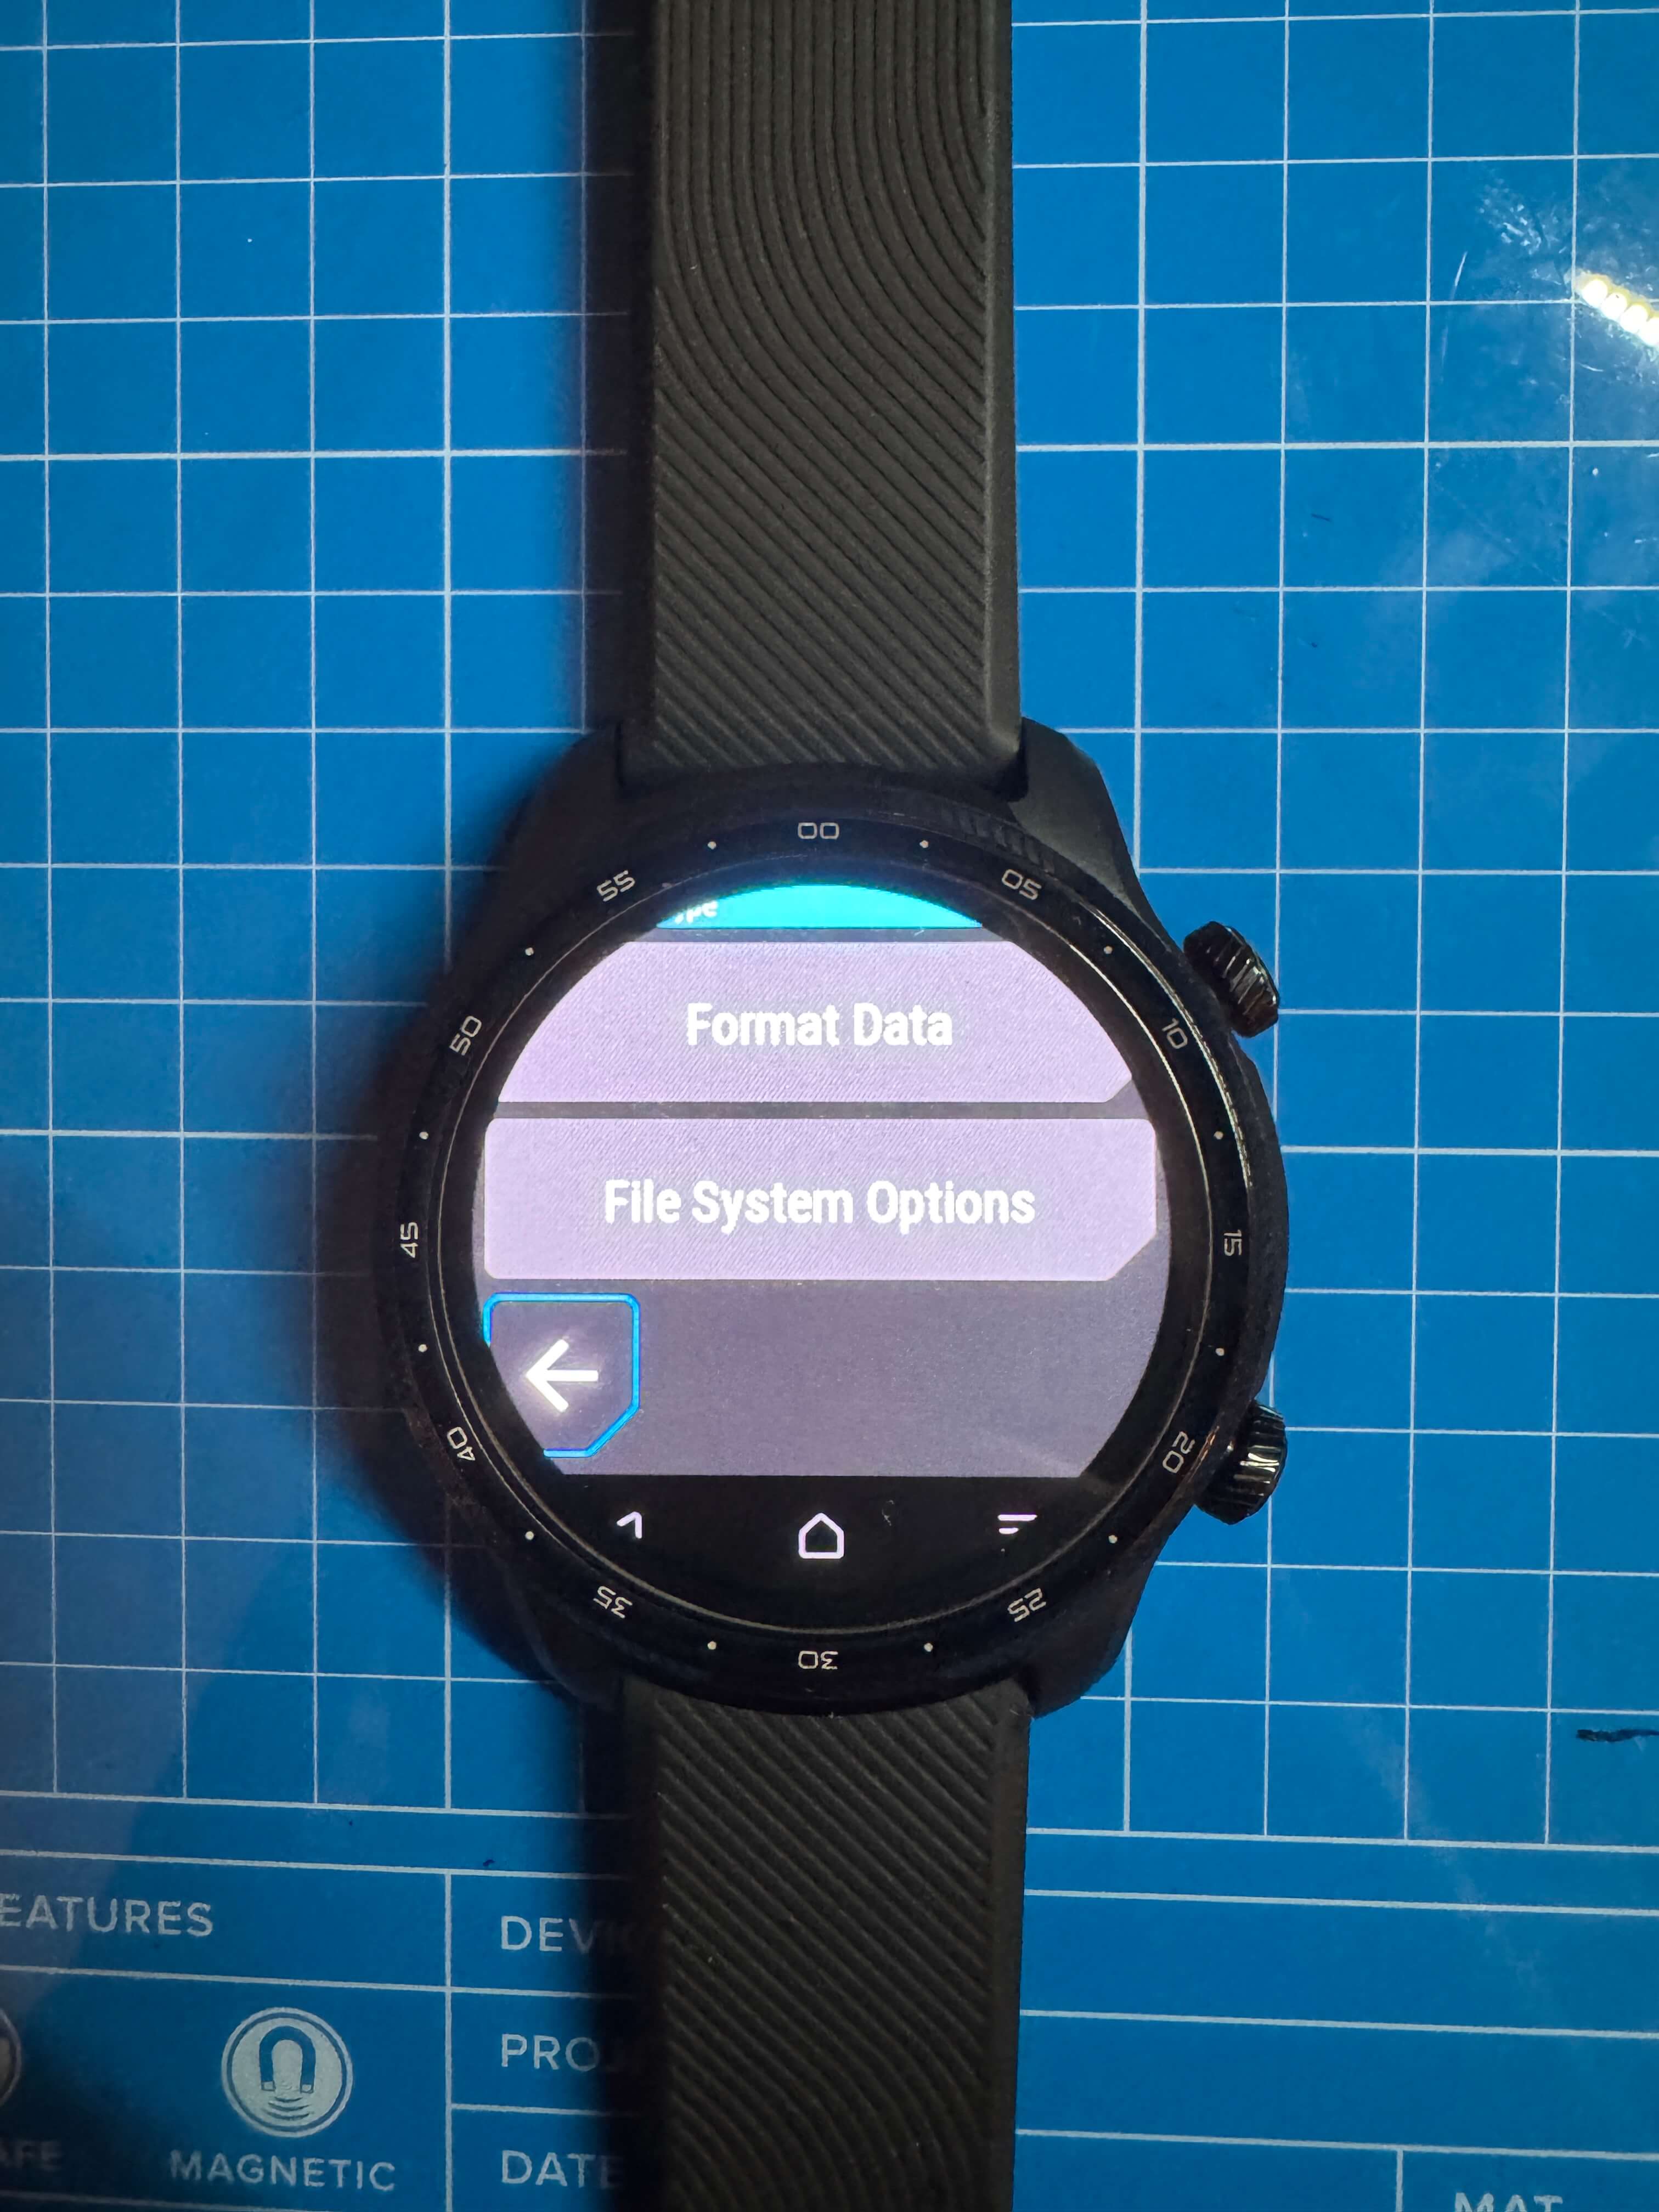
adb reboot recovery. - Step 6: In recovery, go to wipe > next page > format data > confirm with "yes."
-
 Step 7: Reboot into recovery again, then wipe Dalvik and cache via the ADB sideload option.
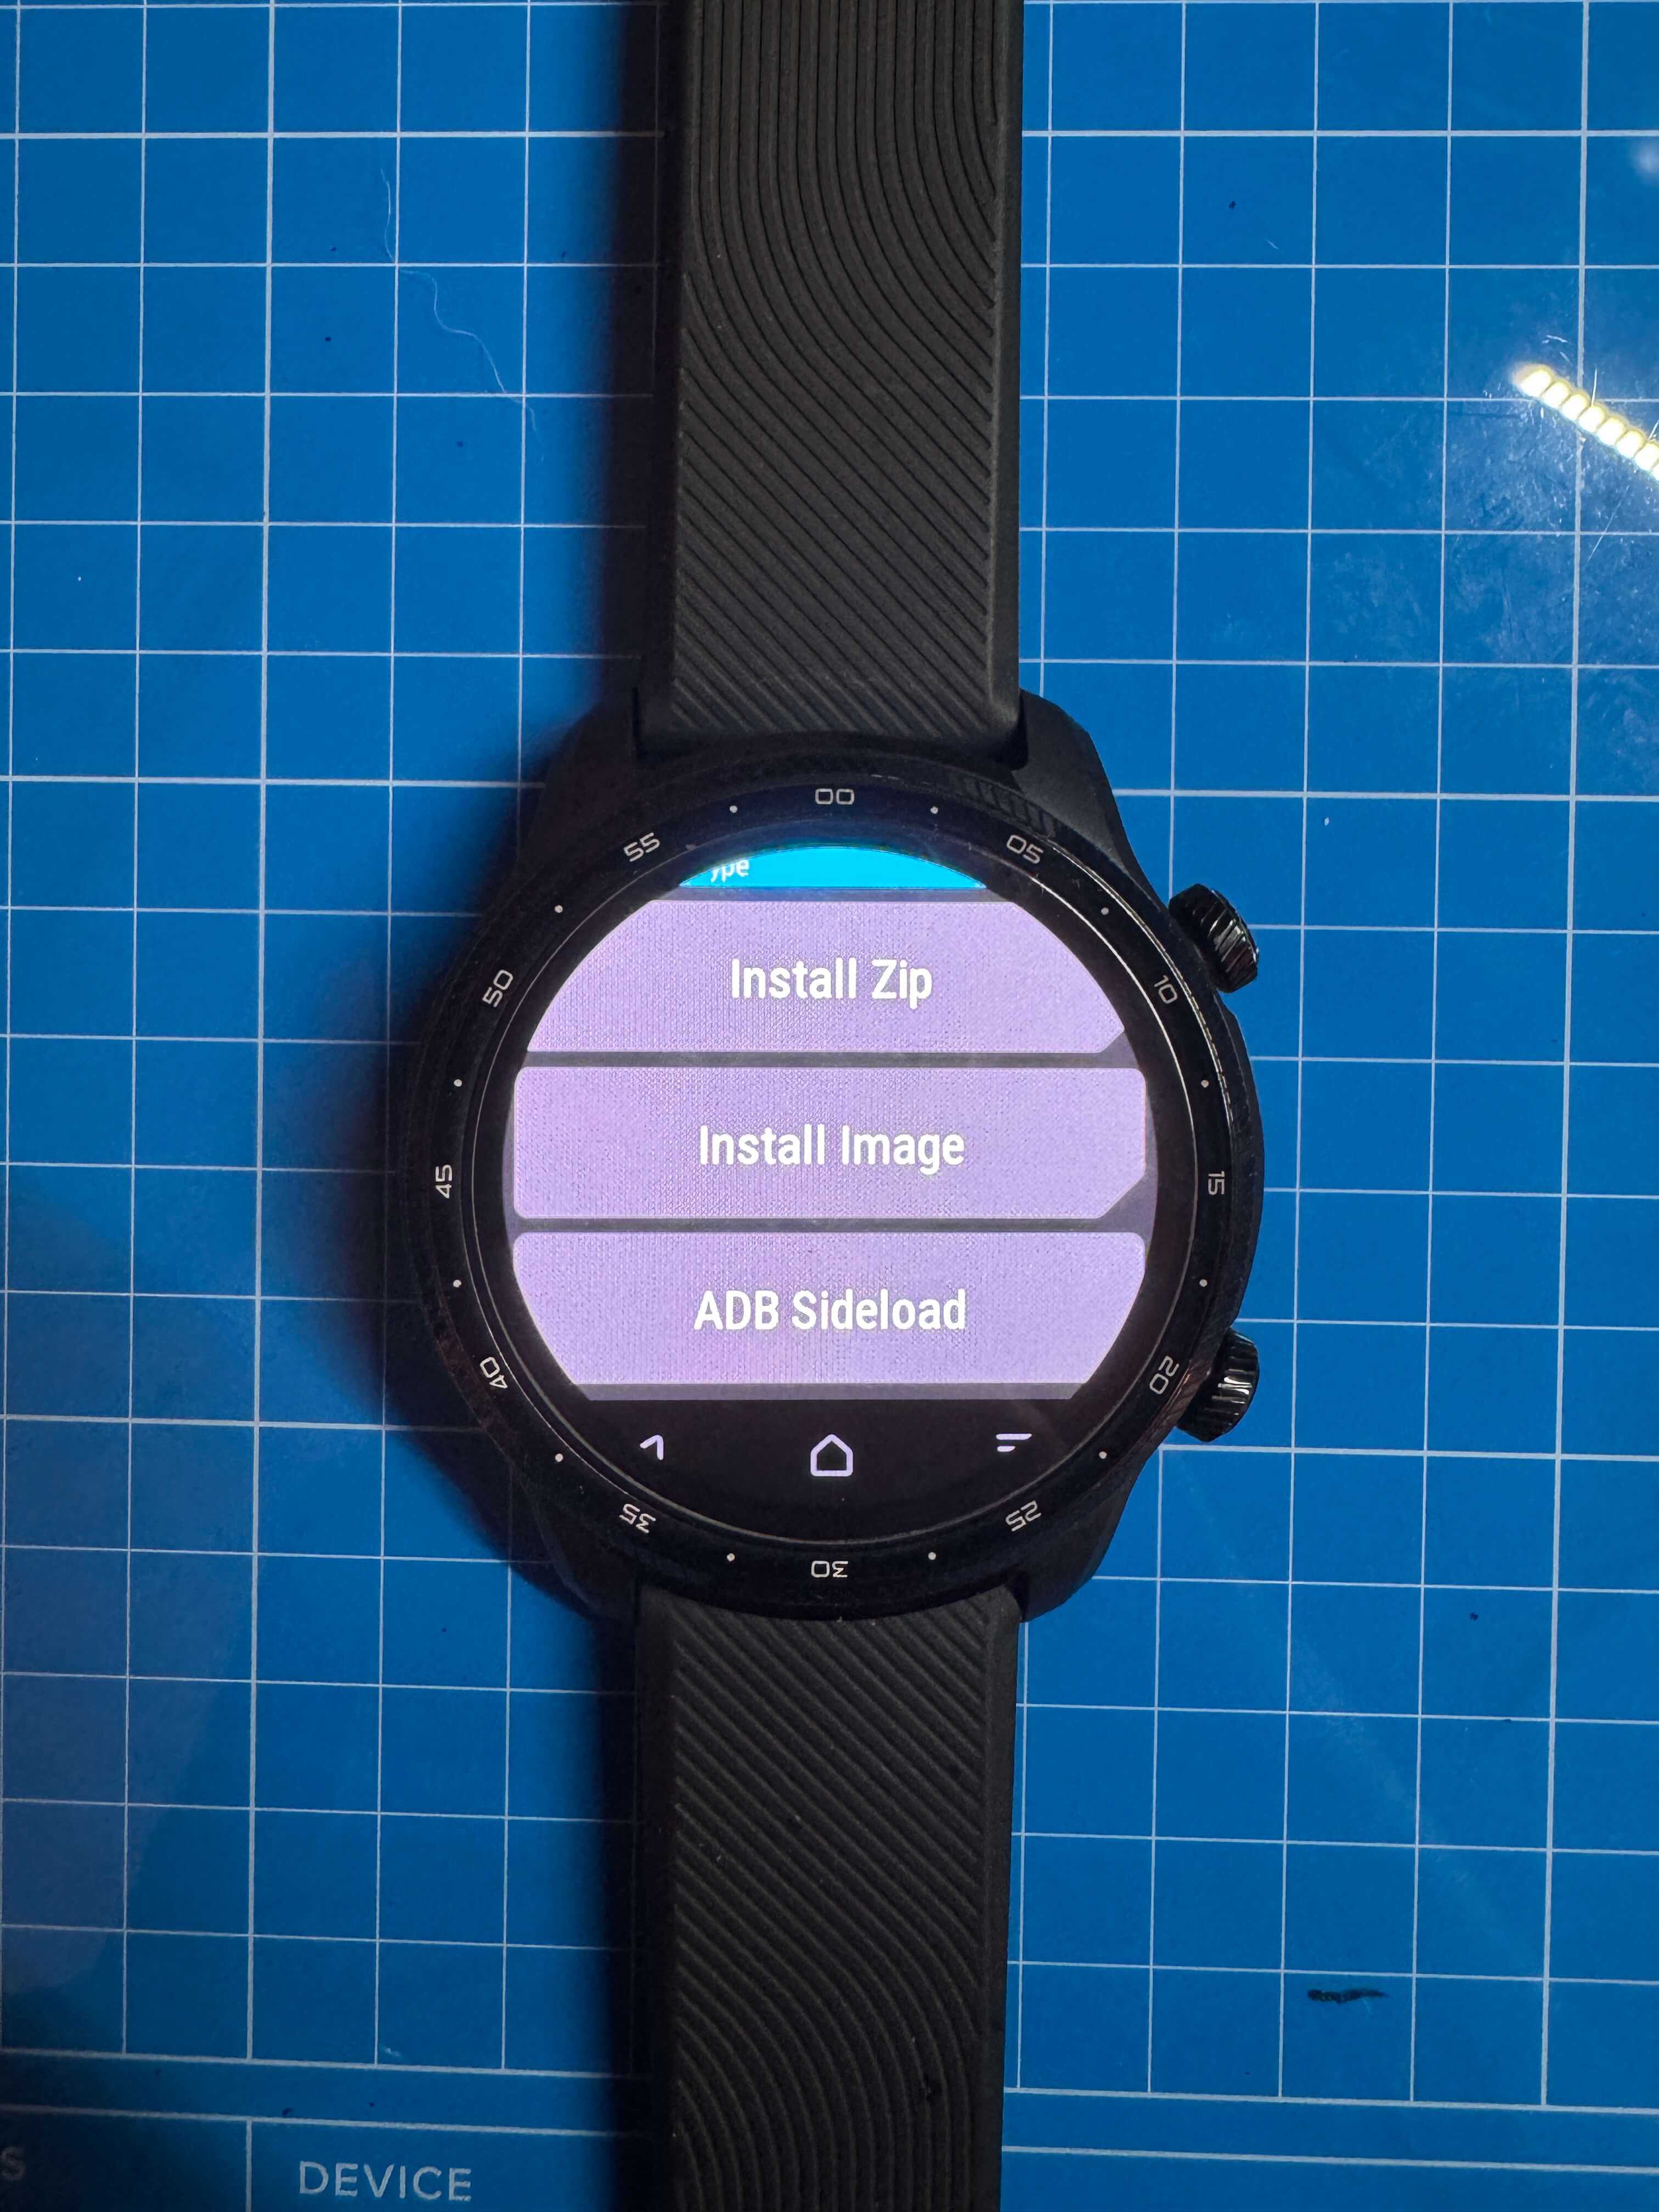
- Step 8: Sideload Magisk:
adb sideload Magisk-v24.3b.zip. - Step 9: Push the disabler zip:
adb push disabler.zip /sdcard/, then install it via the "Install zip" option in recovery. - Step 10: Reboot and complete the initial setup again.
- Step 11: Re-enable ADB in Developer Options.
- Step 12: Install the Magisk APK:
adb install Magisk-v24.3.apk. - Step 13: Reboot into recovery:
adb reboot recovery. - Step 14: In recovery, go to wipe > next page > file system options > select system > resize.
- Step 15: Reboot to system.
-
Step 16: Open Magisk and configure:
- Disable "check-update."
- Set "prompt in auto response."
- Disable "toast notification." - Step 17: Reboot into recovery:
adb reboot recovery. -
 Step 18: In recovery, go to next page > Mount > enable system, CACHE, and DATA.
- Step 19: Push the NetHunter zip:
adb push kali-nethunter-2024.4-ticwatchpro3-wearos-rootfs-nano.zip /sdcard/. - Step 20: Reboot into recovery again.
- Step 21: Install the NetHunter zip via the "Install zip" option, then reboot to system.
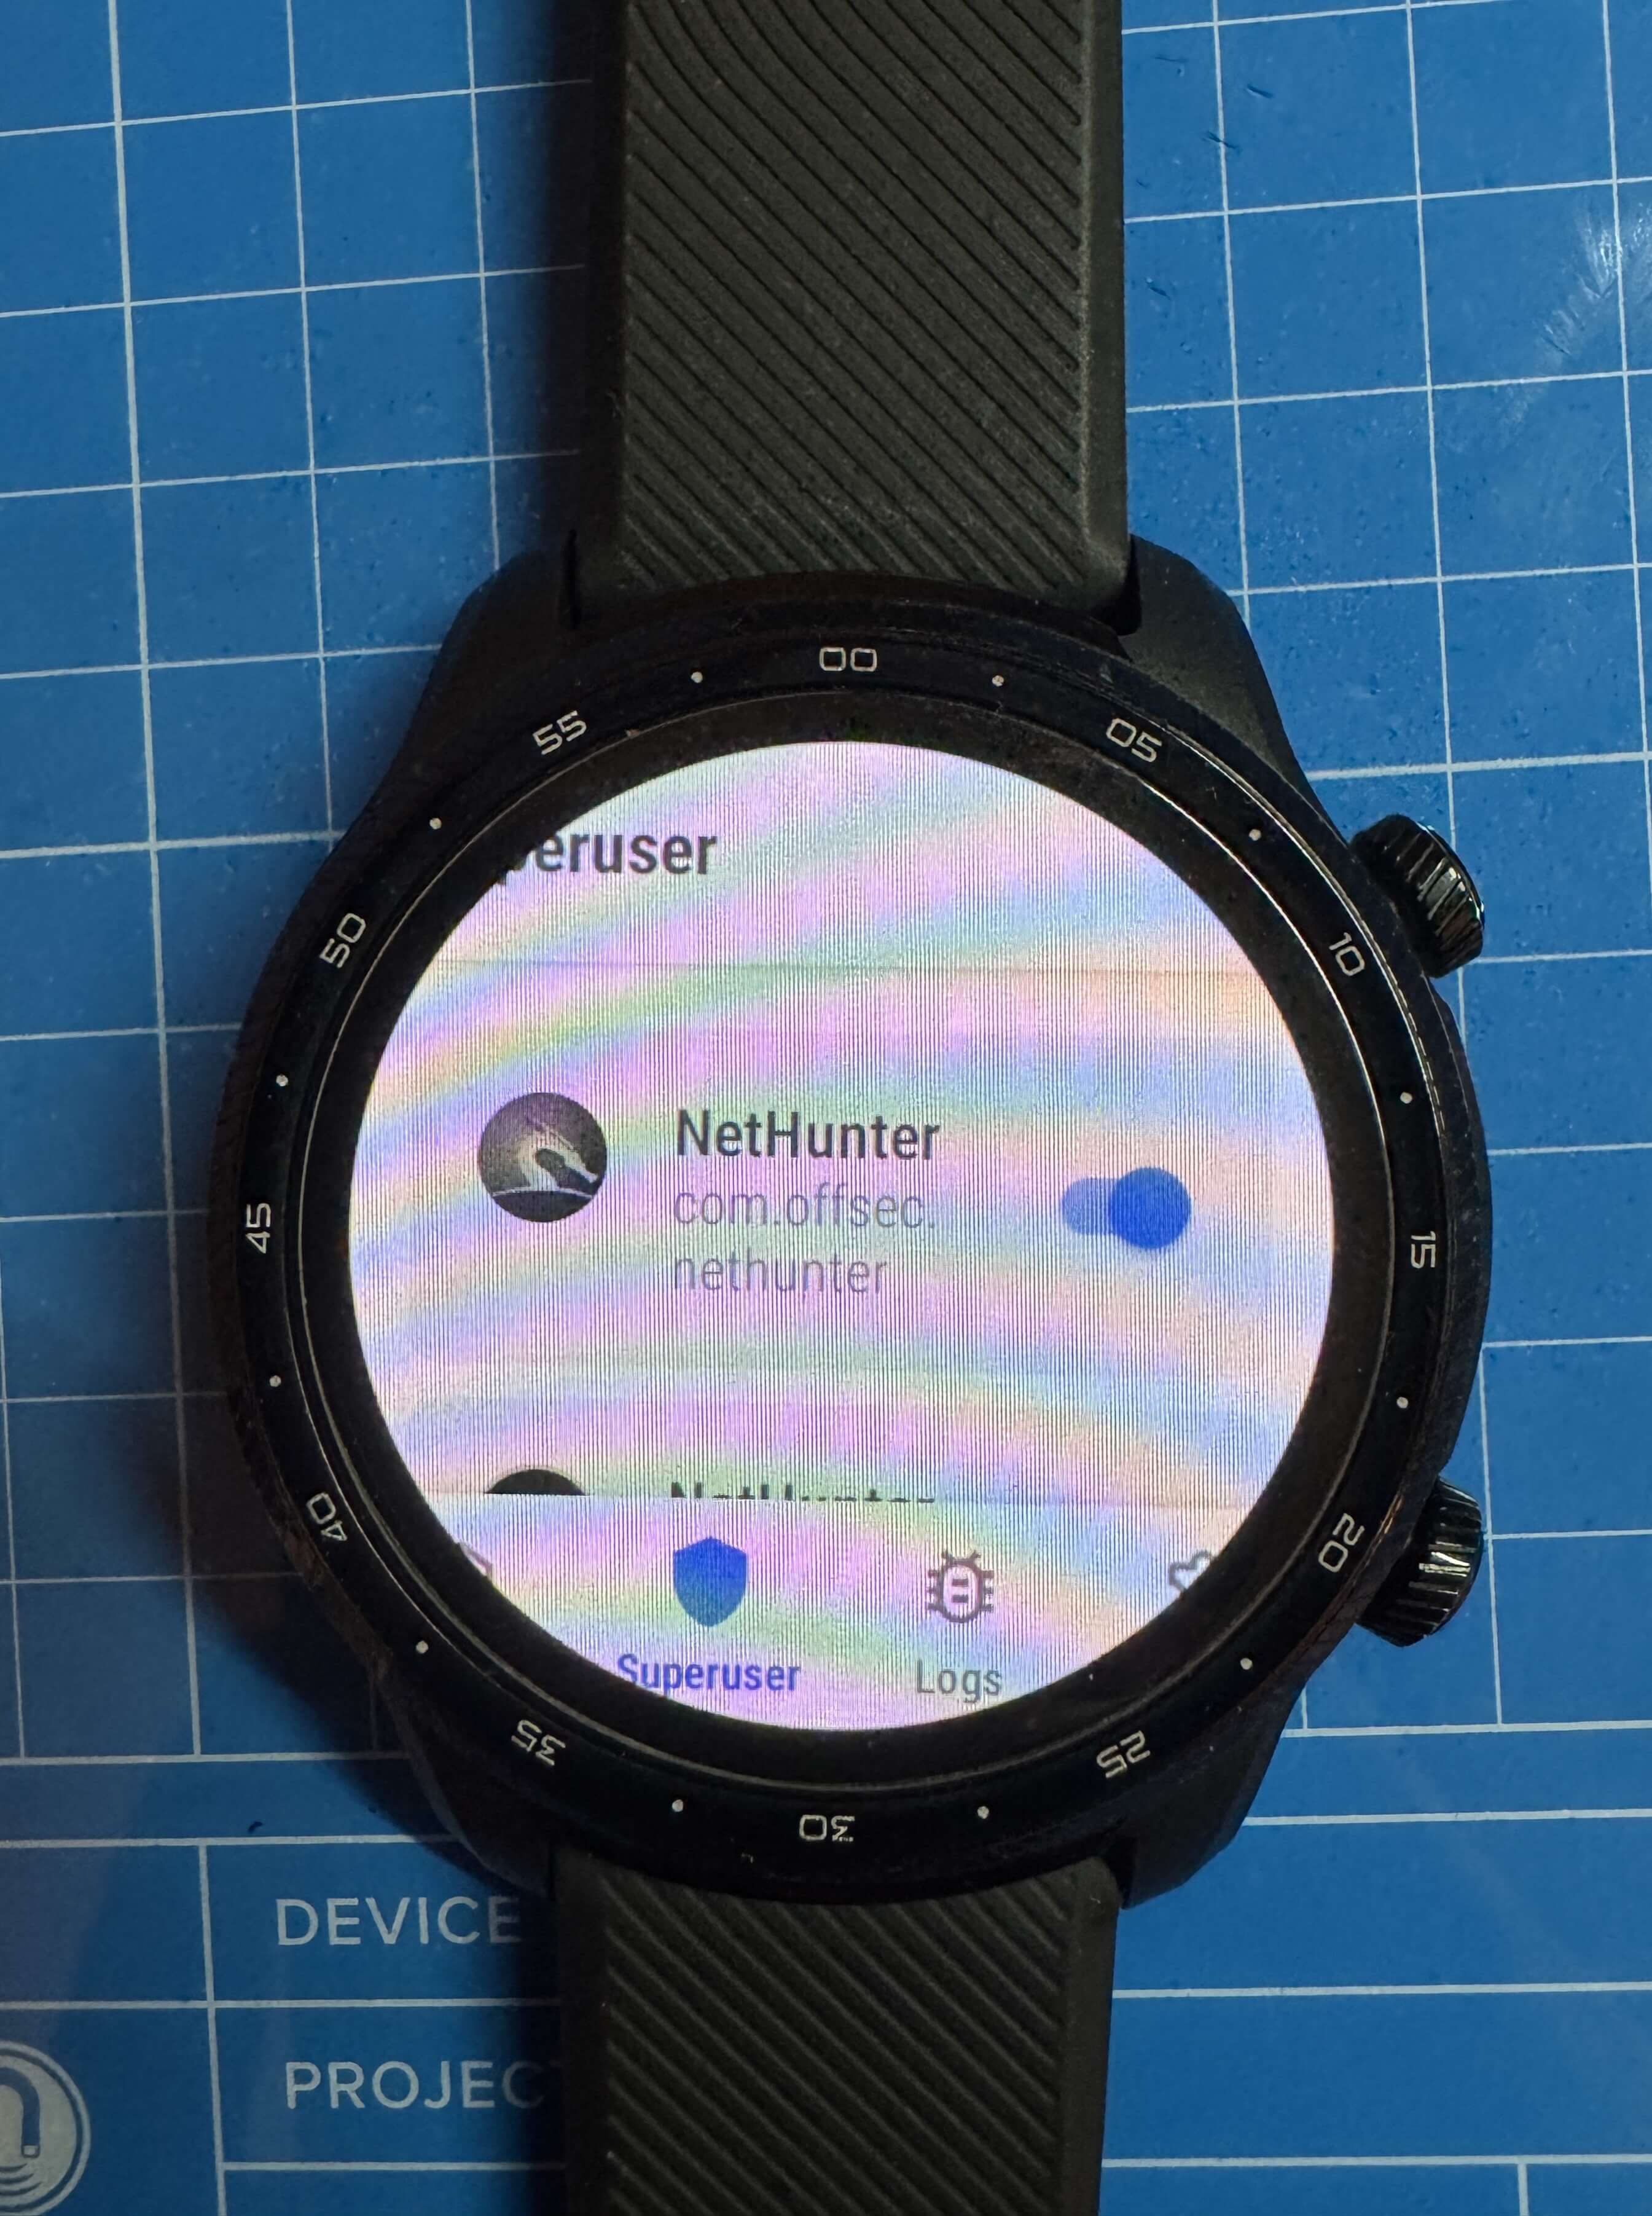
- Step 22: In Magisk, grant superuser access to the NetHunter app.
-
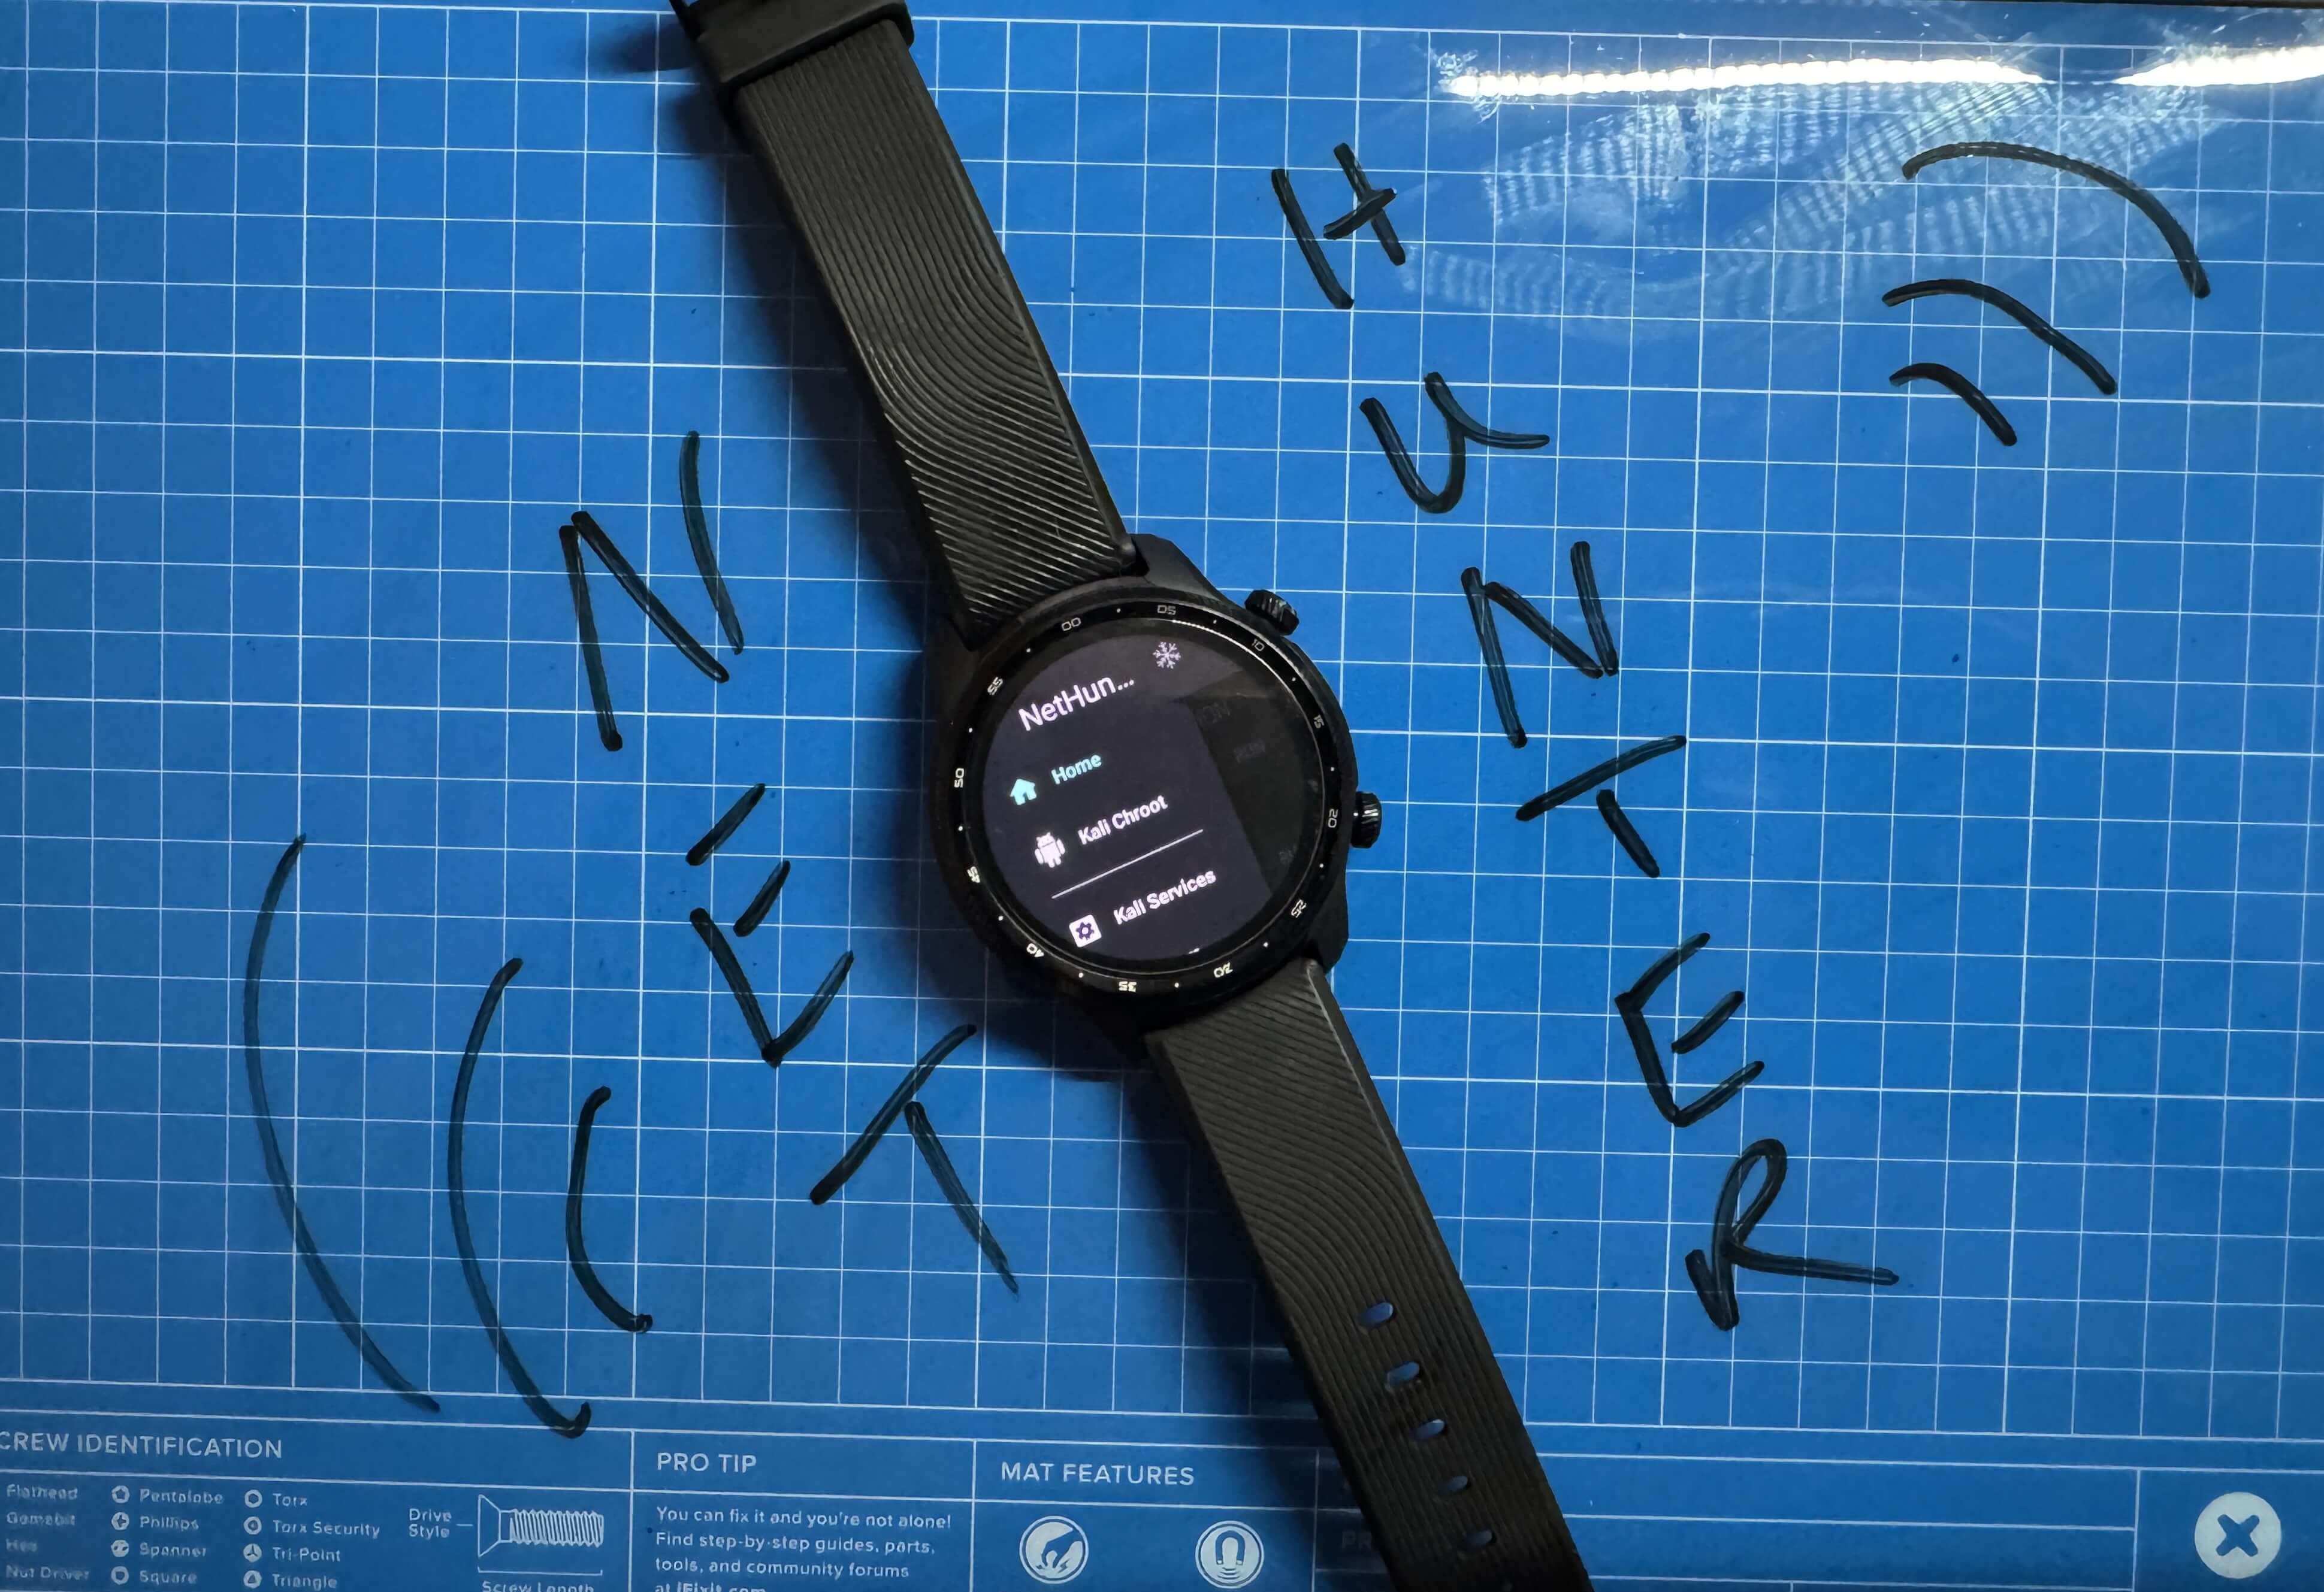
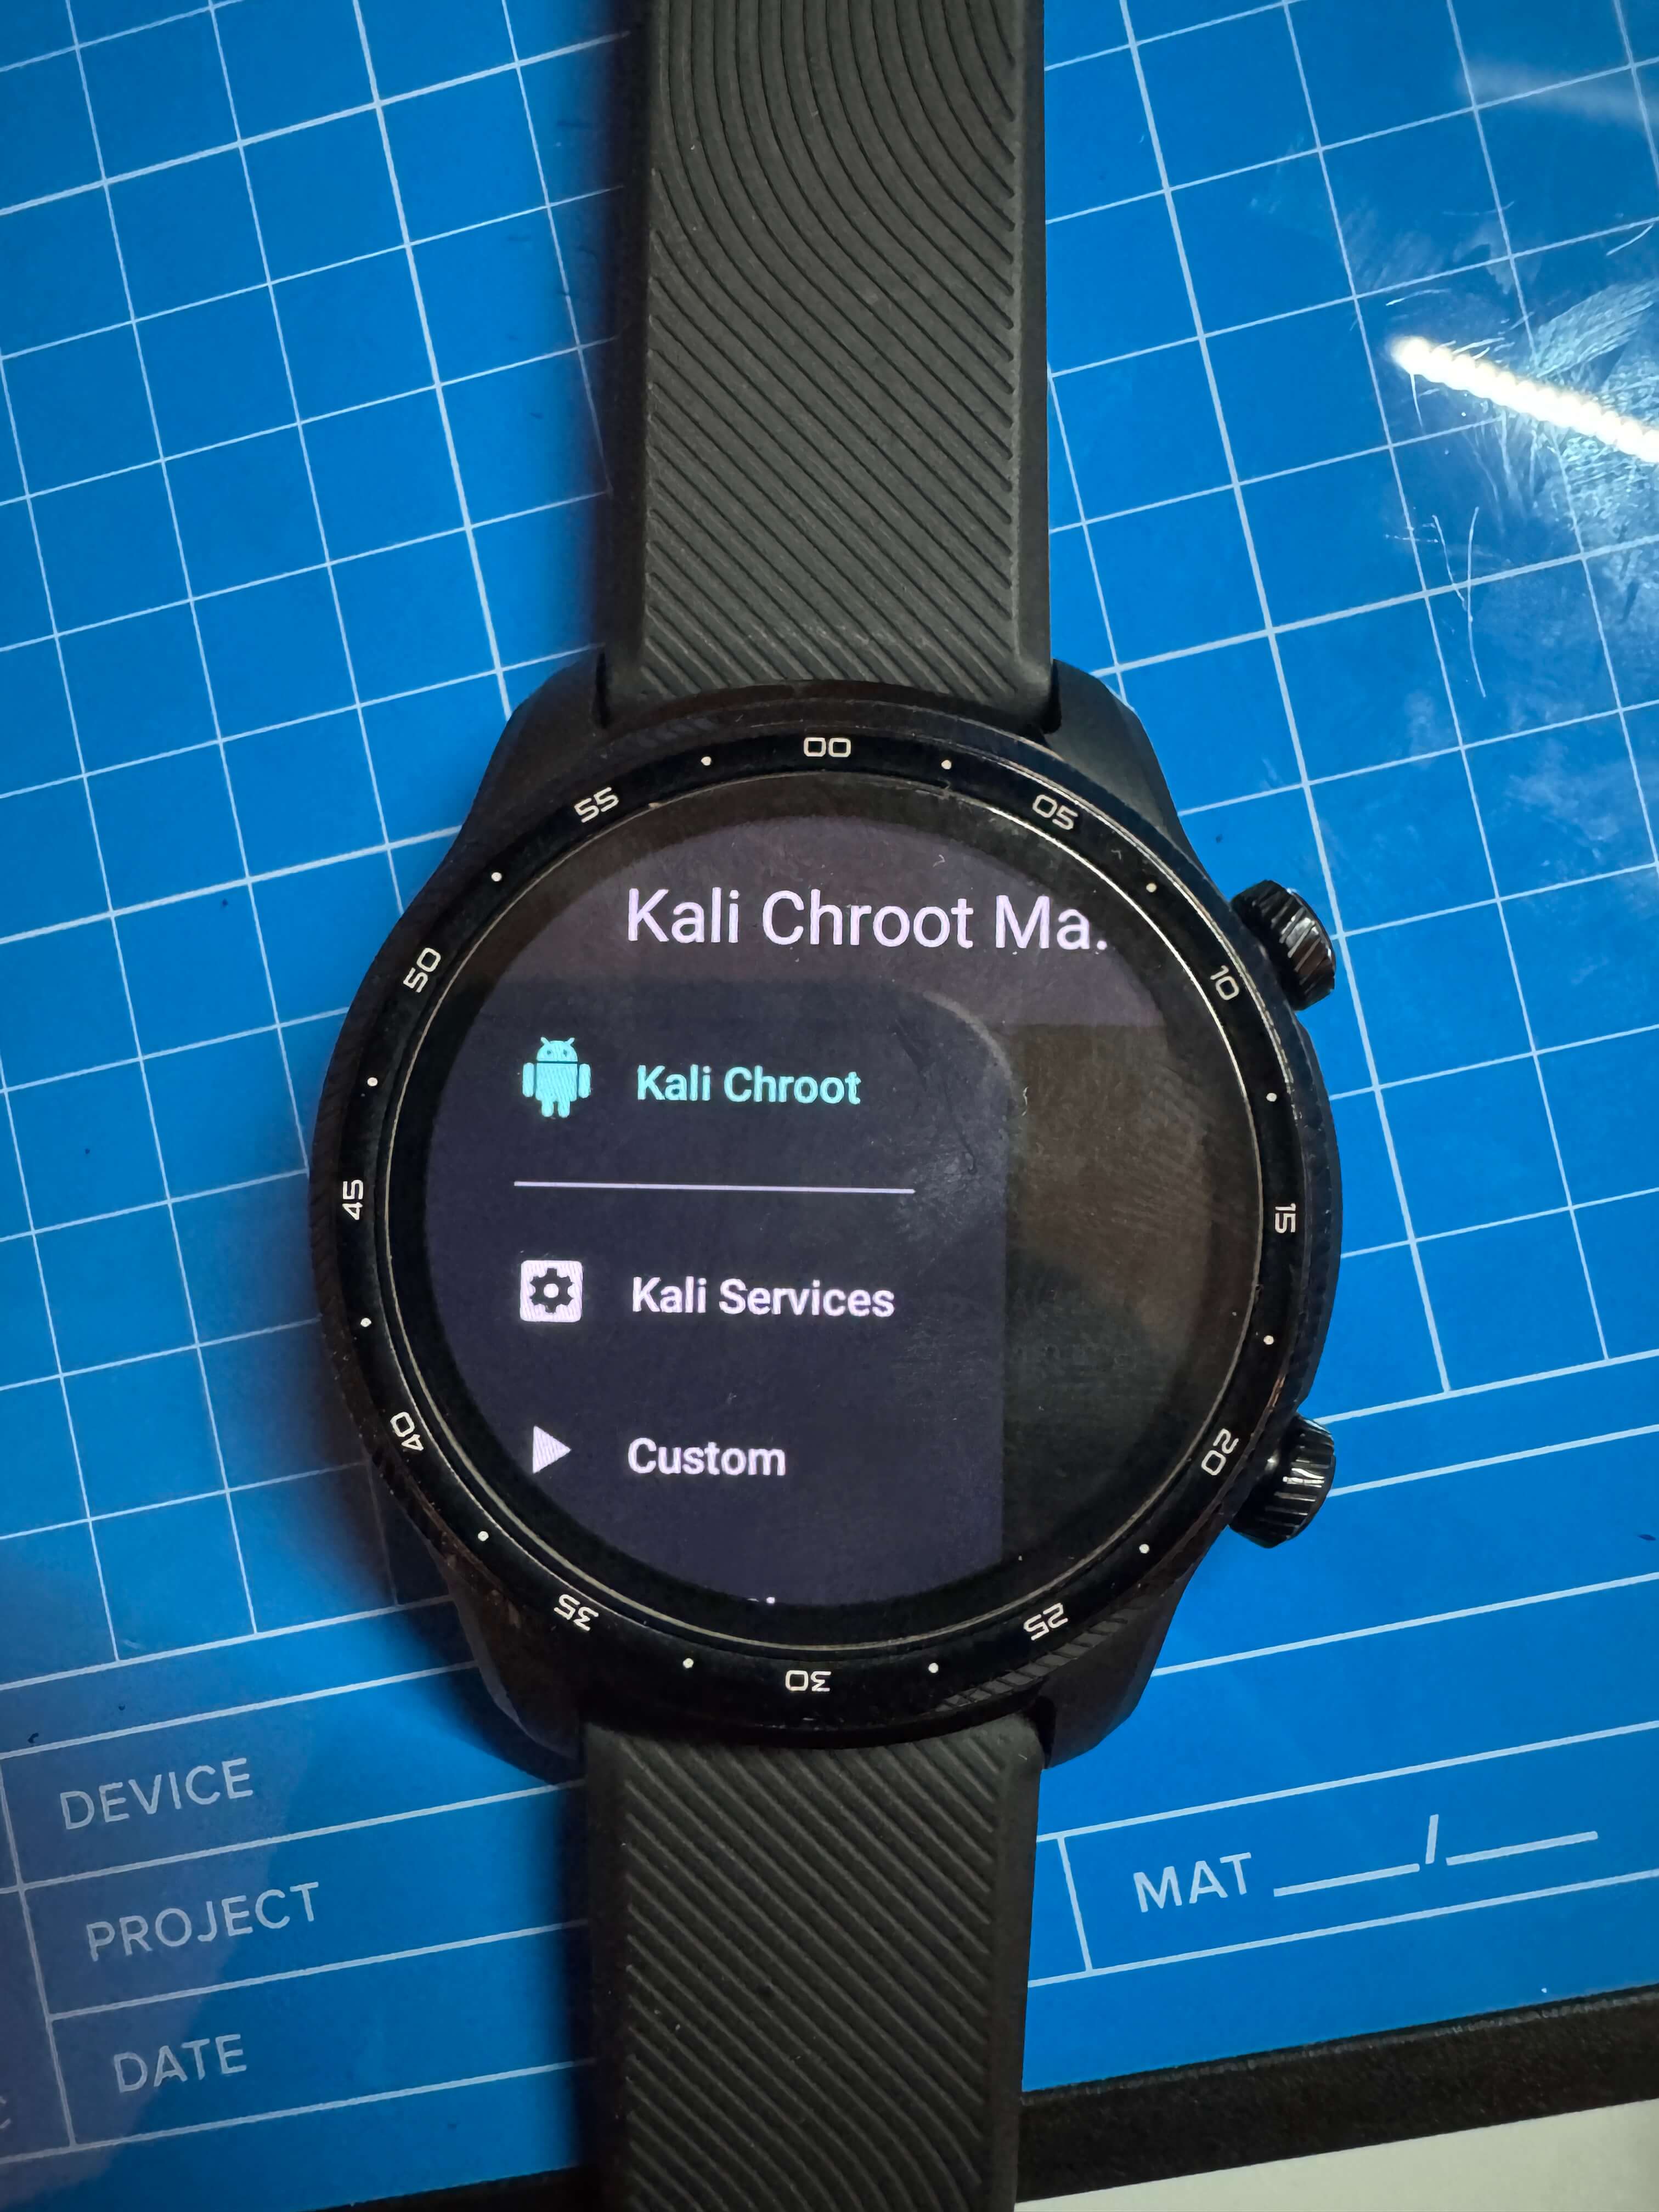
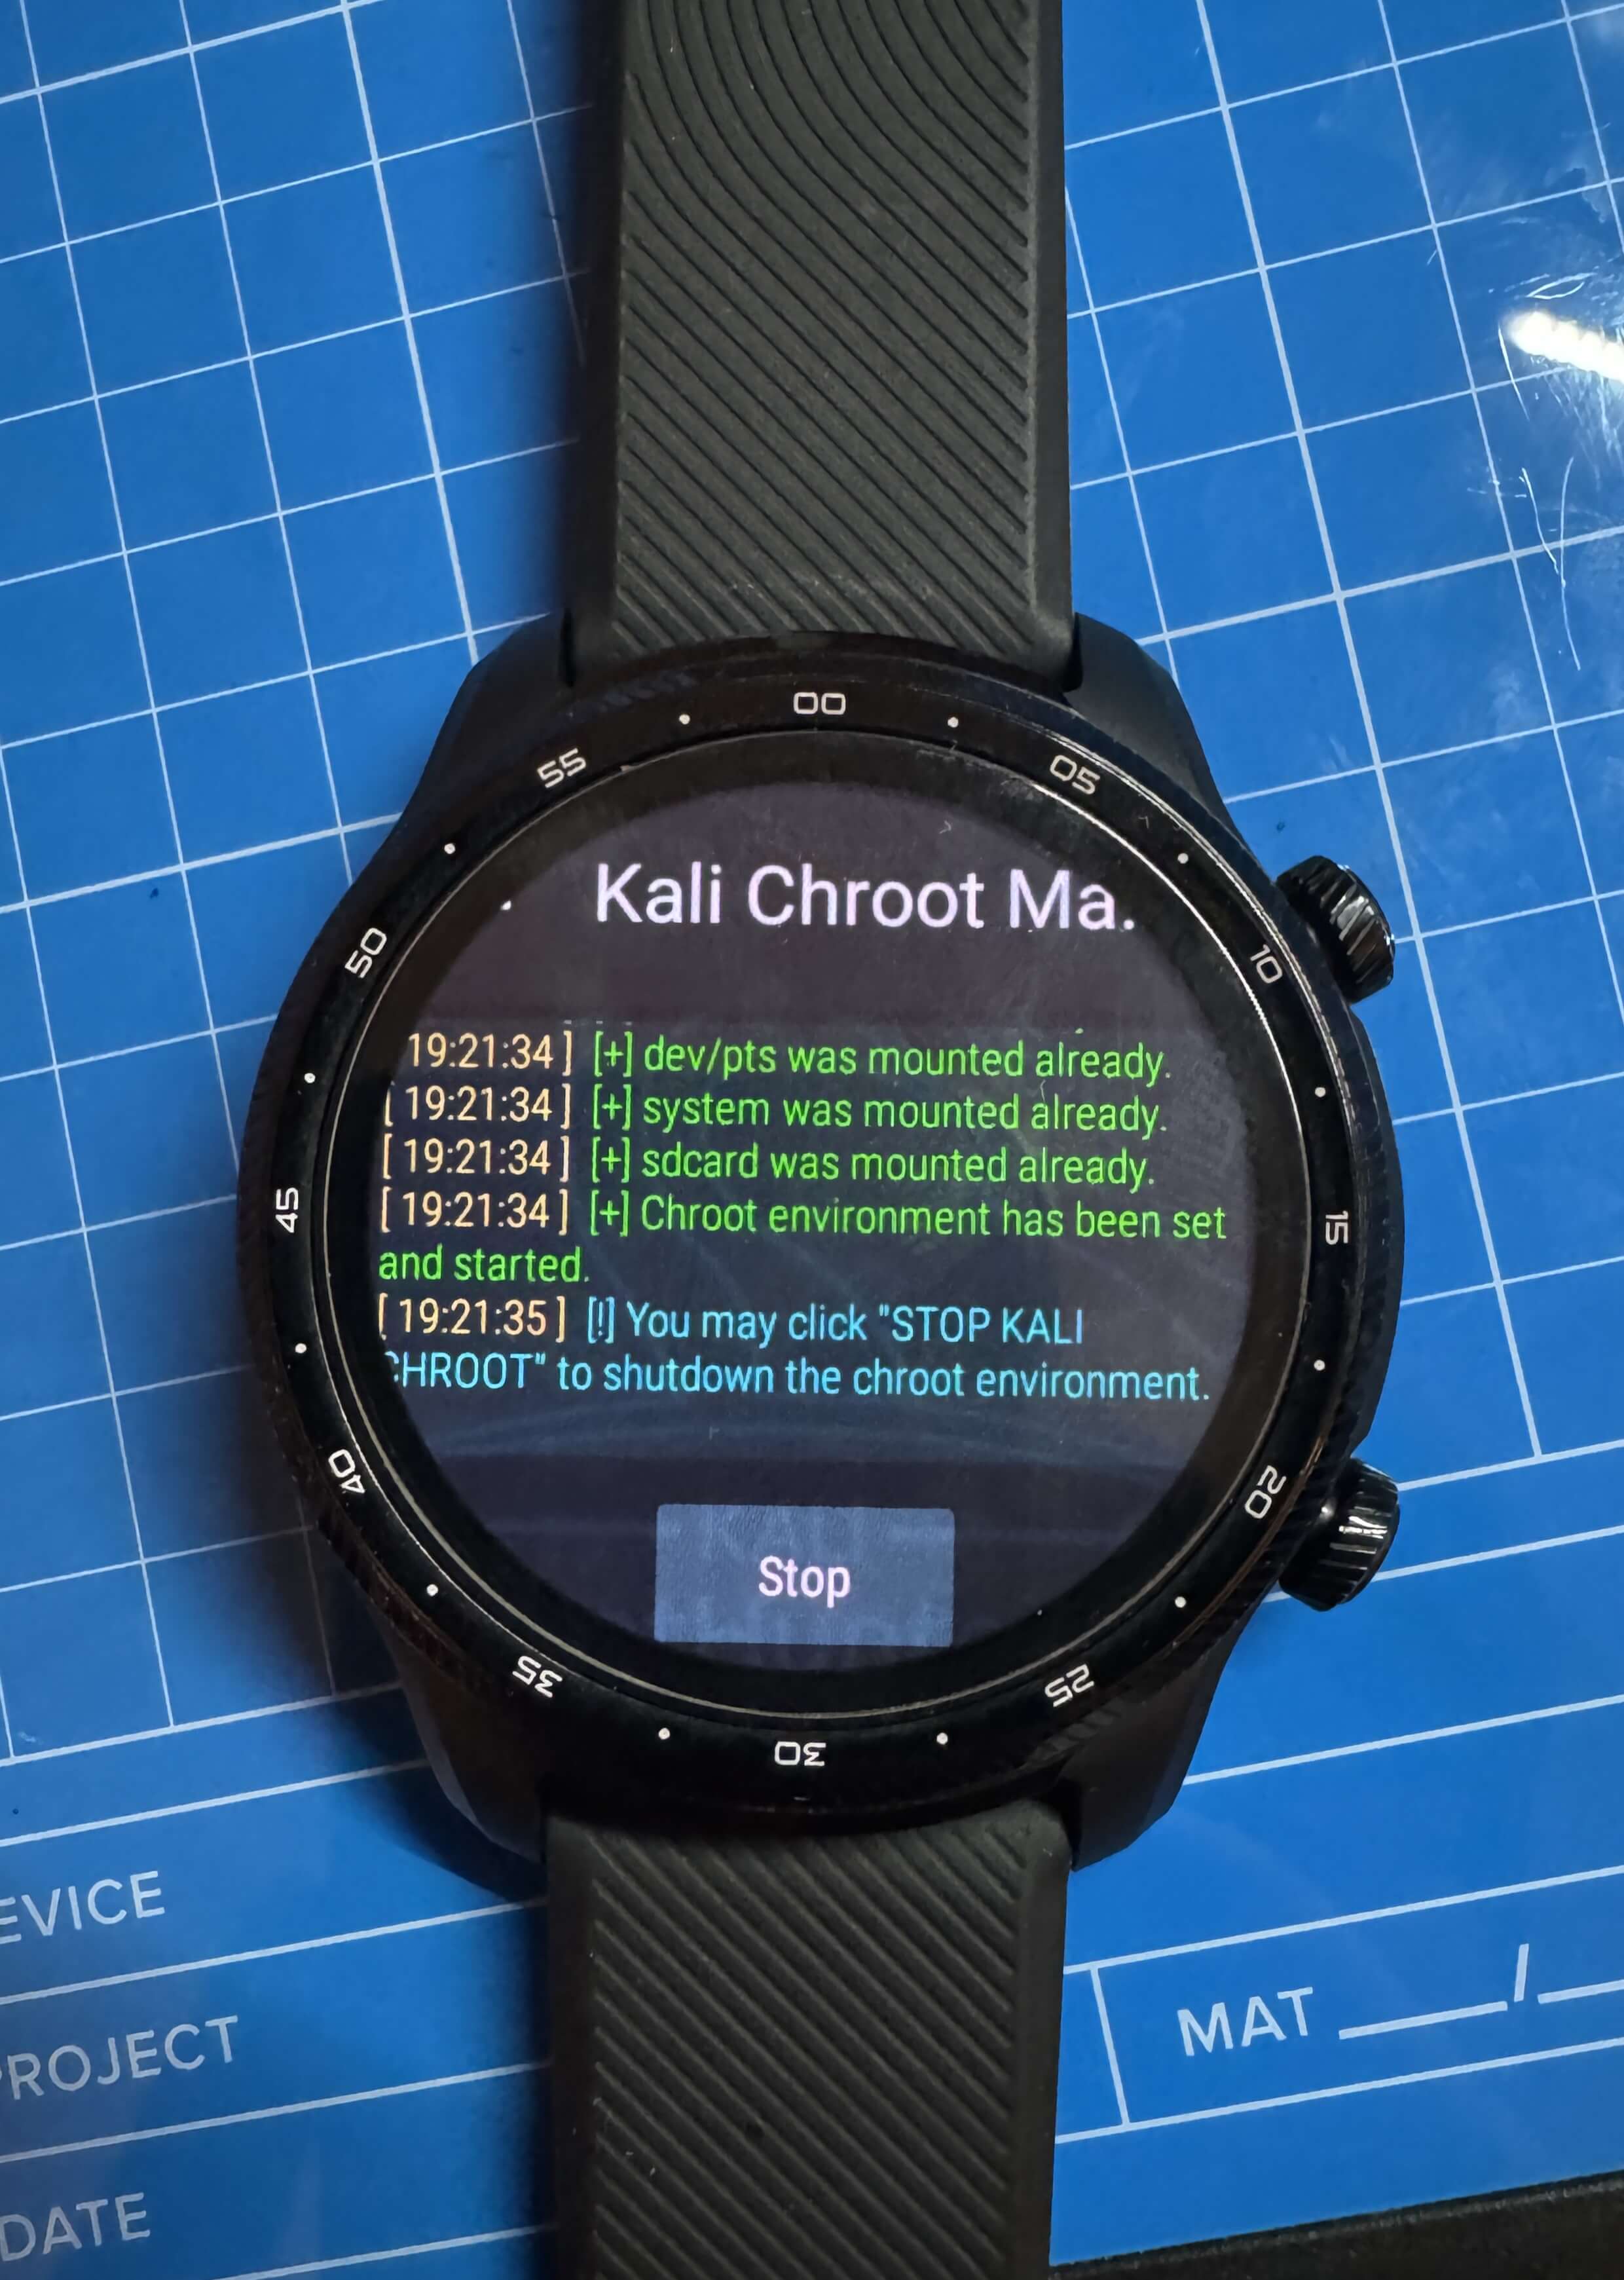
Step 23: Open the NetHunter app:
- Allow popups.
- Start the Kali Chroot.

5. Tips and Lessons Learned
Key takeaways and advice from this challenging project:
- Tip 1: Ensure you have a working data cable—cutting and modifying a GoPro cable was necessary in my case, as the TicWatch Pro 3 ships with a power-only cable.
- Tip 2: Follow the steps exactly in order; deviations can lead to boot loops or bricked devices.
- Lesson Learned: Sideloading on Wear OS devices like the TicWatch Pro 3 requires patience and hardware improvisation due to limited official support.
- Future Improvements: Explore automating parts of the process or finding a more reliable data cable solution.
6. Conclusion
Successfully sideloading Kali NetHunter on the TicWatch Pro 3 was a difficult but rewarding endeavor. The process turned the wearable into a powerful, portable pentesting tool. Despite the challenges—like modifying a GoPro cable for data transfer and navigating the precise installation steps—I gained a deeper understanding of Wear OS rooting and NetHunter deployment. Future plans include testing NetHunter’s capabilities in real-world pentesting scenarios.
7. Additional Notes
- The official Kali guide and XDA thread were indispensable for understanding the process, though they required adaptation for my specific setup.
- The YouTube video, while not perfectly aligned with the TicWatch Pro 3, provided helpful visual context for the general process.
- The BeeHiveSafety guide offered additional clarity on certain steps, making it a valuable secondary resource.